

There’s something absolutely magical about the aroma of fresh bread baking in your home, and with a Hamilton Beach bread maker, achieving bakery-quality loaves has never been easier. This comprehensive guide will walk you through creating the most delicious, perfectly textured bread right from your kitchen. Whether you’re a seasoned baker or picking up a bread maker for the first time, this recipe is foolproof and absolutely delicious.
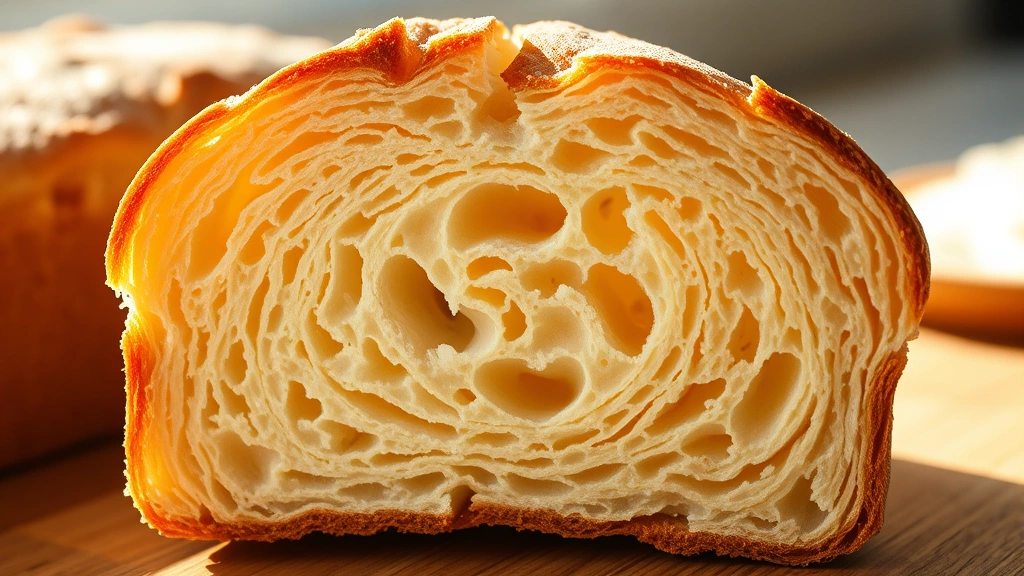
The Hamilton Beach bread maker has revolutionized home baking by taking the guesswork out of timing, temperature, and kneading. This machine handles all the hard work while you simply add your ingredients and press start. The result? A beautiful, golden-brown loaf with a crispy crust and soft, fluffy interior that rivals any artisan bakery. I’ve been using my Hamilton Beach bread maker for years, and I’ve perfected this recipe through countless batches.
What makes this recipe special is the careful balance of ingredients and the understanding of how your specific machine works. The Hamilton Beach bread maker operates at precise temperatures and kneading cycles that are perfectly suited to these measurements. The bread comes out with incredible texture, wonderful flavor, and that satisfying crust that makes slicing so rewarding. You’ll find yourself making this recipe weekly once you taste the results.
This basic white bread recipe serves as a foundation that you can customize with various add-ins and variations. Some of my favorite variations include adding herbs and seasonings, swapping in whole wheat flour, or incorporating seeds and nuts. The beauty of mastering this base recipe is that you can adapt it endlessly while maintaining perfect results.
For those looking to expand their bread maker repertoire, I recommend exploring complementary recipes that pair beautifully with homemade bread. Fresh bread is the perfect vehicle for rich, creamy sauces and delicious spreads. You might also enjoy preparing sides that showcase your baking skills.
The key to success with any bread maker is precision and understanding your machine’s specific cycles. Hamilton Beach machines typically offer multiple settings for different bread types, crust colors, and loaf sizes. For this recipe, I’m using the standard white bread cycle on a medium crust setting, which typically takes about three to four hours from start to finish. The machine handles the mixing, kneading, rising, and baking automatically.
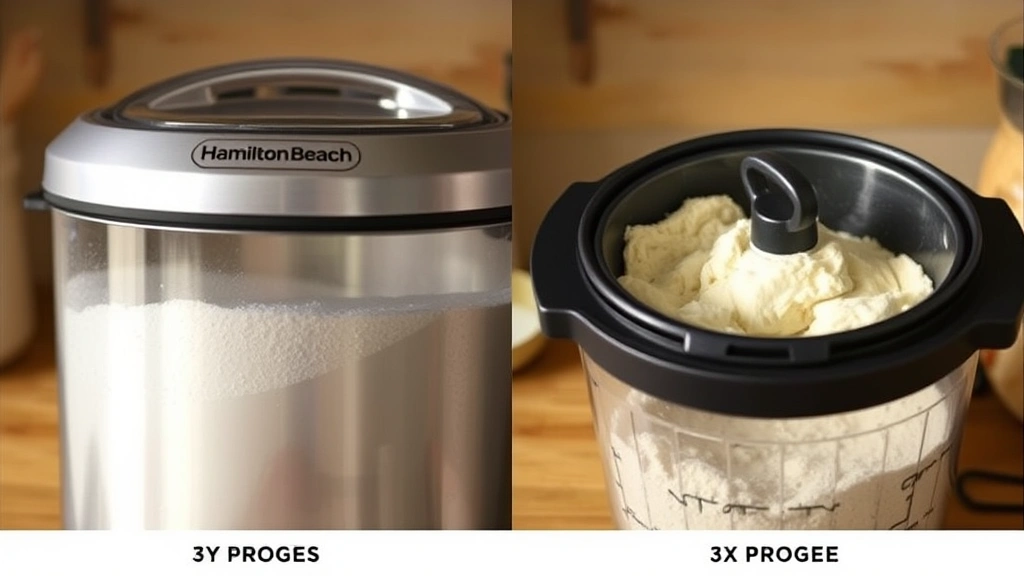
One important tip: always add your ingredients in the exact order specified. The liquid should go in first, followed by dry ingredients, with the yeast added last. This prevents premature yeast activation and ensures even distribution throughout the dough. The Hamilton Beach bread maker is designed with this sequence in mind, and following it guarantees optimal results.
Temperature matters significantly when making bread. All ingredients should be at room temperature unless otherwise specified. Cold ingredients can slow fermentation, while overly warm ingredients might kill the yeast. I recommend keeping your kitchen between 68-72 degrees Fahrenheit for the most consistent results. This temperature range allows the yeast to work efficiently without becoming sluggish or overactive.
Water quality also plays a subtle but important role in bread making. If your tap water is heavily chlorinated, consider using filtered water instead. Some bakers even prefer using bottled water for ultimate consistency. The minerals and chemicals in water can subtly affect yeast fermentation and gluten development.
Salt is crucial for bread making, and you shouldn’t be tempted to reduce it. Salt regulates yeast activity, strengthens gluten structure, and enhances flavor. Never skip the salt or significantly reduce the amount, as it fundamentally changes how your bread develops.
The type of flour you use matters tremendously. Bread flour, with its higher protein content (around 12-14%), creates superior structure and chewiness compared to all-purpose flour. If you only have all-purpose flour available, your bread will still turn out well, but bread flour will give you noticeably better results. Store your flour in an airtight container away from heat and moisture for maximum freshness.
Yeast is the living ingredient that makes bread possible. I recommend using active dry yeast or instant yeast for bread makers. Always check your yeast’s expiration date before using. Old yeast produces weak, dense bread that doesn’t rise properly. Store yeast in the refrigerator after opening to extend its viability. You can even freeze yeast for long-term storage.
After your bread finishes baking, resist the urge to slice it immediately. The interior is still setting, and cutting too soon results in a gummy, compressed crumb. Wait at least 30 minutes before slicing, though one hour is even better. This cooling period allows the starches to set and the structure to firm up completely.
For storage, keep your finished bread in a paper bag or bread box at room temperature for up to three days. Never refrigerate bread, as the cold accelerates staling. For longer storage, slice and freeze your bread in an airtight bag for up to three months. Thaw at room temperature or toast slices directly from the freezer.
This bread pairs beautifully with fresh salads and light meals, and it’s wonderful alongside soups and stews. You might also enjoy serving it with pickled vegetables and charcuterie. Homemade bread elevates any table.
For external expertise and inspiration, check out Bon Appétit’s bread maker guide for additional techniques. Serious Eats offers detailed science-backed explanations of bread making principles. The New York Times Cooking section provides inspiration for variations and advanced techniques. These resources have helped countless bakers understand the science behind their successes and failures.
Ingredients
- 1 1/4 cups warm water (110°F)
- 2 tablespoons granulated sugar
- 1 1/2 teaspoons salt
- 2 tablespoons vegetable oil or melted butter
- 3 1/2 cups bread flour
- 2 1/2 teaspoons active dry yeast or instant yeast
Instructions
- Pour the 1 1/4 cups of warm water into the bread maker pan. The water should feel warm to the touch but not hot—if it’s too hot, it will kill the yeast; if too cold, the yeast won’t activate properly.
- Add the 2 tablespoons of granulated sugar directly into the water. Sugar feeds the yeast and helps with browning, creating that beautiful golden crust.
- Sprinkle the 1 1/2 teaspoons of salt over the water and sugar mixture. Salt is essential for controlling fermentation and strengthening gluten development.
- Pour the 2 tablespoons of vegetable oil or melted butter into the pan. This adds richness, improves texture, and helps with crust development.
- Add the 3 1/2 cups of bread flour on top of the liquid ingredients, making sure to cover the entire surface. This creates a barrier between the yeast and salt until the machine begins mixing.
- Make a small indent or well in the center of the flour, and sprinkle the 2 1/2 teaspoons of active dry yeast into this well. Never allow yeast to come into direct contact with salt before mixing, as salt can deactivate it.
- Close the bread maker lid and insert the pan securely into the machine. Ensure it’s locked properly—the machine won’t start if the pan isn’t correctly positioned.
- Select the White Bread cycle on your Hamilton Beach bread maker. If your model offers crust color options, select Medium for a golden-brown crust that’s not too dark.
- Set the loaf size to 2 pounds if your machine offers this option. This recipe is calibrated for a standard 2-pound loaf.
- Press the Start button and allow the machine to begin its cycle. You’ll hear the machine activate and begin mixing the ingredients together.
- Allow the machine to run through its entire cycle without interruption. The Hamilton Beach bread maker will handle all mixing, kneading, rising, and baking automatically—resist the urge to open the lid during this process.
- Listen for the final beep, which signals that baking is complete. This typically occurs 3 to 3.5 hours after starting, depending on your specific machine model.
- Carefully remove the bread maker pan using oven mitts, as it will be very hot. The bread will be golden brown and should release easily from the pan.
- Turn the hot pan over onto a cooling rack or clean kitchen towel to release the bread. If the bread sticks, gently tap the bottom of the pan until it slides out.
- Allow the bread to cool on the rack for at least 30 minutes before slicing. This crucial step allows the interior to set properly and prevents the bread from being gummy.
- Once cooled, slice the bread with a serrated bread knife using a gentle sawing motion. Don’t press down hard, as this compresses the crumb structure.
- Serve the bread warm or at room temperature. Store any leftovers in a paper bag or bread box at room temperature for up to three days, or freeze for longer storage.
Pro Tips
- Always use room temperature ingredients unless specified otherwise. Cold ingredients slow yeast activity, while overly warm ingredients can kill the yeast. The ideal temperature range is 68-72 degrees Fahrenheit for your kitchen and ingredients.
- Bread flour is superior to all-purpose flour for bread makers due to its higher protein content, which creates better structure and chewiness. If you only have all-purpose flour, your bread will still turn out well, but switching to bread flour will noticeably improve results.
- Never substitute instant yeast with fresh yeast without adjusting quantities. Active dry yeast and instant yeast are interchangeable in equal amounts, but fresh yeast requires different measurements.
- Check your yeast’s expiration date before using. Old yeast produces weak, dense bread that doesn’t rise properly. Store opened yeast in the refrigerator to extend viability, or freeze for long-term storage.
- The order of ingredients is crucial for Hamilton Beach bread makers. Always add liquids first, then dry ingredients, with yeast added last. This prevents premature yeast activation and ensures even distribution.
- Don’t open the bread maker lid during the cycle, as this disrupts temperature and humidity levels. Trust your machine to handle the entire process—opening the lid can ruin your bread.
- Water quality affects bread making. If your tap water is heavily chlorinated, consider using filtered water instead. Some bakers prefer bottled water for consistency.
- Salt is absolutely essential and shouldn’t be reduced. It regulates yeast activity, strengthens gluten structure, and enhances flavor. Omitting or reducing salt fundamentally changes how bread develops.
- The final 30 minutes of cooling is critical. Cutting bread too soon results in a gummy, compressed interior. Ideally, wait one hour before slicing for optimal texture and appearance.
- Store finished bread in a paper bag or bread box at room temperature for up to three days. Never refrigerate bread, as cold temperatures accelerate staling. For longer storage, slice and freeze in airtight bags for up to three months.
- This recipe serves as an excellent foundation for variations. Once you master the basic loaf, experiment with whole wheat flour, add seeds and nuts, incorporate herbs and spices, or create savory variations with cheese and garlic.
- Humidity in your kitchen affects dough consistency. On very humid days, you might need slightly less water. On dry days, you might need slightly more. Make small adjustments if your dough seems too wet or too dry during the first mixing cycle.
- Different Hamilton Beach models may have slightly different cycle times. Check your specific machine’s manual for exact timing and features. Some models offer additional settings like delay bake or custom cycles that provide more flexibility.
Pingback: Easy Chopped Sandwich Recipe (So Tasty!) – Simple Recipe Finder