

There’s nothing quite like homemade milk gravy—it’s creamy, comforting, and absolutely delicious. This classic sauce is a Southern staple that deserves a permanent place in your cooking repertoire. Whether you’re pouring it over biscuits for breakfast, drizzling it on fried chicken, or using it as a base for other dishes, this milk gravy recipe is foolproof and incredibly simple to make.
I grew up watching my grandmother make this gravy, and I’ve learned that the secret isn’t complicated ingredients or fancy techniques. It’s all about using quality butter, the right ratio of flour to milk, and a little patience while you’re stirring. Once you master this basic technique, you’ll find yourself making it constantly. It takes just minutes from start to finish, and the results are absolutely worth it.
What makes milk gravy so special is its versatility. You can serve it over creamy sauce bases like alfredo, or keep it simple and traditional. The beauty of this recipe is that it works with whatever proteins and sides you’re serving. Pair it with biscuits and sausage for a classic breakfast, or use it to elevate your dinner table.
One of my favorite things about making milk gravy at home is that you control exactly what goes into it. No mysterious additives or preservatives—just butter, flour, milk, salt, and pepper. If you want to add a little sausage drippings for extra flavor, that’s a wonderful option too. Some people like to use heavy cream pasta recipes as inspiration and add a splash of cream to their gravy for extra richness.
Before we dive into the recipe, let me share a few pro tips. The most important thing is to cook your roux (that’s the butter and flour mixture) for at least a minute before adding your milk. This ensures that your flour is fully cooked and won’t taste raw in the finished gravy. When you add the milk, do it gradually while whisking constantly to prevent lumps. If you do end up with lumps, don’t panic—just strain the gravy through a fine-mesh sieve.
Temperature control is your friend here. Medium heat is perfect for making milk gravy. Too high and your gravy might scorch on the bottom; too low and it’ll take forever to thicken. You want to see gentle bubbles breaking the surface, not a rolling boil. The gravy will continue to thicken slightly as it cools, so don’t worry if it seems a tiny bit thin when you first finish cooking it.
If you’re serving this with chicken alfredo or other cream-based dishes, you’ll appreciate how this gravy complements those flavors beautifully. The simplicity of milk gravy lets other ingredients shine, whether you’re serving it alongside fresh salads or hearty mains.
This recipe makes about two cups of gravy, which is perfect for serving four to six people. If you need more, simply double the recipe—the technique remains exactly the same. Leftover gravy can be refrigerated in an airtight container for up to three days. Just reheat it gently on the stovetop, adding a splash of milk if it’s thickened too much.
According to Bon Appétit, understanding the fundamentals of sauce-making is essential for any home cook. This milk gravy is the perfect foundation to build upon. Once you’ve mastered this classic version, you can experiment with additions like crispy bacon, fresh herbs, or a pinch of cayenne pepper for heat.
For those looking to understand the science behind perfect gravies, Serious Eats offers detailed explanations of how starches and fats interact to create the perfect texture. The same principles apply to this milk gravy recipe, making it a great foundational technique to understand.
If you’re interested in learning more about classic Southern cooking techniques, New York Times Cooking has excellent resources on traditional recipes and their modern interpretations. This milk gravy is a timeless recipe that bridges both worlds perfectly.
I promise you, once you make this milk gravy recipe a few times, you’ll have it memorized. It’s that simple and that good. Your family will request it constantly, and you’ll find yourself making it for every special breakfast or dinner. This is the kind of recipe that becomes a staple in your kitchen, something you make without even thinking about it because you know it’ll turn out perfectly every single time. Enjoy!
Ingredients
- 4 tablespoons unsalted butter
- 4 tablespoons all-purpose flour
- 2 cups whole milk, room temperature
- ½ teaspoon salt
- ¼ teaspoon black pepper
- ¼ teaspoon garlic powder (optional)
- Pinch of cayenne pepper (optional)
Instructions
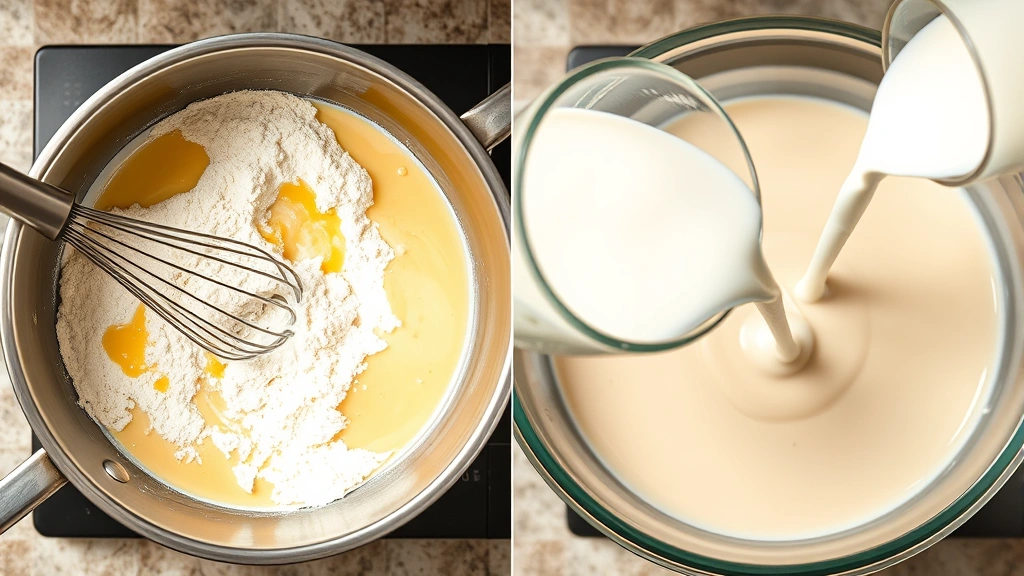
- Melt the butter in a medium saucepan over medium heat, stirring occasionally until it’s completely melted and foamy.
- Add the flour to the melted butter, whisking constantly to combine. Continue whisking for 1-2 minutes to cook the flour and remove any raw flour taste.
- Slowly add the milk to the roux mixture, starting with about ¼ cup and whisking constantly. This prevents lumps from forming.
- Continue adding the remaining milk in a slow, steady stream while whisking continuously until all the milk is incorporated.
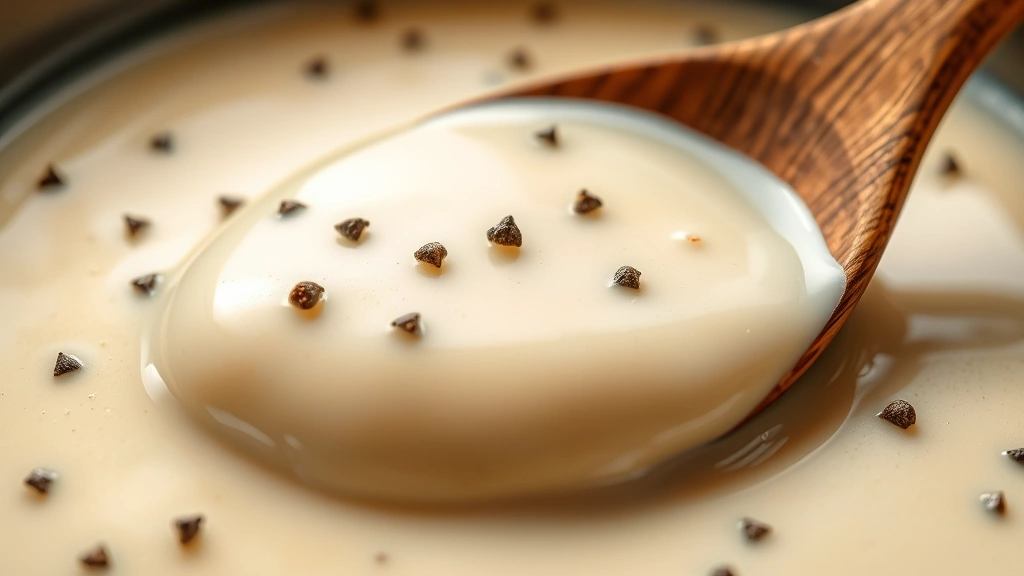
- Keep whisking and cooking over medium heat for 5-7 minutes, until the gravy reaches your desired thickness. It should coat the back of a spoon.
- Remove from heat and stir in the salt, black pepper, and garlic powder if using.
- Add a pinch of cayenne pepper if you prefer a little extra flavor and heat.
- Taste and adjust seasonings as needed. If the gravy is too thick, whisk in a little more milk. If it’s too thin, let it cook for another minute or two.
- Pour into a gravy boat or serving bowl and serve immediately while hot.
Pro Tips
For sausage gravy, brown ½ pound of breakfast sausage in the pan first, remove it, then make the roux using the sausage drippings instead of butter. Stir the cooked sausage back in at the end.
If you end up with lumps in your gravy despite your best efforts, simply pour it through a fine-mesh strainer into another bowl. The texture will be perfectly smooth.
The gravy will thicken slightly more as it cools, so if it seems a bit thin when you finish cooking, that’s normal and perfect.
For a richer version, substitute half-and-half or heavy cream for some or all of the whole milk. You can use anywhere from 1 cup cream and 1 cup milk to 2 cups of cream for extra luxurious gravy.
This recipe doubles easily if you need to serve more people. Just multiply all ingredients by two and follow the same technique.
Store leftover milk gravy in an airtight container in the refrigerator for up to three days. Reheat gently on the stovetop over low to medium-low heat, stirring frequently. You may need to add a splash of milk to reach the desired consistency.
Fresh cracked black pepper creates a more flavorful gravy than pre-ground pepper, so if you have a pepper mill, use it.
Don’t skip the step of cooking the roux for at least a minute. This ensures the flour is fully cooked and won’t have a raw, starchy taste in the finished gravy.
If you prefer a thicker gravy, use 5 tablespoons of flour instead of 4. For a thinner, pourable gravy, use 3 tablespoons of flour.
Pingback: How to make the PERFECT Lamb Shoulder Recipe! – Simple Recipe Finder