
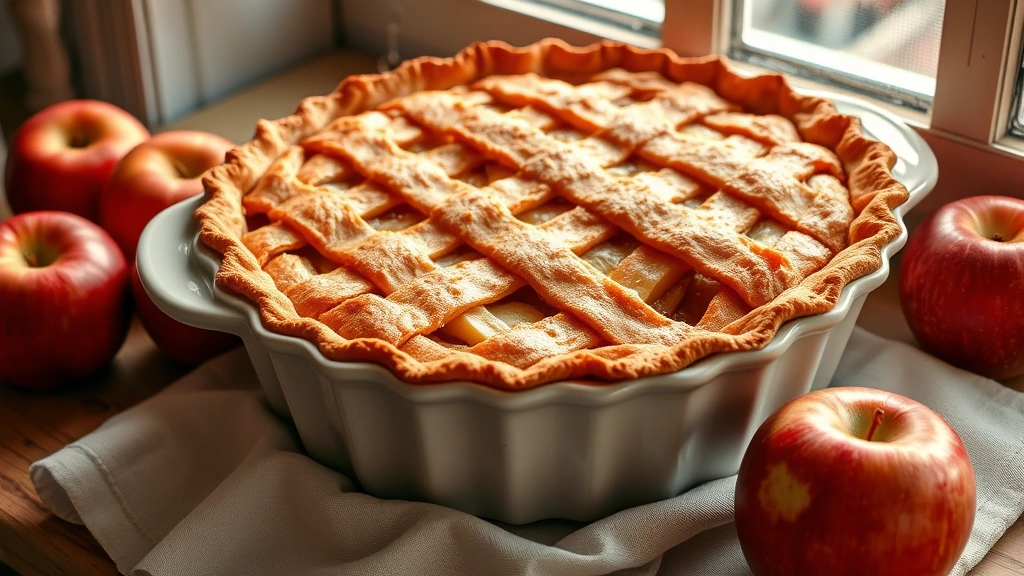
There’s something absolutely magical about homemade apple pie—the buttery, flaky crust, the tender spiced apples, and that golden-brown perfection coming straight from your oven. But here’s the thing: making apple pie doesn’t have to be complicated or time-consuming! This quick and easy apple pie recipe is going to become your go-to dessert for everything from casual weeknight dinners to impressive dinner parties.
I’m sharing my foolproof method that uses simple, everyday ingredients and straightforward techniques that even beginner bakers can master. The secret is in the preparation—we’re using pre-made pie crust (no shame in that game!) and a filling that comes together in minutes. The result? A stunning, restaurant-quality apple pie that tastes like you spent hours in the kitchen.
What I absolutely love about this recipe is its versatility. You can make it year-round, serve it warm with vanilla ice cream, and even prepare it ahead of time for stress-free entertaining. Whether you’re celebrating fall or just craving a slice of comfort, this apple pie recipe is about to become your new favorite.
Before you dive in, let me share some pro tips: choose a mix of apple varieties like Granny Smith and Honeycrisp for the perfect balance of tartness and sweetness. Don’t skip the lemon juice—it brightens the filling and prevents browning. And please, don’t be afraid to let your pie crust get beautifully golden. That’s where the real flavor magic happens!
If you’re looking for other crowd-pleasing desserts, check out our Best Heavy Cream Alfredo Sauce Recipe for a savory option, or explore our Delicious Heavy Cream Pasta Recipe for an elegant main course. Want something with a little tang? Our Best Pickled Red Onion Recipe adds a sophisticated touch to any meal.
For more baking inspiration and techniques, check out Serious Eats and Bon Appétit for their extensive baking guides. The New York Times Cooking section also has wonderful apple pie variations worth exploring.
Ingredients
- 2 store-bought pie crusts (or homemade if you prefer)
- 6-7 medium Granny Smith apples
- 3-4 medium Honeycrisp or Gala apples
- 1/2 cup granulated sugar
- 1/4 cup brown sugar
- 2 tablespoons all-purpose flour
- 1 tablespoon cornstarch
- 1/2 teaspoon ground cinnamon
- 1/4 teaspoon ground nutmeg
- 1/4 teaspoon ground allspice
- 1/8 teaspoon ground cloves
- 2 tablespoons fresh lemon juice
- 1 teaspoon vanilla extract
- 1 tablespoon cold butter
- 1 egg, beaten (for egg wash)
- 1 tablespoon water
- 1 tablespoon coarse sugar (optional, for topping)
Instructions
- Preheat your oven to 375°F (190°C). Place one pie crust in a 9-inch pie dish, allowing the edges to hang over slightly. Set aside while you prepare the filling.
- Wash, peel, and core your apples. Slice them into 1/4-inch thick slices, aiming for consistency so they cook evenly. You should have about 8-9 cups of sliced apples total.
- In a large mixing bowl, combine the granulated sugar, brown sugar, flour, cornstarch, cinnamon, nutmeg, allspice, and cloves. Whisk these dry ingredients together until well combined.
- Add the sliced apples to the sugar mixture along with the lemon juice and vanilla extract. Gently toss everything together until the apples are evenly coated. Let this sit for 5 minutes—this allows the apples to release some of their natural juices.
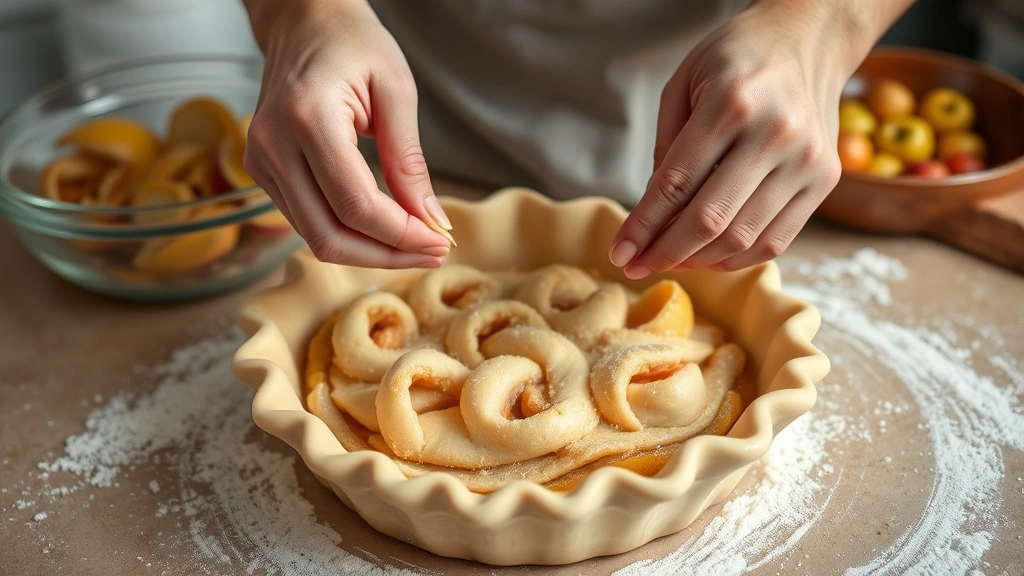
- Pour the apple mixture into your prepared pie crust, mounding it slightly in the center. Dot the top with small pieces of cold butter—this adds richness to the filling.
- Place the second pie crust over the filling. Trim the edges to about 1 inch overhang, then fold the edges under and crimp them decoratively with your fingers or a fork.
- In a small bowl, whisk together the beaten egg and water to create an egg wash. Brush this mixture generously over the top crust.
- If desired, sprinkle the coarse sugar over the egg wash for a beautiful sparkly finish. Using a sharp knife, cut 4-5 small slits in the top crust to allow steam to escape during baking.
- Place the pie on a baking sheet (this catches any drips) and bake for 45-50 minutes, until the crust is golden brown and you can see the filling bubbling slightly through the slits.
- If the edges are browning too quickly, tent them loosely with aluminum foil for the last 15 minutes of baking.
- Remove the pie from the oven and let it cool on a wire rack for at least 30 minutes before slicing. This allows the filling to set properly.
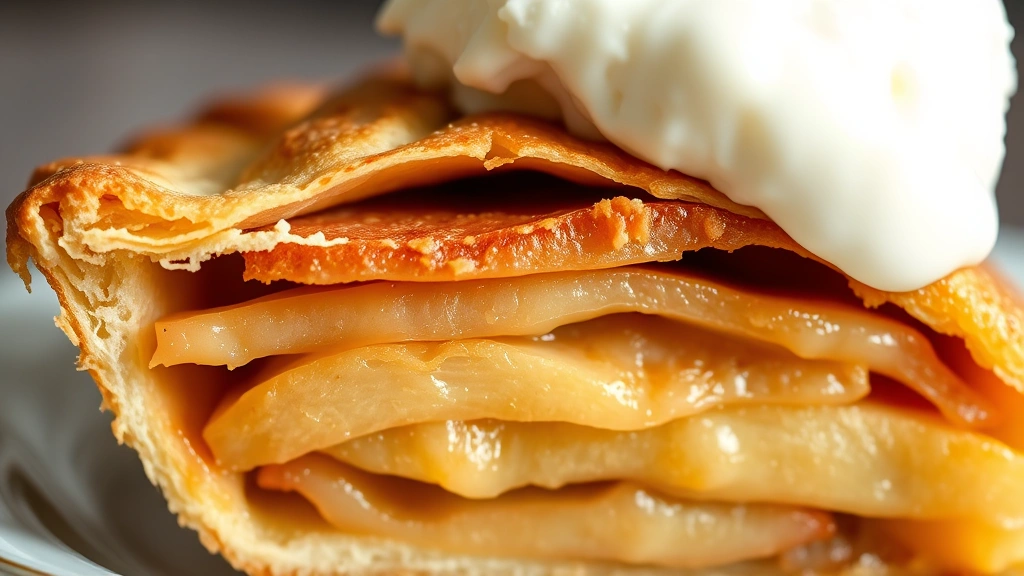
- Serve warm or at room temperature with vanilla ice cream or freshly whipped cream.
Pro Tips
Making It Ahead: You can assemble your pie up to 24 hours in advance. Cover it tightly with plastic wrap and refrigerate. When you’re ready to bake, simply add 5-10 minutes to the baking time since it will start cold.
Crust Tips: If you prefer homemade crust, that’s wonderful, but store-bought crusts are absolutely acceptable and save significant time. Just make sure to thaw them according to package directions. For a crispier bottom crust, place your pie on a preheated baking sheet before adding the filling.
Filling Consistency: The cornstarch and flour work together to thicken the filling without making it gummy. If your pie seems too runny after baking, the apples likely released more liquid than expected—this is normal and won’t affect taste, just texture.
Spice Adjustments: Feel free to adjust the spice amounts to your preference. Some people love extra cinnamon, while others prefer less. Start with the amounts listed and adjust next time based on your taste.
Storage: Leftover pie keeps covered at room temperature for up to 2 days, or refrigerated for up to 5 days. You can also freeze unbaked pies for up to 3 months—just add extra baking time when ready to use.
Serving Suggestions: Warm pie with cold vanilla ice cream is classic for a reason. Alternatively, try it with a dollop of whipped cream, sharp cheddar cheese (yes, really!), or a drizzle of caramel sauce.
Pingback: Quick & Easy Slow Cooker Ground Beef Recipe! – Simple Recipe Finder