
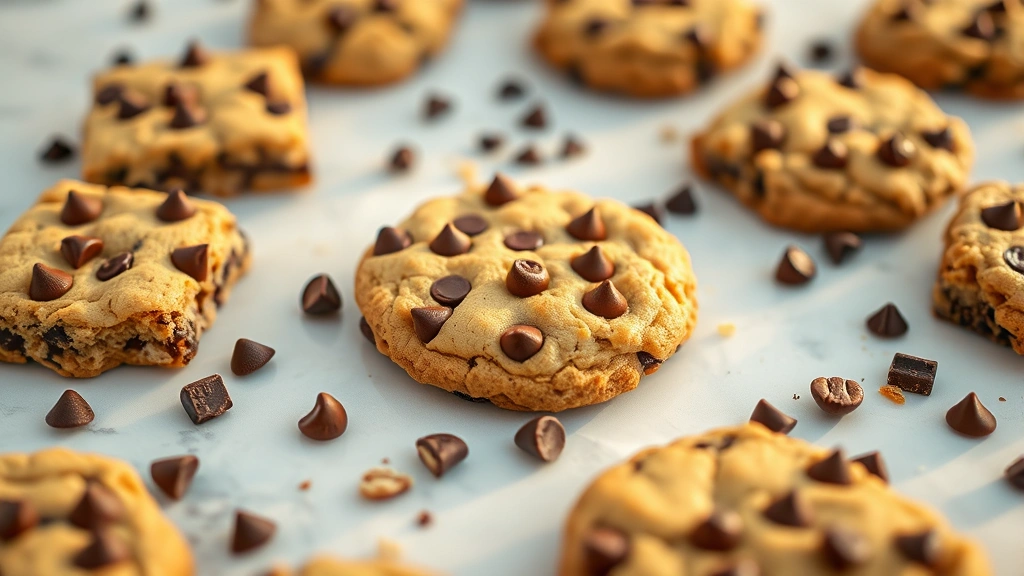
Bar cookies are the ultimate dessert solution for busy bakers and entertaining hosts alike. These delightful treats combine the ease of sheet pan baking with the indulgent flavors of traditional cookies, all without the fuss of shaping individual cookies. Whether you’re preparing for a casual gathering or simply craving something sweet, bar cookies deliver impressive results with minimal effort.
The beauty of bar cookies lies in their versatility and simplicity. Unlike drop cookies that require careful spacing and monitoring, bar cookies bake together in one pan, making them perfect for beginners and experienced bakers alike. From fudgy chocolate layers to fruity jam-filled varieties, these recipes offer endless possibilities for customization.
What makes bar cookies truly special is their ability to combine multiple flavors and textures in a single bite. You can create sophisticated desserts by layering different components—think buttery shortbread bases topped with rich chocolate ganache or tart lemon curd nestled on a crumbly oat foundation. The structural integrity of bar cookies also means they transport beautifully, making them ideal for potlucks, bake sales, or gift boxes.
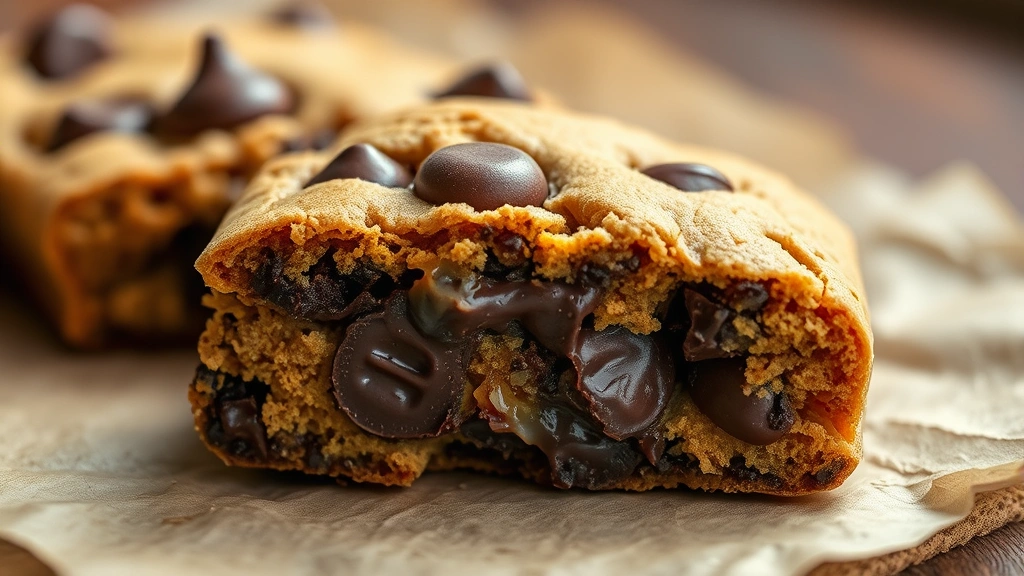
Mastering the art of bar cookies opens up a world of baking possibilities. You’ll discover that many classic cookie flavors actually work better in bar form, where the edges stay crispy while the centers remain tender. The key to perfect bar cookies lies in understanding your pan size, oven temperature, and the importance of proper cooling before cutting.
In this guide, we’ll explore everything you need to know about creating the best bar cookies. You’ll learn professional techniques that elevate your baking, discover flavor combination strategies, and master the timing and temperature requirements for picture-perfect results every single time.
Bar cookies also offer practical advantages for meal prep and entertaining. You can bake them a day or two ahead, store them in an airtight container, and have impressive desserts ready whenever needed. This make-ahead quality makes them invaluable for holiday parties, school events, or whenever you need to impress without spending hours in the kitchen.
For those looking to expand their baking repertoire, bar cookies represent an accessible entry point. Start with simple recipes and gradually work toward more complex combinations as your confidence grows. The fundamental techniques remain consistent, allowing you to apply your skills across numerous variations.
Understanding the science behind bar cookie success helps you troubleshoot any issues and adapt recipes to your preferences. Factors like ingredient temperature, mixing method, and baking time all influence your final product. We’ll address common challenges and provide solutions that ensure your bar cookies turn out perfectly every time.
Ingredients
- 2 cups all-purpose flour
- 1 cup granulated sugar
- 1/2 cup brown sugar, packed
- 1 cup unsalted butter, softened
- 2 large eggs
- 2 teaspoons vanilla extract
- 1 teaspoon baking powder
- 1/2 teaspoon baking soda
- 1/2 teaspoon salt
- 1 1/2 cups chocolate chips
- 1 cup chopped walnuts or pecans, optional
- 1/2 cup shredded coconut, optional
Instructions
- Preheat your oven to 350°F. Line a 9×13-inch baking pan with parchment paper, allowing some to hang over the edges for easy removal later. This step prevents sticking and makes cutting and serving much simpler.
- In a small bowl, whisk together the all-purpose flour, baking powder, baking soda, and salt. Set this dry mixture aside.
- In a large mixing bowl, cream together the softened butter, granulated sugar, and brown sugar using an electric mixer on medium speed for approximately 2-3 minutes until the mixture becomes light and fluffy.
- Add the eggs one at a time to the butter mixture, beating well after each addition. This incorporates air into the batter for a lighter texture.
- Pour in the vanilla extract and mix until fully combined. The mixture should look smooth and well-incorporated.
- Gradually add the dry ingredient mixture to the wet ingredients, mixing on low speed until just combined. Be careful not to overmix, as this can lead to tough bar cookies.
- Fold in the chocolate chips using a rubber spatula or wooden spoon, stirring gently until evenly distributed. If using nuts or coconut, add them now and stir to combine.
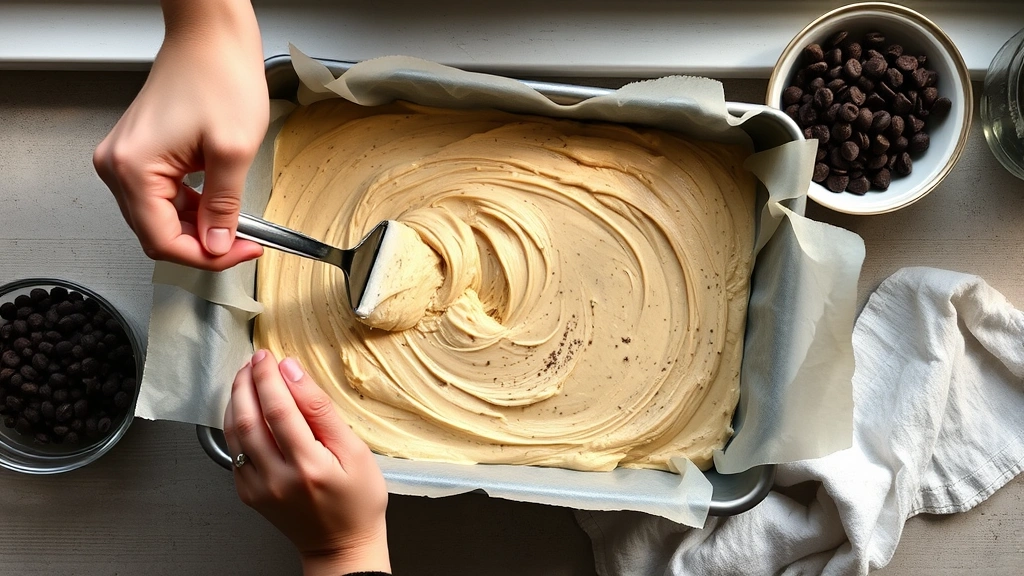
- Pour the batter into your prepared baking pan, using the spatula to spread it into an even layer. Pay special attention to the corners to ensure uniform thickness.
- Bake in the preheated oven for 22-28 minutes, depending on your oven’s characteristics. The bars are done when a toothpick inserted in the center comes out with just a few moist crumbs—not completely clean, as this indicates they’ll be slightly underbaked.
- Remove the baking pan from the oven and place it on a wire cooling rack. Allow the bars to cool in the pan for at least 15 minutes before attempting to cut them.
- Once cooled slightly, use the parchment paper overhang to lift the entire block of bars from the pan onto a cutting board.
- Using a sharp knife, cut the bars into 16 equal squares. Wipe your knife between cuts with a damp cloth to prevent chocolate from smudging the exposed edges.
- Transfer the individual bar cookies to a serving plate or airtight storage container. Serve at room temperature or slightly warm for the best texture and flavor experience.
- Store leftover bar cookies in an airtight container at room temperature for up to 5 days, or freeze for up to 3 months for extended storage.
Pro Tips
Room Temperature Ingredients: Ensure your butter and eggs are at room temperature before mixing. This helps create a smooth, well-incorporated batter with optimal texture.
Don’t Overbake: Bar cookies continue cooking slightly after removal from the oven due to residual heat. Remove them when the center still has slight moisture to avoid dry, hard bars.
Parchment Paper Advantage: This simple tool prevents sticking, allows easy removal, and makes cleanup effortless. The slight overhang on two sides provides convenient handles.
Customization Options: Replace chocolate chips with white chocolate, butterscotch, or even dried fruit. Experiment with different nuts or add espresso powder for depth.
Cutting Technique: A sharp, hot knife produces cleaner cuts. Dip your knife in hot water and wipe it between each cut for professional-looking results.
Layering Variations: Create sophisticated bars by using a simple shortbread base, adding jam or fruit filling, then topping with another layer of dough.
Storage Solutions: Airtight containers maintain freshness better than plastic wrap. Parchment between layers prevents sticking when stacked.
Make-Ahead Strategy: These bars actually taste better the next day as flavors meld together. Bake them 24 hours before serving for optimal results.
Temperature Control: Consistent oven temperature is crucial. Use an oven thermometer to verify accuracy, as many home ovens run hotter or cooler than displayed.
Textural Balance: The contrast between crispy edges and tender centers makes bar cookies special. Proper baking time is essential for achieving this perfect balance.
Gift-Worthy Presentation: Stack individually wrapped bars in decorative boxes for impressive homemade gifts. They transport beautifully and stay fresh for several days.