
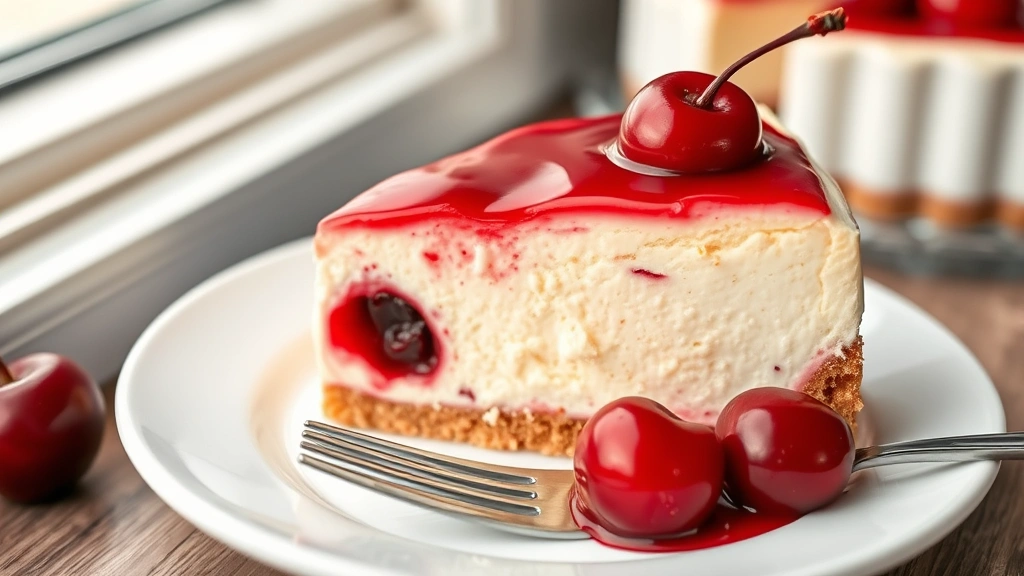
There’s nothing quite like a slice of homemade cherry cheesecake—creamy, tangy, and absolutely divine. This cherry cheesecake recipe is the ultimate showstopper dessert that looks impressive but is surprisingly simple to master. With a buttery graham cracker crust, silky smooth cheesecake filling, and a gorgeous cherry topping, this dessert will have everyone asking for your secrets.
I’ve been making cheesecake for years, and I’ve learned that the key to the best cherry cheesecake is all about technique and quality ingredients. The most important thing? Don’t skip the water bath. This gentle cooking method ensures your cheesecake bakes evenly and stays creamy without developing those pesky cracks on top.
This cherry cheesecake recipe serves 12-16 people, making it perfect for dinner parties, holiday gatherings, or whenever you want to impress someone special. The beauty of this dessert is that you can make it a day or two ahead, which takes the stress out of entertaining. Simply store it covered in the refrigerator until you’re ready to serve.
The cherry topping is where this recipe really shines. You can use fresh cherries when they’re in season, or reach for canned or frozen cherries year-round. I love making a homemade cherry compote with a touch of almond extract—it adds such a lovely depth of flavor that complements the tangy cream cheese perfectly. If you’re looking for other impressive desserts, check out our classic dessert techniques for more inspiration.
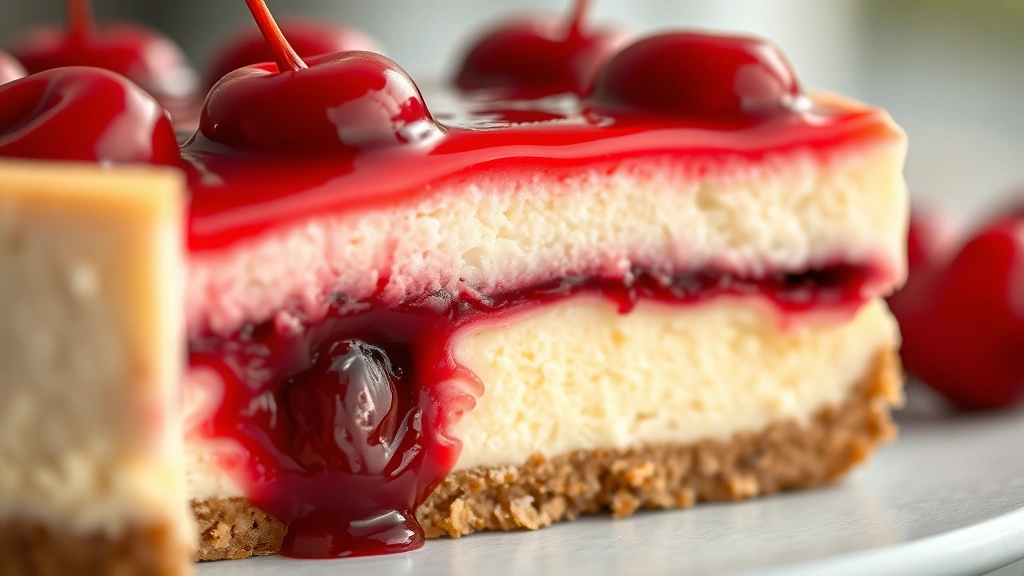
What makes this cherry cheesecake recipe stand out from others is the balance of flavors. The slight tartness of the cream cheese pairs beautifully with sweet cherries, and the buttery crust adds wonderful texture. I always recommend using full-fat cream cheese—it makes such a difference in the final result. Don’t use low-fat or whipped cream cheese, as they won’t give you that dense, creamy texture that makes cheesecake so special.
One more pro tip: room temperature ingredients are crucial. Take your cream cheese, eggs, and sour cream out of the refrigerator at least an hour before you start baking. This helps everything blend smoothly together, creating that silky filling without lumps. For more baking inspiration and techniques, visit Serious Eats or Bon Appétit.
This cherry cheesecake recipe is destined to become your go-to dessert. Whether you’re a baking novice or a seasoned pro, these detailed instructions will guide you to cheesecake perfection every single time.
Ingredients
- 2 cups graham cracker crumbs (about 14-16 crackers)
- ½ cup granulated sugar
- 6 tablespoons unsalted butter, melted
- 32 oz (four 8-oz packages) cream cheese, room temperature
- 1 cup granulated sugar
- ¼ cup all-purpose flour
- 1 teaspoon vanilla extract
- ½ teaspoon almond extract
- 4 large eggs, room temperature
- ½ cup sour cream, room temperature
- ¼ cup fresh lemon juice
- 2 cans (21 oz each) cherry pie filling, or 3 cups fresh cherries with ½ cup sugar and 2 tablespoons cornstarch
- 1 tablespoon almond extract (optional, for homemade cherry topping)
- Water for water bath
Instructions
- Preheat your oven to 325°F. Wrap the outside of a 9-inch springform pan with heavy-duty aluminum foil, making sure to cover the bottom and sides completely to prevent water from seeping in during the water bath.
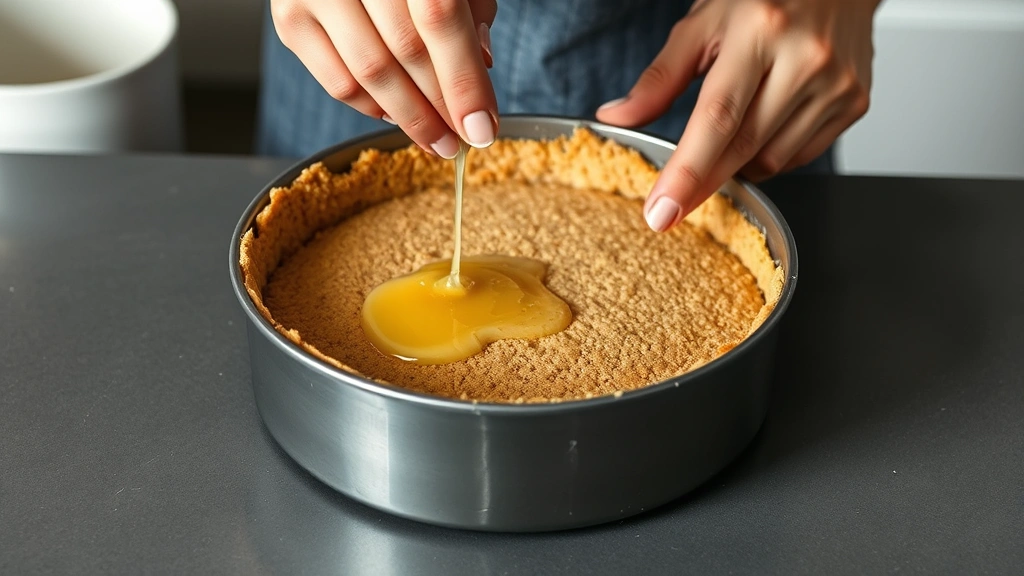
- In a small bowl, combine graham cracker crumbs, ½ cup sugar, and melted butter, stirring until the mixture resembles wet sand.
- Press the mixture firmly into the bottom of the prepared springform pan, using the bottom of a measuring cup to create an even layer. Bake for 8-10 minutes until lightly golden, then remove and let cool while you prepare the filling.
- In a large mixing bowl, beat the room temperature cream cheese with an electric mixer on medium-low speed for about 2 minutes, scraping down the sides as needed, until it’s smooth and creamy with no lumps.
- In a separate small bowl, whisk together 1 cup sugar and flour. Gradually add this mixture to the cream cheese, beating on low speed until just combined.
- Add vanilla extract and ½ teaspoon almond extract to the cream cheese mixture, beating until incorporated.
- Add the eggs one at a time, beating on low speed after each addition and scraping down the bowl sides. Mix just until combined—don’t overmix, as this can incorporate too much air and cause cracking.
- Add sour cream and lemon juice, mixing on low speed until the filling is smooth and creamy. Stop mixing as soon as everything is combined.
- Pour the filling over the cooled crust, smoothing the top with an offset spatula or the back of a spoon.
- Place the springform pan into a larger roasting pan. Pour hot water into the roasting pan until it reaches halfway up the sides of the springform pan—this is your water bath.
- Carefully place the roasting pan in the preheated 325°F oven and bake for 55-60 minutes. The cheesecake is done when the edges are set but the center still jiggles slightly when you gently shake the pan—about a 2-inch circle in the middle should still wobble.
- Turn off the oven and crack the door open about 4 inches. Let the cheesecake sit in the warm oven for 1 hour. This gradual cooling prevents the dreaded cracks from forming on top.
- Remove the cheesecake from the oven and water bath, then let it cool completely on a wire rack at room temperature for at least 1 hour.
- Once cooled, cover the cheesecake with plastic wrap and refrigerate for at least 4 hours, or preferably overnight. This resting time allows the flavors to develop and the texture to set perfectly.
- If making homemade cherry topping, combine fresh or frozen cherries with sugar and cornstarch in a saucepan over medium heat. Stir occasionally until the mixture comes to a simmer and thickens, about 10-12 minutes. Stir in the optional almond extract and let cool completely before using.
- When ready to serve, run a thin knife around the edges of the cheesecake and gently release the springform. Top with cherry pie filling or your homemade cherry compote just before serving.
- Slice with a hot, wet knife, wiping clean between each cut for beautiful, clean slices. Serve chilled and enjoy!
Pingback: How to make Delicious Smoked Pork Chops Recipe! – Simple Recipe Finder
Pingback: How to Make the Best Grinder Salad Recipe (So Delicious!) – Simple Recipe Finder