
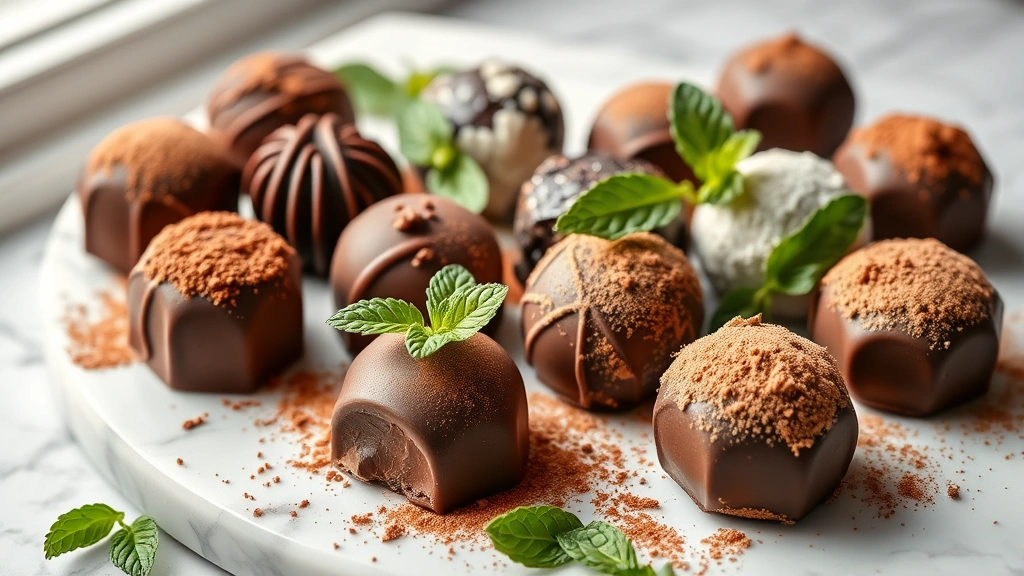
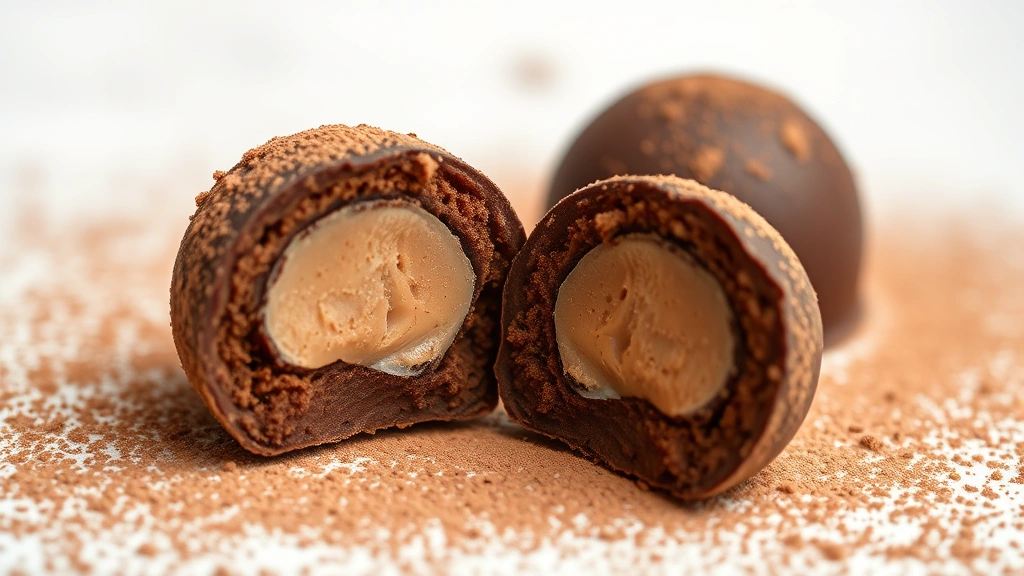
There’s nothing quite like biting into a homemade chocolate truffle—that perfect moment when the silky ganache center melts on your tongue while the cocoa coating adds a delicate bittersweet finish. Making chocolate truffles at home is easier than you might think, and the results are absolutely showstopping. Whether you’re preparing them for a special occasion, creating an elegant gift, or simply satisfying a chocolate craving, this recipe will guide you through creating restaurant-quality truffles in your own kitchen.
I’ve been making these chocolate truffles for years, and I can honestly say they’re one of my favorite homemade treats to share with friends and family. The beauty of this recipe is its versatility—you can customize the flavors, coatings, and presentations to match any occasion. The ganache base is incredibly forgiving, and once you master the basic technique, you’ll find yourself making batch after batch.
The key to perfect chocolate truffles lies in using quality chocolate and understanding the simple science behind ganache. When you combine chocolate with warm cream in the right proportions, you create an emulsion that becomes silky and luxurious. Tempering isn’t necessary for these truffles, which makes them accessible for home cooks of all skill levels. Understanding how cream works with chocolate will help you appreciate the technique even more.
What makes this recipe truly special is how simple the ingredient list is. You need quality chocolate, heavy cream, butter, and your choice of coating. That’s it! No complicated techniques or hard-to-find ingredients. The magic happens in the proportions and the patience you take with each step. Serious Eats has wonderful resources on chocolate techniques if you want to dive deeper into the science.
These truffles are perfect for gift-giving because they look incredibly elegant and impressive, yet they’re surprisingly easy to make. Package them in a pretty box with parchment paper, tie it with a ribbon, and you have a gift that rivals anything from a high-end chocolatier. Your friends and family will be amazed when you tell them you made them at home.
The flavor possibilities are truly endless. You can make classic chocolate truffles, add espresso powder for a mocha twist, incorporate peppermint extract for a festive version, or even add a splash of liqueur for an adult version. Just as cream elevates pasta dishes, it transforms simple chocolate into something extraordinary.
One of the best parts about making chocolate truffles is that they’re an excellent way to use up chocolate you have on hand. Whether it’s leftover baking chocolate, chocolate chips, or specialty bars, they all work beautifully in this recipe. The process is meditative and relaxing—there’s something wonderfully satisfying about rolling each truffle by hand and watching them transform from plain ganache to beautifully coated confections.
The shelf life of these truffles is another wonderful bonus. When stored properly in an airtight container in a cool place, they’ll last for up to two weeks, making them perfect for making ahead of time. Bon Appétit often features excellent chocolate truffle variations if you want inspiration for different flavor combinations.
I highly recommend investing in a good quality chocolate for this recipe. The difference between using decent chocolate and exceptional chocolate is noticeable in the final product. Look for chocolate with a cocoa content between 60-70% for the best balance of flavor and texture. Dark chocolate creates a more sophisticated truffle, while milk chocolate offers a sweeter, more approachable option.
The rolling process is where these truffles become truly special. Using a melon baller or small ice cream scoop makes the job much easier and ensures consistent sizing. If you don’t have these tools, two spoons work beautifully as well. The most important thing is to keep your hands cool and work quickly so the ganache doesn’t melt. Just as technique matters in creating perfect sauces, technique matters in truffle-making too.
Once you’ve mastered this basic recipe, you’ll find yourself experimenting with different coatings. Beyond simple cocoa powder, try crushed freeze-dried berries, finely chopped nuts, shredded coconut, sprinkles, or even edible glitter. The visual appeal of your truffles can be just as impressive as the taste.
These chocolate truffles also make wonderful additions to holiday cookie platters or party dessert tables. They pair beautifully with coffee, tea, or champagne. The elegance of a homemade truffle elevates any occasion, and the pride you’ll feel serving something you made from scratch is immeasurable.
I encourage you to give this recipe a try. Even if you’ve never made truffles before, I’m confident you’ll succeed. The recipe is forgiving, the techniques are straightforward, and the results are absolutely delicious. Your kitchen will smell amazing, and you’ll have a beautiful homemade treat that tastes like it came from a professional chocolatier.
Ingredients
- 8 ounces semi-sweet or dark chocolate, finely chopped
- 1 cup heavy cream
- 2 tablespoons unsalted butter
- 1 teaspoon vanilla extract
- 1/4 teaspoon sea salt
- 1/2 cup unsweetened cocoa powder, for coating
- 2 tablespoons powdered sugar (optional, mixed with cocoa)
- Pinch of fleur de sel (optional, for topping)
Instructions
- Place the finely chopped chocolate in a medium heatproof bowl and set aside. This step is crucial because the chocolate needs to be ready to receive the hot cream immediately.
- Pour the heavy cream into a small saucepan and heat over medium heat until it just begins to steam and small bubbles form around the edges. Do not let it boil—you want it hot but not boiling.
- Pour the hot cream over the chopped chocolate and let it sit undisturbed for 1-2 minutes. This resting period allows the heat to gently soften the chocolate.
- Using a rubber spatula or wooden spoon, stir the mixture gently from the center outward in a circular motion until the chocolate is completely melted and the mixture is smooth and shiny. This is your ganache.
- Add the unsalted butter, vanilla extract, and sea salt to the ganache and stir until the butter is completely melted and incorporated. The mixture should be glossy and smooth.
- Pour the ganache into a shallow dish or parchment-lined baking pan and let it cool to room temperature for about 15-20 minutes, stirring occasionally.
- Cover the cooled ganache with plastic wrap and refrigerate for at least 2 hours, or until it’s firm enough to scoop but still slightly soft. You want it to hold its shape when rolled.
- Line a baking sheet with parchment paper and set it nearby. Pour the cocoa powder into a shallow dish for coating.
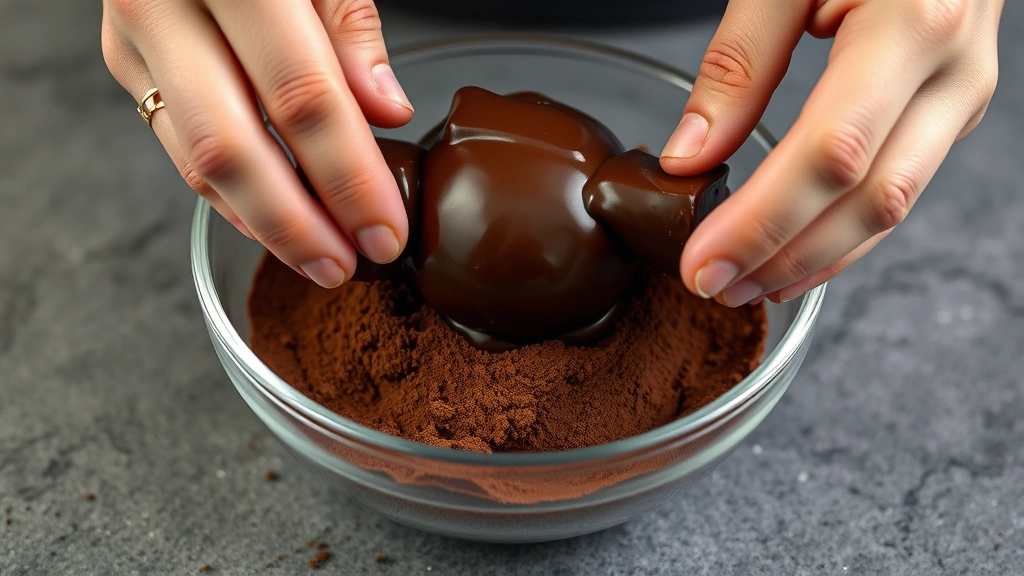
- Using a melon baller, small ice cream scoop, or two small spoons, scoop out portions of the ganache and quickly roll them between your palms into smooth balls. Work quickly and keep your hands cool by rinsing them in cold water and drying them frequently.
- Immediately roll each truffle in the cocoa powder, coating all sides evenly. Place the coated truffle on the prepared baking sheet.
- Once all truffles are rolled and coated, refrigerate them for at least 30 minutes before serving. This helps them set completely and makes them easier to handle and package.
- Store the finished chocolate truffles in an airtight container in the refrigerator for up to two weeks, or freeze for up to one month. Bring them to room temperature for 5-10 minutes before serving for the best texture and flavor.
Pro Tips
The ratio of cream to chocolate is essential for achieving the right ganache consistency. Too much cream and your truffles will be too soft; too little and they’ll be grainy and difficult to roll. This 1:1 ratio by weight is the gold standard for truffle-making.
Keep your hands and work surface cool throughout the rolling process. If your hands are warm, the ganache will melt and become difficult to work with. Dip your hands in ice water frequently and dry them well before rolling each batch of truffles.
Customize your truffles with different coatings beyond cocoa powder. Try crushed freeze-dried raspberries, finely chopped toasted nuts, shredded coconut, or even edible glitter for special occasions. You can also mix cocoa powder with powdered sugar for a lighter coating.
Flavor variations are endless with this base recipe. Add 1/2 teaspoon espresso powder for mocha truffles, 1/4 teaspoon peppermint extract for festive truffles, or a splash of your favorite liqueur like Grand Marnier or Kahlúa for elegant adult versions. Stir these additions in after melting the chocolate.
If your ganache becomes too soft while rolling, simply return it to the refrigerator for 15-20 minutes to firm up. Conversely, if it’s too firm and won’t roll smoothly, let it sit at room temperature for a few minutes to soften slightly.
These truffles make exceptional homemade gifts. Package them in decorative boxes with parchment paper liners and tie with ribbon. Include a card mentioning the ingredients and storage instructions. Homemade truffles are always appreciated and show thoughtful effort.
For perfectly uniform truffles, use a melon baller or small ice cream scoop calibrated to the same size for each ball. This ensures even cooking (though no cooking is involved) and a more professional appearance.
Store finished truffles in an airtight container with parchment paper between layers to prevent them from sticking together. Keep them in a cool, dark place or in the refrigerator. They can be frozen for up to one month and thawed in the refrigerator when ready to serve.
Pingback: How to make the BEST Lengua Beef Tongue Recipe! – Simple Recipe Finder
Pingback: Delicious Classic Italian Pasta Recipe (Quick & Easy!) – Simple Recipe Finder