
There’s nothing quite like homemade cookies and cream ice cream – it’s pure nostalgia in every spoonful! This recipe is absolutely foolproof and tastes even better than the store-bought version. The secret is using a custard-based ice cream that’s rich, creamy, and perfectly balanced with crushed cookie pieces throughout.
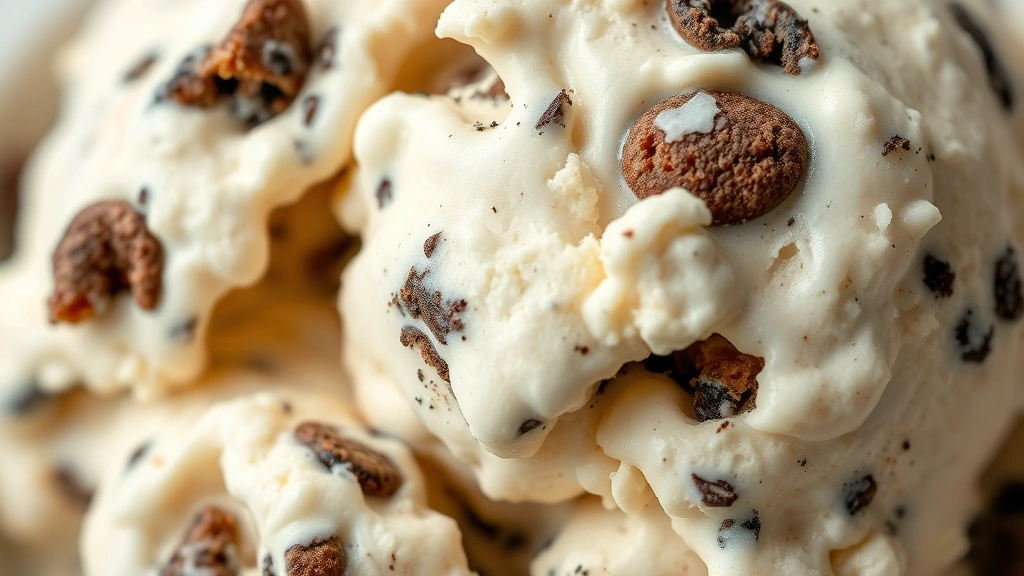
I’ve been making this ice cream for years, and it never fails to impress. The beauty of this recipe is that you can use any cookies you love – Oreos are the classic choice, but I’ve had amazing results with chocolate chip cookies, brownie chunks, and even waffle cookie pieces. The key is to crush them to the right size so they distribute evenly throughout the ice cream without making it too chunky.
This homemade version gives you complete control over the ingredients, which means you can adjust the sweetness and cookie-to-cream ratio to your exact preferences. Plus, there’s something so satisfying about making ice cream from scratch. Your family and friends will be amazed when you tell them you made this yourself!
The custard base is what makes this recipe truly special. We’re using a classic French vanilla custard method, which involves tempering egg yolks with warm cream and milk. Don’t be intimidated by this step – I’ll walk you through it carefully. Once you master this technique, you’ll be making all sorts of amazing ice cream flavors. For more inspiration on working with cream-based recipes, check out our Heavy Cream Alfredo Sauce Recipe for more tips on handling dairy products perfectly.
You’ll need an ice cream maker for this recipe – it’s really the only way to achieve that perfect creamy texture. If you don’t have one yet, I highly recommend investing in one. They’re more affordable than ever, and you’ll use it constantly during the warmer months. The whole process, from custard to finished ice cream, takes about 30 minutes of active time plus several hours of chilling and freezing.
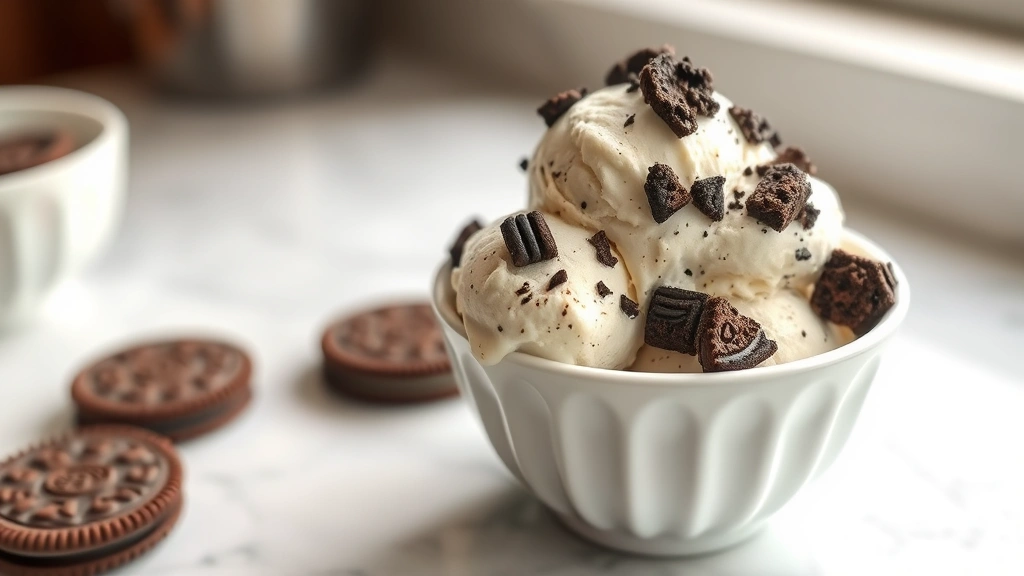
The result is an ice cream that’s smooth, creamy, and absolutely loaded with cookie flavor and texture. Every bite delivers that perfect combination of cold, smooth ice cream with little pockets of cookie crunch. This recipe makes about a quart of ice cream, which is perfect for a family dessert or a small gathering. Serve it in your favorite bowls, add some extra cookies on top, and enjoy!
If you’re looking for other delicious desserts to serve alongside this ice cream, our Chickpea Salad Recipe offers a surprisingly refreshing complement to rich desserts. But honestly, this ice cream is so good on its own that you might not need anything else!
Ingredients
- 2 cups heavy cream
- 1 cup whole milk
- 3/4 cup granulated sugar
- 1 tablespoon vanilla extract
- 5 large egg yolks
- 1/4 teaspoon salt
- 15-18 Oreo cookies, or your favorite sandwich cookies
- 2 tablespoons cornstarch (optional, for extra stability)
Instructions
- Gather all your ingredients and make sure your ice cream maker bowl has been in the freezer for at least 24 hours. This is crucial for proper churning.
- In a medium saucepan, combine the heavy cream, whole milk, and salt. Heat over medium heat, stirring occasionally, until the mixture is steaming and small bubbles form around the edges. Do not let it boil.
- While the cream mixture heats, place the egg yolks in a medium bowl. Whisk them together for about one minute until they’re slightly lighter in color.
- Slowly add the sugar to the egg yolks, one tablespoon at a time, whisking constantly. This gradual addition prevents the eggs from cooking too quickly. Continue whisking until the mixture is pale and thick, about 3-4 minutes.
- Remove the cream mixture from heat and let it cool for about 2 minutes. This prevents scrambling the eggs.
- Very slowly pour the warm cream mixture into the egg yolk mixture while whisking constantly. This tempering process is essential – if you pour too quickly, the eggs will cook into bits. Take your time with this step.
Whisk until the mixture is completely combined and smooth.
- Pour the entire custard mixture back into the saucepan. Place it over medium-low heat and cook, stirring constantly with a wooden spoon or silicone spatula, until the mixture reaches 160°F on an instant-read thermometer or until it coats the back of the spoon.
To test the coating method: dip the spoon in the custard, then run your finger across the back. If the line stays clear, it’s ready.
- Remove the custard from heat and stir in the vanilla extract. Strain the mixture through a fine-mesh sieve into a bowl to remove any bits of cooked egg. This step ensures a perfectly smooth ice cream.
- Cover the custard and refrigerate for at least 4 hours, or preferably overnight. This resting period allows the flavors to develop and makes churning easier. You can also place it in an ice bath for 1-2 hours if you’re in a hurry.
- While the custard chills, prepare your cookies. Place 15-18 Oreos in a food processor and pulse until you have a mix of fine crumbs and slightly larger cookie pieces. You want some texture, not a fine powder. Transfer to a bowl and refrigerate.
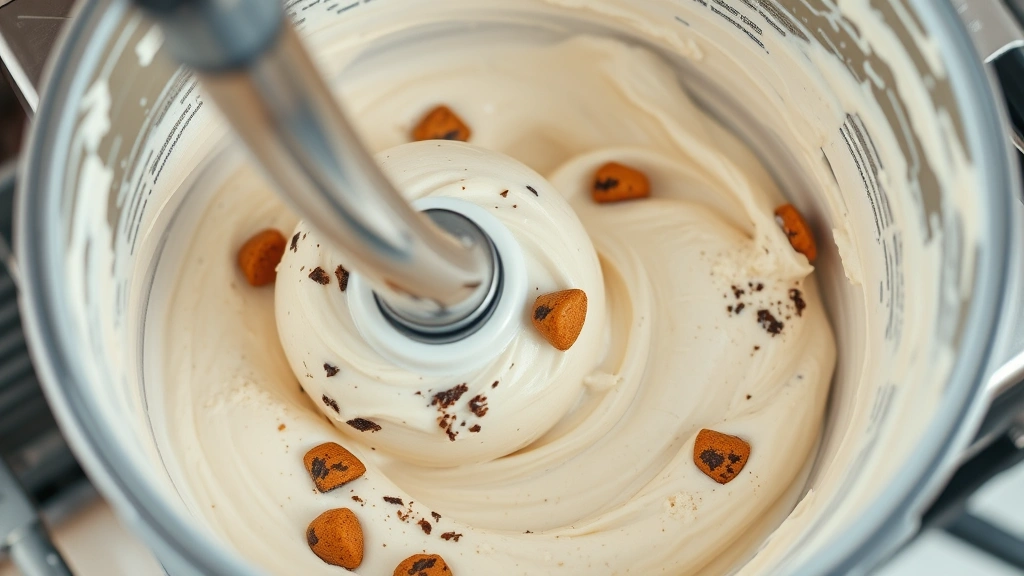
- Remove your ice cream maker bowl from the freezer about 5 minutes before you’re ready to churn. Pour the chilled custard into the ice cream maker and churn according to the manufacturer’s instructions, usually 20-25 minutes.
- About 2-3 minutes before the ice cream is finished churning, add the crushed cookies to the machine. Let it churn for the remaining time so the cookies are evenly distributed.
- Transfer the ice cream to a freezer-safe container, layering it with any remaining crushed cookies if desired. Cover with plastic wrap pressed directly onto the surface to prevent ice crystals from forming.
- Freeze for at least 4 hours, or until firm. The ice cream will be soft-serve consistency when it comes out of the machine, so it needs time to harden.
- To serve, let the ice cream sit at room temperature for 3-5 minutes to soften slightly, which makes scooping easier. Enjoy immediately!
Pro Tips
- This recipe uses a custard-based ice cream, which creates a richer, creamier texture than Philadelphia-style ice cream (which uses no eggs). The eggs also help stabilize the ice cream so it doesn’t develop ice crystals as quickly.
- The pasteurization temperature of 160°F ensures the eggs are safe to eat. Use an instant-read thermometer for accuracy.
- If you don’t have an ice cream maker, you can use the freezer method: freeze the custard in a shallow pan, stirring every 30 minutes for about 4 hours until it reaches soft-serve consistency. However, an ice cream maker produces significantly better texture.
- For the best flavor, use high-quality cream and milk. The better your ingredients, the better your ice cream will taste.
- You can substitute the vanilla extract with vanilla bean paste or scrape the seeds from a vanilla bean pod for even more flavor.
- Don’t skip the overnight chill if possible. This resting period allows the custard to hydrate the gums and stabilizers naturally present in dairy, resulting in better texture and easier churning.
- Store the ice cream in an airtight container in the coldest part of your freezer. It will keep for up to 2 weeks, though it’s best consumed within the first week for optimal texture.
- If your ice cream becomes too hard to scoop after freezing, let it sit on the counter for 5-10 minutes before serving. This is actually a sign you made it right – commercial ice cream often contains additives to keep it scoopable straight from the freezer.
- Customize this recipe by using different cookies: try chocolate chip cookies, brownie chunks, waffle cookies, or even crushed candy bars. The custard base pairs well with virtually any cookie flavor.
- Make sure your ice cream maker bowl is completely frozen before use. If it’s not frozen solid, your ice cream won’t churn properly and will remain too soft.
- The cornstarch is optional and helps stabilize the ice cream further, but it’s not necessary if you’re using fresh ingredients and consuming the ice cream within a week.
- For a lower-fat version, you can use half-and-half instead of heavy cream, though the texture will be less creamy.
- This recipe is easily doubled if you want to make larger batches. Just make sure your ice cream maker can handle the volume.
- Leftover ice cream can be softened and re-churned if it becomes too hard, though the texture won’t be quite as good as fresh ice cream.