

There’s something absolutely magical about crispy rice—that delightful crunch that melts on your tongue, the way it catches the light with its golden-brown exterior, and how it transforms any dish into something utterly irresistible. Whether you’re looking to elevate a simple weeknight dinner or impress guests at your next gathering, mastering the art of crispy rice is a game-changer in the kitchen. This recipe has become a staple in my home, and I’m thrilled to share my foolproof method with you.
Crispy rice isn’t just a side dish; it’s a texture experience that adds sophistication and depth to your culinary creations. The key to achieving that perfect crispiness lies in understanding the relationship between heat, moisture, and timing. When done right, every grain becomes a tiny golden vessel of flavor and crunch. I’ve tested this recipe countless times, tweaking temperatures and techniques until I found the absolute best method.
What I love most about this recipe is its versatility. You can serve crispy rice alongside creamy alfredo sauce for an elegant dinner, pair it with heavy cream pasta, or use it as a base for a stunning grain bowl. The possibilities are truly endless, and once you master this technique, you’ll find yourself making it again and again.
The beauty of this recipe lies in its simplicity and reliability. Using quality rice and paying attention to the cooking process makes all the difference. I recommend starting with medium or long-grain white rice, which crisps up beautifully and maintains its texture throughout the cooking process. The ratio of rice to liquid is crucial—too much water and you’ll end up with soggy rice, too little and you’ll have burnt, hard grains.
Throughout this guide, I’ll walk you through every step of the process, from selecting your rice to achieving that coveted golden-brown exterior. You’ll learn the secrets I’ve discovered through years of cooking, including the best oil to use, the optimal temperature settings, and timing tricks that ensure consistency. By the end, you’ll have a foolproof method that works every single time, and you’ll understand why crispy rice has become such a beloved staple in kitchens everywhere.
This recipe serves as a wonderful companion to many dishes. Try it alongside crispy bacon carbonara for a restaurant-quality meal, or top it with pickled red onions for a tangy contrast. You can even create a sophisticated grain situation by combining it with chickpea salad for a complete and satisfying meal.
I encourage you to approach this recipe with confidence. Crispy rice might seem intimidating at first, but once you understand the fundamentals, you’ll realize it’s actually quite straightforward. The technique is forgiving, and even small variations often lead to delicious results. Before you know it, you’ll be making crispy rice with your eyes closed, and your family will be requesting it at every meal. Let’s dive into the details and unlock the secrets to creating the most spectacular crispy rice you’ve ever tasted.
Ingredients
- 2 cups long-grain white rice, uncooked
- 3 cups chicken or vegetable broth
- 3 tablespoons butter, divided
- 2 tablespoons neutral oil (such as canola or vegetable oil)
- 1 teaspoon kosher salt, plus more to taste
- ½ teaspoon freshly ground black pepper
- ½ teaspoon garlic powder
- ¼ teaspoon white pepper (optional but recommended)
- 2 cloves garlic, minced
- ½ cup diced onion
- 2 tablespoons fresh parsley, finely chopped
- Pinch of cayenne pepper (optional for subtle heat)
Instructions
- Rinse your rice thoroughly under cold running water for about 2-3 minutes, stirring gently with your fingers. This removes excess starch and helps prevent the rice from becoming too sticky. Continue rinsing until the water runs mostly clear.
- In a large skillet or wide saucepan, melt 1 tablespoon of butter over medium-high heat. Add the diced onion and cook for 2-3 minutes, stirring occasionally, until it becomes translucent and fragrant.
- Add the minced garlic to the pan and cook for another 30 seconds, stirring constantly to prevent burning. The garlic should become incredibly fragrant but not browned.
- Add the rinsed rice to the pan and stir continuously for 2-3 minutes. You’ll notice the rice begins to look slightly translucent at the edges and releases a toasted aroma. This toasting step is essential for achieving that wonderful crispy texture.
- Carefully pour in the chicken broth, stirring well to combine with the rice and aromatics. Add the salt, black pepper, garlic powder, and white pepper. Bring the mixture to a boil, stirring occasionally.
- Once boiling, reduce the heat to low and cover the pan with a tight-fitting lid. Allow the rice to simmer for 18-20 minutes without removing the lid or stirring. The rice will absorb all the liquid and become fluffy.
- After 18-20 minutes, remove the pan from heat but keep the lid on for 5 more minutes. This resting period allows the rice to finish cooking with residual heat.
- Remove the lid carefully, fluffing the rice with a fork. The rice should be completely cooked, tender, and have absorbed all the liquid.
- Increase your oven temperature to 400°F (200°C) and allow it to preheat fully. Alternatively, if you prefer stovetop cooking, prepare a large cast-iron skillet or non-stick skillet over medium-high heat.
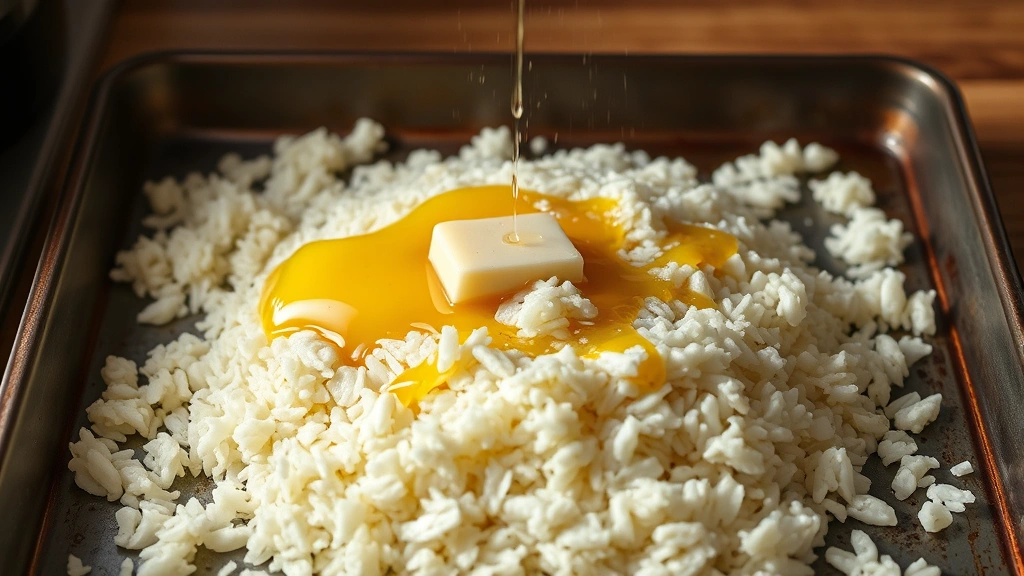
- Spread the cooked rice in a single, even layer on a large baking sheet with sides (a rimmed baking sheet works perfectly). Breaking up any clumps gently with your fork ensures even crisping.
- Drizzle the remaining 2 tablespoons of butter and the neutral oil evenly over the rice, using a brush or your hands to toss and coat every grain as thoroughly as possible.
- Sprinkle additional salt and pepper over the rice to taste, keeping in mind that the flavors will concentrate as the rice crisps up during cooking.
- Place the baking sheet in the preheated 400°F oven and bake for 12-15 minutes. Stir the rice every 4-5 minutes to ensure even browning and prevent burning on the bottom.
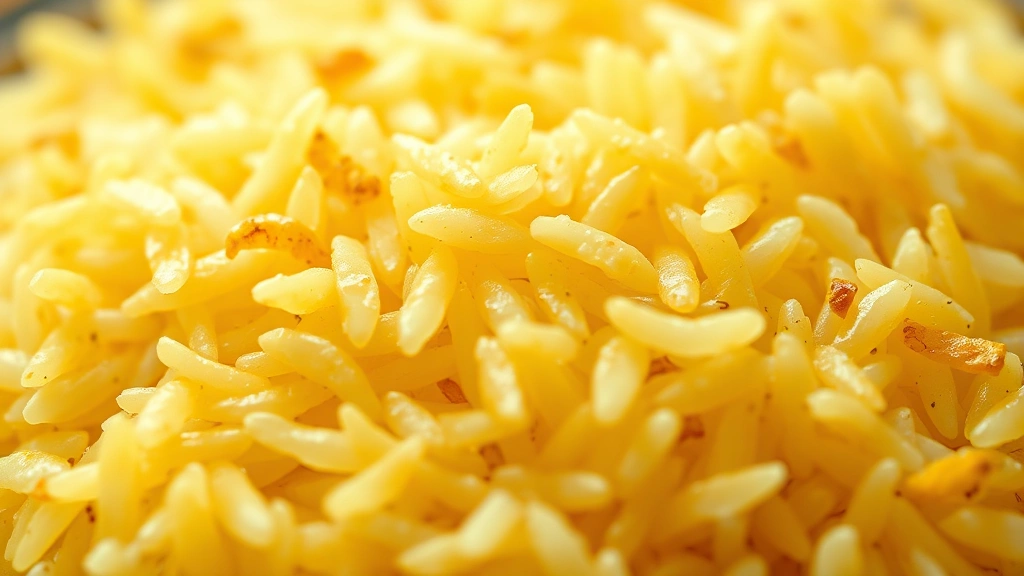
- The rice is ready when it appears golden brown and crispy, with most grains separated and slightly translucent. You should hear a pleasant crackling sound when you stir it.
- Remove the baking sheet from the oven and spread the crispy rice on a clean kitchen towel or paper towels for 2-3 minutes to absorb any excess oil and steam.
- Transfer the crispy rice to a serving bowl, garnish with fresh parsley, and serve immediately while it’s still warm and at peak crispiness. The texture will begin to soften as it cools, so timing is important for the best results.
Pro Tips
- The type of rice you choose makes an enormous difference in the final result. Long-grain white rice, such as jasmine or basmati, crisps beautifully and maintains excellent texture. Avoid short-grain or sticky rice varieties, as they won’t achieve the desired crispiness due to their higher starch content.
- Rinsing the rice thoroughly before cooking is non-negotiable for achieving the perfect crispy texture. This removes surface starch that would otherwise make the rice gummy and prevent proper crisping during the final cooking stage.
- The toasting step in the butter and oil is crucial for developing deep, nutty flavors in the rice. Don’t skip this step, as it’s the foundation of the entire recipe’s success.
- For maximum crispiness, use a combination of both butter and neutral oil rather than just one or the other. The butter adds flavor while the oil helps distribute heat evenly and raises the smoke point of the fat.
- If you prefer stovetop crisping instead of oven baking, heat a large cast-iron skillet over medium-high heat, add the cooked rice with butter and oil, and cook for 12-15 minutes, stirring frequently. Cast iron distributes heat wonderfully and creates exceptionally crispy results.
- Stir the rice frequently during the crisping phase to ensure even browning and prevent burning. Every few minutes makes a noticeable difference in achieving uniform color and texture.
- The rice is perfectly crispy when it’s golden brown with a pleasant crackling sound. Be careful not to over-bake, as the rice can go from perfectly crispy to burnt rather quickly once it reaches the ideal stage.
- Season carefully throughout the cooking process, tasting as you go. Remember that flavors intensify as moisture evaporates, so what seems lightly seasoned during cooking may become perfectly seasoned by the time the rice crisps up.
- Fresh herbs like parsley, chives, or cilantro add a wonderful finishing touch and bright flavor. Add them just before serving to maintain their fresh appearance and delicate flavor.
- This recipe doubles beautifully if you’re cooking for a larger crowd. Simply increase all ingredients proportionally and use two baking sheets in the oven, rotating them halfway through cooking.
- Leftover crispy rice can be stored in an airtight container at room temperature for up to two days. Refresh it in a 350°F oven for 5 minutes to restore crispiness before serving.
- For garlic lovers, increase the garlic to 3-4 cloves or add garlic powder to taste. The toasted garlic flavor becomes more pronounced as the rice crisps.