

There’s nothing quite like the magic of homemade cutout cookies – those perfectly crisp, buttery treats that practically melt on your tongue. Whether you’re decorating them for the holidays, a special celebration, or just because you deserve something sweet, this cutout cookie recipe is an absolute game-changer. I’ve been perfecting this recipe for years, and I’m thrilled to finally share it with you.
What makes these cookies so special? It’s the combination of the right flour-to-butter ratio, a touch of vanilla, and a hint of almond extract that gives them that restaurant-quality flavor. The dough comes together quickly, chills beautifully, and rolls out to the perfect thickness for cutting. Best of all, these cookies hold their shape perfectly in the oven – no spreading, no burning, just pure cookie perfection.
I absolutely love making these with my family. There’s something so therapeutic about rolling out the dough, cutting shapes, and then decorating them with royal icing and sprinkles. They’re versatile too – you can make them for Christmas, Valentine’s Day, Easter, or any occasion that calls for a little edible joy. The recipe makes about 24-30 cookies depending on your cutter size, so there’s plenty to go around (or keep for yourself – I won’t judge!).
One of my favorite tips is to chill the dough thoroughly before rolling. This prevents shrinkage during baking and ensures crispy edges. Also, investing in good quality cookie cutters makes such a difference. I always keep a variety on hand for different seasons and celebrations.
These cookies pair beautifully with creamy dessert sauces or can be enjoyed plain with a cup of coffee. If you’re looking to expand your cookie repertoire, check out some of my other favorite recipes like indulgent dessert bases and sweet and tangy accompaniments. Trust me, once you master this cutout cookie recipe, you’ll be making them constantly. They’re that good, and honestly, they’re easier than you might think!
Ingredients
- 2 3/4 cups all-purpose flour
- 1/2 teaspoon baking soda
- 1/2 teaspoon salt
- 1 cup (2 sticks) unsalted butter, room temperature
- 3/4 cup granulated sugar
- 1 large egg
- 1 teaspoon vanilla extract
- 1/4 teaspoon almond extract
- Powdered sugar for dusting (optional)
Instructions
- In a small bowl, whisk together the flour, baking soda, and salt. Set this dry mixture aside and resist the urge to skip this step – it ensures even distribution of leavening agents.
- In a large mixing bowl, cream together the room temperature butter and granulated sugar using an electric mixer on medium speed for about 3-4 minutes until the mixture is light, fluffy, and pale in color.
- Add the egg to the butter mixture and beat on medium speed for about 1 minute until well combined. The mixture should look smooth and creamy.
- Pour in the vanilla extract and almond extract, then beat for another 30 seconds until fully incorporated. The almond extract is the secret ingredient that gives these cookies their signature flavor.
- Gradually add the dry flour mixture to the wet ingredients, mixing on low speed. Start with about half the flour mixture, then add the remaining half once it’s mostly combined. Mix just until the dough comes together – don’t overmix or your cookies will be tough.
- Turn the dough out onto a clean work surface and gently knead it a few times with your hands until it forms a cohesive ball. Divide the dough in half, wrap each half in plastic wrap, and refrigerate for at least 2 hours or up to 24 hours.
- When you’re ready to bake, preheat your oven to 350°F (175°C). Line your baking sheets with parchment paper for easy cleanup and to prevent sticking.
- Remove one portion of dough from the refrigerator and let it sit at room temperature for about 5 minutes to make rolling easier. This prevents cracking and makes the dough more pliable.
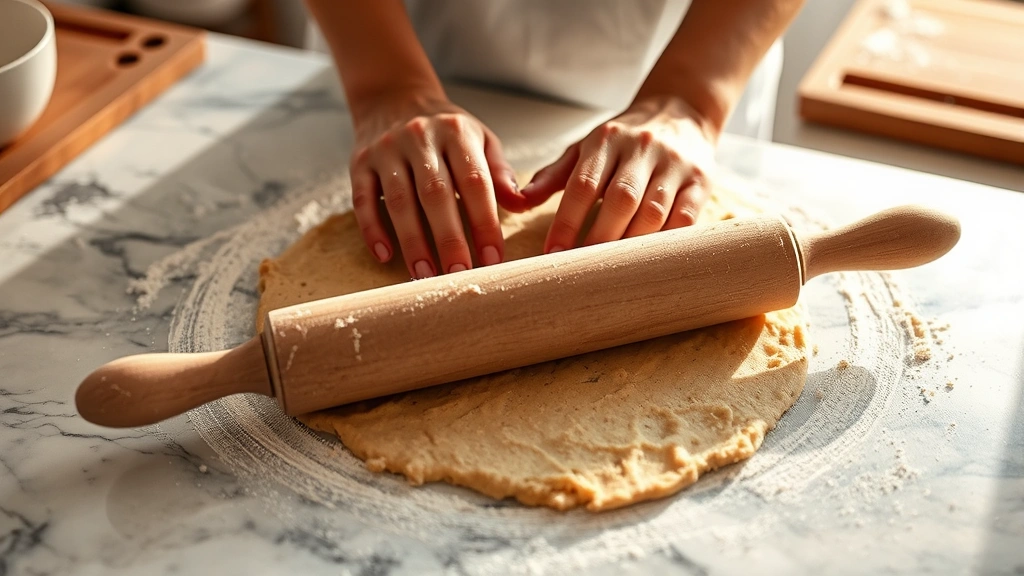
- On a lightly floured surface, roll out the dough to about 1/4-inch thickness. Work in batches if needed – the thinner the cookies, the crispier they’ll be, but don’t go too thin or they’ll be fragile.
- Using your favorite cookie cutters, cut out shapes from the rolled dough. Dip your cutters in flour between each cut to prevent sticking and ensure clean shapes.
- Carefully transfer the cut cookies to your prepared baking sheets, spacing them about 1 inch apart. These cookies don’t spread much, but give them a little room to breathe.
- Bake in the preheated oven for 8-10 minutes, until the edges are just barely golden brown. The centers should still look slightly underbaked – they’ll continue cooking on the hot pan.
- Remove the baking sheets from the oven and let the cookies cool on the sheet for about 2 minutes, then transfer them to a wire cooling rack to cool completely.
- Repeat the rolling, cutting, and baking process with the second portion of dough. Once all cookies are completely cooled, you can decorate them with royal icing, buttercream, or sprinkles as desired.

Pro Tips
Decorating Tips: Royal icing is the traditional choice for these cookies and dries to a beautiful, glossy finish. You can also use buttercream frosting for a softer, creamier option. Let the icing set for at least 1 hour before stacking cookies in storage containers.
Dough Temperature Matters: If your dough becomes too warm while rolling, pop it back in the refrigerator for 10-15 minutes. Warm dough is much harder to work with and may tear or stick excessively.
Flour Variations: You can substitute up to 1/2 cup of the all-purpose flour with almond flour for a nuttier flavor profile, though this will make the dough slightly more delicate.
Thickness Consistency: Invest in a dough thickness guide or use wooden dowels placed on either side of your dough to ensure even thickness across all cookies. This promotes uniform baking.
Cutter Selection: Silicone cutters are gentler on dough and produce cleaner cuts than metal cutters. Metal cutters work beautifully too – just make sure to flour them frequently.
Oven Calibration: All ovens bake differently. Start checking your cookies at the 8-minute mark, as baking time can vary by 1-2 minutes depending on your specific oven.
Room Temperature Ingredients: Using room temperature butter and eggs is crucial for proper mixing and texture. Cold ingredients won’t incorporate smoothly, resulting in a less tender cookie.
Anti-Spreading Secret: The combination of adequate chilling time and baking soda (not baking powder) creates cookies that hold their shape beautifully without spreading.
Recipe Scaling: This recipe doubles beautifully if you need more cookies for a large gathering. Simply multiply all ingredients by two and follow the same instructions.