
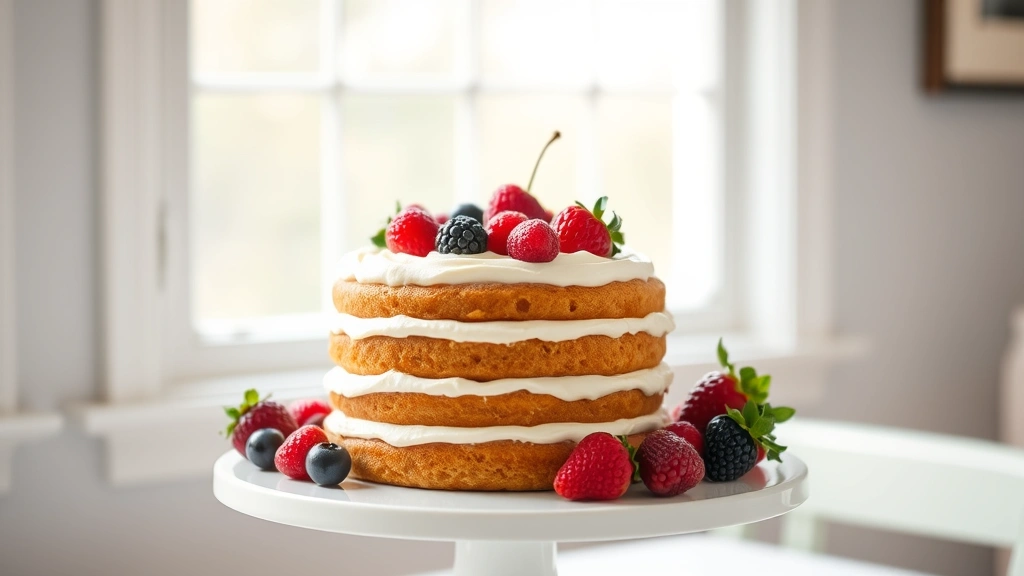
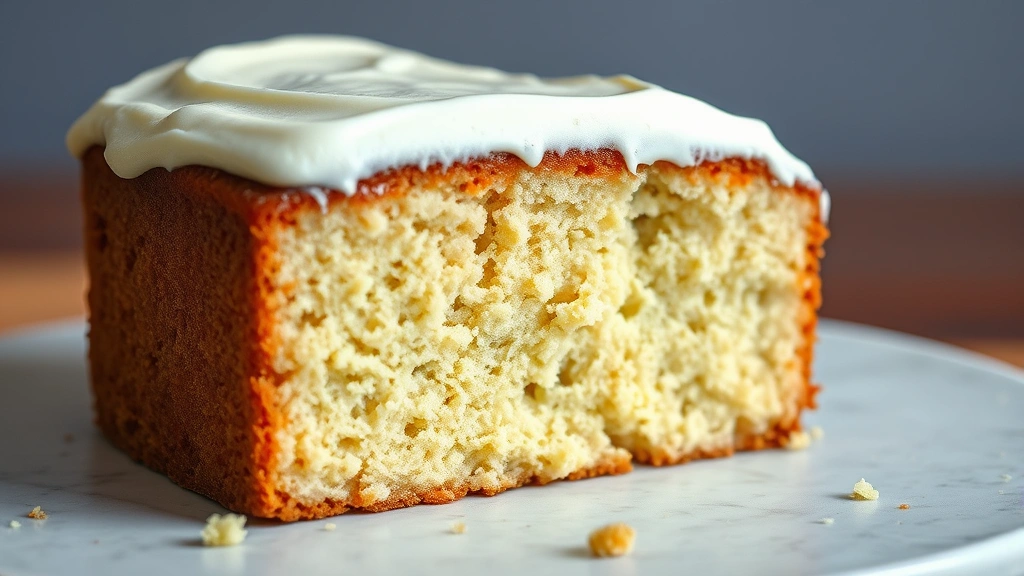
There’s something absolutely magical about baking a cake that’s completely dairy-free, yet tastes like it came straight from a traditional bakery. I’ve spent years perfecting this recipe, and I’m thrilled to finally share it with you! This cake is moist, tender, and has the most beautiful crumb structure—your guests will never guess it’s dairy-free.
The secret to this recipe lies in using quality dairy-free butter and a combination of plant-based milk alternatives that create the perfect moisture level. I’ve tested countless variations, and this is the one that consistently delivers show-stopping results. Whether you’re baking for someone with a dairy allergy, following a vegan lifestyle, or simply exploring new baking adventures, this cake will become your go-to recipe.
What makes this dairy-free cake truly special is the technique. We’re using a combination of dairy-free butter, unsweetened almond milk, and a touch of apple cider vinegar to create a rich, tender crumb. The addition of vanilla extract and a hint of almond extract elevates the flavor profile beautifully. This cake pairs wonderfully with dairy-free frosting, or you can keep it simple with fresh berries and a dusting of powdered sugar.
I love baking this cake for celebrations, and it’s become a staple in my kitchen. The texture is so similar to traditional cakes that even the most dedicated dairy lovers won’t notice the difference. Plus, dairy-free baking has come such a long way—the ingredients available now make it easier than ever to create something truly delicious.
One of my favorite things about this recipe is its versatility. You can add chocolate chips, fresh lemon zest, or even a swirl of dairy-free chocolate into the batter. The possibilities are endless! I’ve also included tips for making this cake in different pan sizes and suggestions for frosting options that will complement it perfectly. This chickpea salad recipe pairs beautifully as a complement to your dessert menu. For more dairy-free inspiration, check out this shishito peppers recipe for a savory option.
Baking dairy-free doesn’t mean compromising on taste or texture. This cake proves that you can create something absolutely spectacular without any animal products. The key is understanding how different ingredients interact and having quality substitutes on hand. I’ve included detailed notes about ingredient selection and troubleshooting tips to ensure your baking success.
If you’re new to dairy-free baking, don’t worry! This recipe is incredibly forgiving and straightforward. Even if you’ve never baked a dairy-free cake before, you’ll have beautiful results. The instructions are detailed and easy to follow, and I’ve included helpful tips throughout to guide you. Once you master this recipe, you’ll feel confident tackling other dairy-free baking projects. You might also enjoy exploring some easy chicken alfredo options for balanced meal planning, or perhaps these pasta recipes for dinner inspiration.
The beauty of dairy-free baking is that it opens up a world of possibilities for people with different dietary needs and preferences. This cake is proof that plant-based baking can be just as delicious, satisfying, and indulgent as traditional baking. I hope this recipe becomes a beloved favorite in your kitchen, just as it has in mine!
Ingredients
- 2 cups all-purpose flour
- 2 teaspoons baking powder
- 1/2 teaspoon baking soda
- 1/2 teaspoon salt
- 3/4 cup dairy-free butter, softened
- 1 1/2 cups granulated sugar
- 3 large eggs (or 3 flax eggs for vegan option)
- 1 teaspoon vanilla extract
- 1/4 teaspoon almond extract
- 3/4 cup unsweetened almond milk
- 2 tablespoons apple cider vinegar
- 1/2 cup non-dairy sour cream alternative
Instructions
- Preheat your oven to 350°F (175°C). Grease and flour two 9-inch round cake pans, or line them with parchment paper for easy removal. Make sure to coat the sides thoroughly to prevent sticking.
- In a medium bowl, whisk together the all-purpose flour, baking powder, baking soda, and salt. Set this dry mixture aside. This step is crucial for even distribution of leavening agents.
- In a separate small bowl, combine the unsweetened almond milk with the apple cider vinegar. Stir gently and let it sit for 5 minutes to create a dairy-free buttermilk substitute. This will help activate the baking soda.
- In a large mixing bowl, cream together the softened dairy-free butter and granulated sugar using an electric mixer on medium speed. Beat for approximately 3-4 minutes until the mixture becomes light, fluffy, and pale in color. This step is essential for incorporating air into the batter.
- Add the eggs (or flax eggs) to the butter-sugar mixture, one at a time, beating well after each addition. Make sure each egg is fully incorporated before adding the next one.
- Add the vanilla extract and almond extract to the wet ingredients, beating until well combined. The almond extract adds a subtle, delicious flavor that elevates the entire cake.
- In a small bowl, combine the dairy-free buttermilk (almond milk and vinegar mixture) with the non-dairy sour cream alternative, stirring until smooth and well blended.
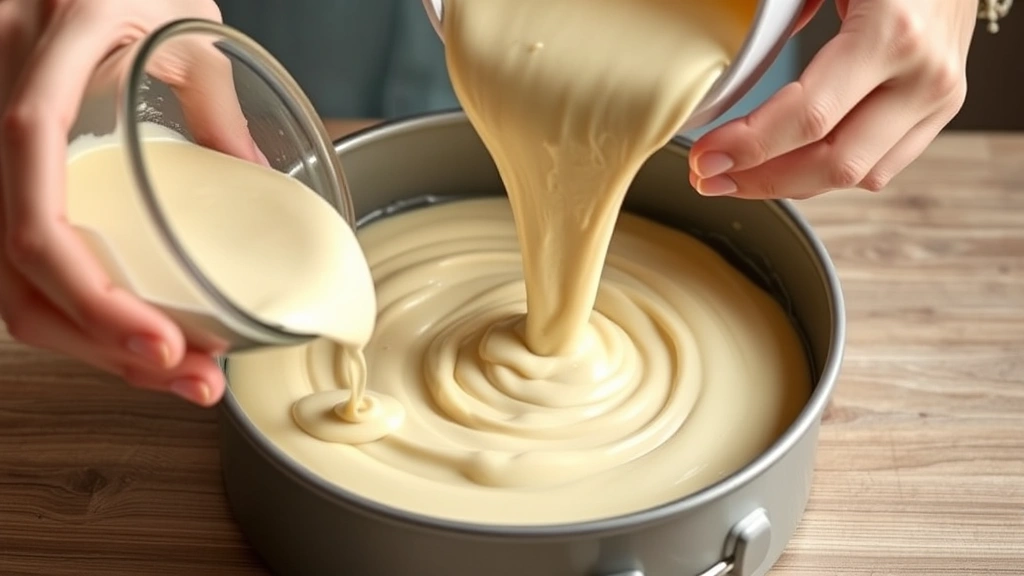
- Alternate adding the dry ingredients and the wet ingredients to the butter-egg mixture, beginning and ending with the dry ingredients. Add them in three additions of dry and two additions of wet. Beat on low speed after each addition just until combined. Do not overmix, as this can result in a dense cake.
- Divide the batter evenly between the prepared cake pans, smoothing the tops with a spatula or the back of a spoon to ensure even baking.
- Place the pans in the preheated oven and bake for 30-35 minutes, or until a toothpick inserted in the center comes out clean or with just a few moist crumbs. The tops should be golden brown and spring back when lightly touched.
- Remove the cakes from the oven and let them cool in the pans for 10 minutes. This cooling time allows the cakes to set slightly and makes them easier to remove.
- Turn the cakes out onto wire cooling racks and allow them to cool completely before frosting. This typically takes about 1-2 hours. Make sure they’re completely cool to prevent frosting from melting.
- Once cooled, you can frost with your favorite dairy-free frosting, or simply top with fresh berries and a dusting of powdered sugar. For a classic finish, consider using dairy-free cream cheese frosting.
Pro Tips
Almond Milk Alternatives: While I use unsweetened almond milk in this recipe, you can substitute it with oat milk, cashew milk, or soy milk. Each will yield slightly different results, but all work beautifully. Avoid sweetened varieties as they can affect the overall sweetness of the cake.
Egg Substitutes: For a fully vegan version, create flax eggs by combining 1 tablespoon ground flaxseed with 3 tablespoons water per egg. Let sit for 15 minutes before using. Applesauce also works as a substitute, though it may make the cake slightly denser.
Non-Dairy Sour Cream: This ingredient adds richness and moisture to the cake. You can use store-bought dairy-free sour cream or make your own by combining dairy-free yogurt with a touch of lemon juice. This creates the tangy flavor that keeps cakes moist.
Frosting Options: Pair this cake with dairy-free cream cheese frosting, vegan buttercream made with dairy-free butter and powdered sugar, or a simple coconut whipped cream. Chocolate ganache made with coconut milk is also spectacular.
Storage Instructions: Store the cooled, unfrosted cake layers wrapped tightly in plastic wrap at room temperature for up to 2 days. For longer storage, freeze for up to 3 months. Frosted cakes should be refrigerated and consumed within 3-4 days.
Baking Pan Tips: For best results, use light-colored metal pans rather than dark ones, as dark pans can cause the edges to brown too quickly. If using glass pans, reduce the oven temperature by 25°F. Always position racks in the center of the oven for even baking.
Mixing Technique: The key to a tender crumb is not overmixing the batter once the dry ingredients are added. Mix just until the streaks of flour disappear. Overmixing develops gluten, which can result in a tough, dense cake.
Room Temperature Ingredients: Ensure all ingredients, especially butter, eggs, and milk alternatives, are at room temperature before mixing. This helps create a smooth, well-emulsified batter that bakes evenly.
Testing for Doneness: Start checking the cake around the 28-minute mark, especially if your oven runs hot. A toothpick inserted in the center should come out clean or with just a few moist crumbs. The cake will continue to cook slightly as it cools.
Cake Leveling: For a professional-looking cake, you can level the tops of each layer once they’ve cooled using a cake leveler or serrated knife. This creates even layers that stack beautifully.