
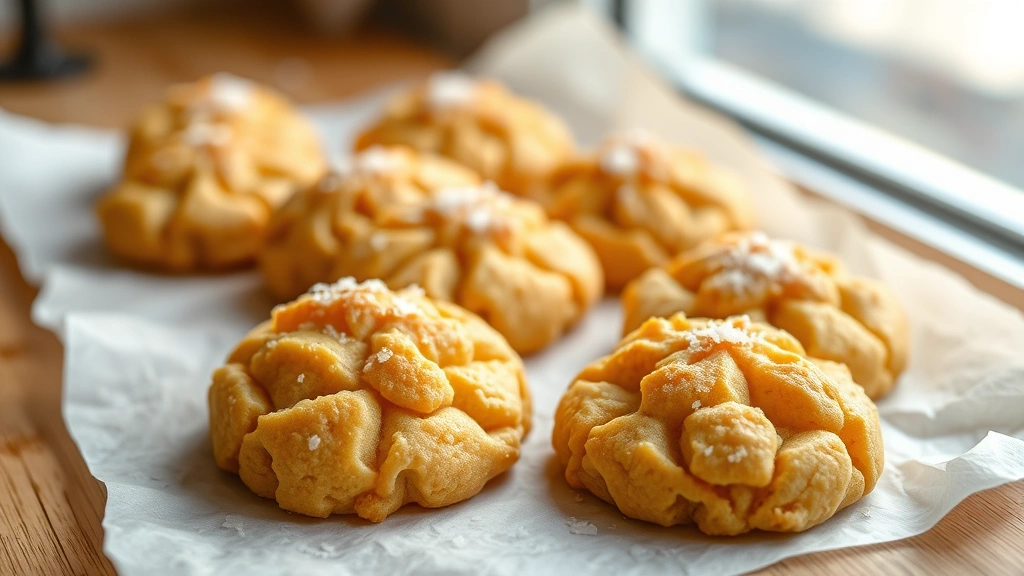
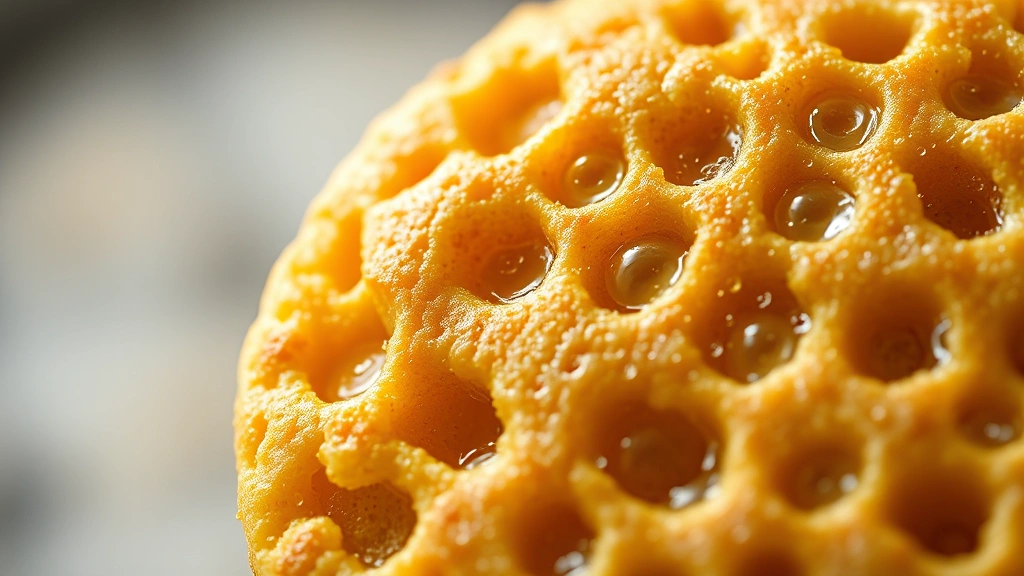
Dalgona cookies are the delightful Korean treat that took the world by storm, and for good reason! These honeycomb-like cookies are crispy, golden, and absolutely addictive. The magic happens when you caramelize sugar and baking soda together, creating this airy, almost magical texture that’s both elegant and fun to make. I fell in love with these cookies the first time I tried them, and I’ve been perfecting my technique ever since.
What makes dalgona cookies so special is their incredible contrast of textures. The outside has this satisfying crunch, while the inside is surprisingly delicate and almost melts in your mouth. They’re the kind of cookie that looks incredibly impressive but is surprisingly simple to make at home. The recipe requires just a handful of ingredients and about fifteen minutes of active cooking time, making them perfect for both beginner and experienced bakers.
These cookies are a showstopper at parties and gatherings. They pair beautifully with tea, coffee, or hot chocolate, and they’re absolutely stunning when presented on a dessert board. I love making these when I have friends over because everyone is always amazed by how elegant they look. Plus, the process of making them is genuinely fun and almost meditative as you watch the sugar transform into this incredible honeycomb structure.
The key to perfect dalgona cookies is using a candy thermometer to monitor the temperature and working quickly once the baking soda is added. The mixture will bubble up dramatically, which is completely normal and actually what creates that gorgeous honeycomb texture. Don’t be intimidated by this step—it’s easier than you think! I’ve included detailed instructions below to guide you through the process.
If you’re looking for other impressive homemade treats, you might also enjoy making creamy dessert sauces or exploring other sweet and savory recipes. For a complete dessert experience, consider pairing these cookies with complementary flavors, or try making pickled garnishes for a sophisticated presentation.
For more detailed information on candy making techniques, check out Bon Appétit’s guide to honeycomb candy. Serious Eats has an excellent comprehensive candy-making resource that’s incredibly helpful. The New York Times also offers wonderful insights into Korean desserts that you might find inspiring.
Ingredients
- 2 tablespoons granulated sugar
- 1 teaspoon baking soda
- 1 tablespoon water
- Vegetable oil or cooking spray for the baking sheet
- Parchment paper
- Sea salt for topping (optional but recommended)
Instructions
- Line a baking sheet with parchment paper and lightly spray with cooking spray or brush with vegetable oil. This prevents the cookies from sticking and makes removal much easier. Set aside near your cooking station.
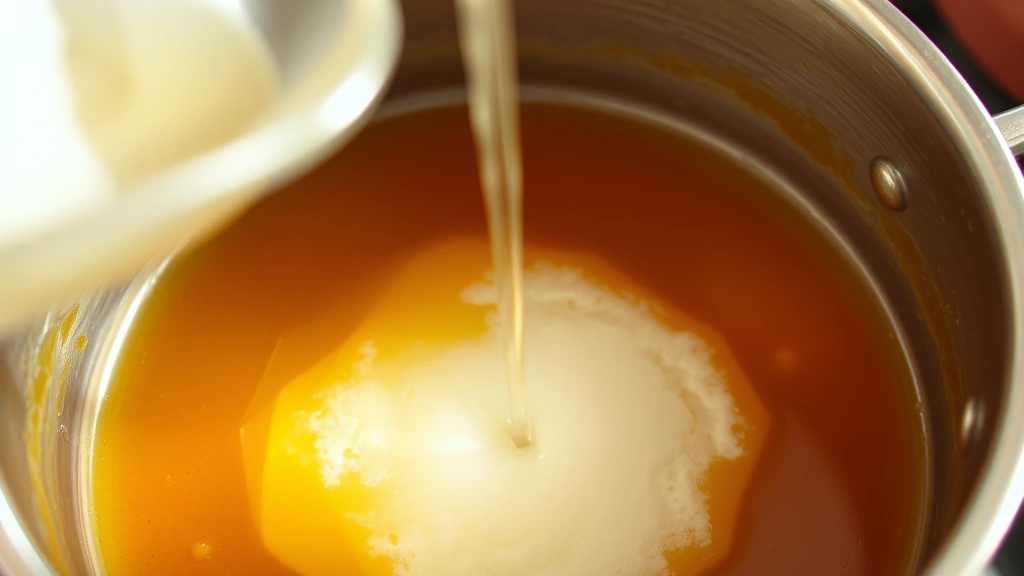
- Combine the granulated sugar and water in a small saucepan over medium heat. Stir gently until the sugar is completely dissolved, then stop stirring to prevent crystallization.
- Insert a candy thermometer into the mixture and continue heating without stirring. Watch carefully as the mixture caramelizes, which should take about 8-10 minutes depending on your stove.
- The sugar will progress through stages: first it will be pale yellow, then golden, then amber. You want to stop cooking when it reaches a light golden amber color, around 300-310°F on your candy thermometer. This is the hard crack stage.
- Remove the saucepan from heat immediately and quickly add the baking soda. The mixture will bubble up dramatically and expand—this is completely normal and exactly what you want! Stir quickly but carefully until the baking soda is fully incorporated and the mixture becomes foamy and lighter in color.
- Working very quickly before the mixture hardens, use a spoon or small ice cream scoop to drop spoonfuls onto the prepared baking sheet. Space them about 2 inches apart as they will maintain their shape.
- Allow the cookies to cool completely on the baking sheet for at least 10 minutes. They will harden as they cool and become crispy and snappable.
- Once completely cooled, carefully remove the cookies from the parchment paper. They should come off easily if the paper was properly oiled.
- If desired, sprinkle a tiny pinch of sea salt on top of each cookie while still slightly warm for an elegant touch that enhances the sweetness.
- Store the cooled dalgona cookies in an airtight container at room temperature for up to 5 days. They’re best eaten within the first 2-3 days while they maintain their optimal crispness.
Pro Tips
o The baking soda is what creates the magical honeycomb texture. When added to the hot caramel, it creates carbon dioxide bubbles that expand the mixture, giving you that airy, delicate cookie structure. Don’t skip this ingredient!
o Work quickly once you add the baking soda. The mixture hardens rapidly as it cools, so you need to portion it onto the baking sheet immediately. If it hardens before you finish scooping, you can gently reheat it for a few seconds to soften it enough to scoop.
o These cookies are incredibly delicate, so handle them gently during storage and serving. They’re meant to be snapped and enjoyed, but rough handling can cause them to crumble.
o For a fun variation, try dipping the bottoms of cooled cookies in melted chocolate. This adds richness and also helps seal the cookies for longer storage.
o If you don’t have a candy thermometer, you can use the cold water test: drop a small amount of caramel into ice water. At the right stage, it should form hard, brittle threads.
o These cookies are naturally gluten-free and make an impressive treat for anyone with dietary restrictions. They’re also small enough to enjoy guilt-free as part of a balanced dessert selection.
o Sea salt on top is optional but highly recommended. It creates a beautiful contrast with the sweet caramel and adds a professional, sophisticated touch.
o Make sure your baking sheet is completely cool before using it for a second batch. Placing hot caramel on a warm surface can cause it to spread too much.
o These make excellent gifts when packaged in a pretty box with parchment paper between layers. They’re impressive enough to look homemade but elegant enough for any occasion.