
Making ice cream at home has never been easier than with a Dash ice cream maker! This simple recipe requires just a handful of basic ingredients and minimal effort, yet delivers creamy, delicious homemade ice cream that rivals any store-bought version. The beauty of using a Dash machine is that it does all the hard work for you—no hand-churning required. Whether you’re a kitchen novice or an experienced baker, this foolproof method will have you scooping up bowls of velvety soft-serve style ice cream in minutes.
I absolutely love making ice cream at home, and honestly, once you taste the difference between homemade and commercial varieties, you’ll never go back. Store-bought ice cream often contains stabilizers, gums, and other additives that can leave an artificial aftertaste. When you make it yourself, you control every single ingredient, ensuring pure, clean flavors that truly shine through. Plus, there’s something so satisfying about creating a frozen treat from scratch in your own kitchen.
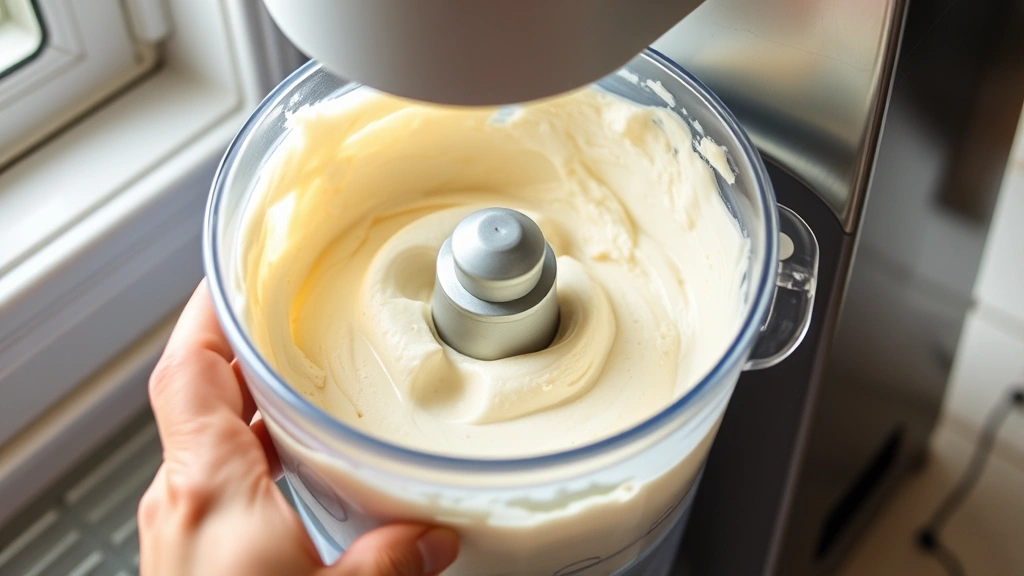
The Dash ice cream maker is perfect for anyone who wants restaurant-quality ice cream without the fuss. It’s compact, affordable, and honestly one of the best kitchen investments you can make if you love frozen desserts. The freezer bowl does all the churning work, so you simply combine your ingredients, pour them in, and let the machine work its magic. In about 20-25 minutes, you’ll have soft-serve style ice cream that’s absolutely divine.
This basic vanilla recipe is endlessly customizable. Once you master the technique, you can experiment with different flavor combinations and mix-ins. Try swirling in chocolate sauce, adding fresh fruit, or incorporating cookie crumbles. The possibilities are truly endless, and that’s what makes this recipe so special—it’s a foundation for creativity in your kitchen.
What I love most about this Dash ice cream maker recipe is how adaptable it is to different dietary needs. Want to make it dairy-free? Substitute coconut cream or oat milk. Prefer a lighter version? Use Greek yogurt mixed with evaporated milk. You can also adjust the sweetness level to your preference—some people love their ice cream very sweet, while others prefer a more subtle sweetness that lets the vanilla shine through.
The texture of homemade ice cream made in a Dash machine is noticeably different from hand-churned or store-bought varieties. Because the machine continuously churns while freezing, you get that perfect soft-serve consistency that’s smooth and creamy without being icy. The key to achieving this texture is using the right ratio of cream to milk, which this recipe provides.
I recommend making this recipe when you have friends or family over for dessert. There’s something special about serving homemade ice cream—it always impresses people, and they’re amazed at how simple it is to make. You can even prepare the ice cream base the night before, refrigerate it, and then churn it fresh just before serving. This makes entertaining so much easier and less stressful.
One of the best features of the Dash ice cream maker is how quiet and efficient it is compared to larger, commercial-style machines. You won’t feel like you’re running an industrial operation in your kitchen. The machine is sleek, modern, and fits nicely on most countertops without taking up excessive space. Plus, cleanup is incredibly easy—just wash the bowl and dasher with warm soapy water.
For the best results with this recipe, make sure your freezer bowl is completely frozen before you start. The manufacturer recommends freezing it for at least 8 hours, but I usually freeze it overnight to be safe. This ensures that your ice cream will freeze properly and achieve that perfect soft-serve consistency. If the bowl isn’t cold enough, your mixture won’t freeze, and you’ll just end up with cold custard rather than actual ice cream.
Temperature control is crucial when making ice cream. The mixture needs to be cold before you pour it into the machine—ideally around 40°F or colder. I recommend making your base, letting it cool to room temperature, then refrigerating it for at least 2 hours before churning. Some people even make it the day before, which is totally fine and actually helps develop better flavor.
If you’re new to making ice cream, don’t be intimidated by the process. This recipe truly couldn’t be simpler, and the Dash machine takes all the guesswork out of churning. Just follow the instructions, be patient while it freezes, and you’ll have delicious homemade ice cream. Check out this trusted resource for ice cream science if you want to dive deeper into the chemistry behind perfect ice cream.
The flavor possibilities with this base recipe are incredible. You can make flavor variations that are as simple or as complex as you want. Try adding fresh strawberries, making a salted caramel swirl, or creating a cookies and cream version. You could even make a complementary dessert to serve alongside it for an impressive homemade dessert spread.
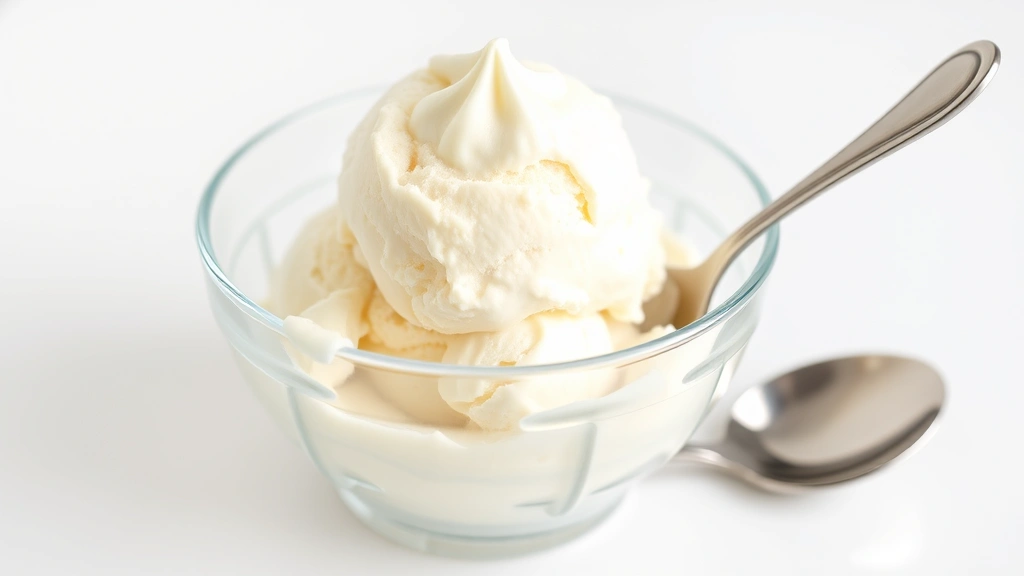
Once your ice cream is done churning, you have options. You can eat it immediately for that soft-serve consistency, or transfer it to a freezer-safe container and freeze it for a few hours for a firmer texture. Both are delicious—it really depends on your preference. The soft-serve version is perfect for topping with sauces and toppings, while the firmer version is ideal for scooping into cones.
Storage is simple: keep your ice cream in an airtight container in the freezer for up to two weeks. In reality, it probably won’t last that long because it’s so delicious! To prevent ice crystals from forming, press plastic wrap directly onto the surface of the ice cream before covering the container. This is a professional trick that really makes a difference in texture and quality over time.
I encourage you to make this recipe and discover the joy of homemade ice cream. There’s truly nothing quite like opening your freezer and knowing you have delicious, creamy ice cream waiting for you. Check out Bon Appétit for more advanced ice cream techniques, or visit New York Times Cooking for creative flavor combinations. Your Dash ice cream maker is about to become one of your favorite kitchen appliances, and this simple recipe is just the beginning of your homemade ice cream journey!
Ingredients
- 2 cups heavy cream
- 1 cup whole milk
- ¾ cup granulated sugar
- 2 tablespoons light corn syrup
- 1 tablespoon vanilla extract
- ¼ teaspoon sea salt
Instructions
- Remove the Dash ice cream maker freezer bowl from the freezer. If you haven’t frozen it yet, do so now for at least 8 hours or overnight until completely solid.
- In a medium mixing bowl, combine the heavy cream, whole milk, granulated sugar, and light corn syrup. Stir well until all the sugar is dissolved, about 1-2 minutes.
- Add the vanilla extract and sea salt to the mixture and stir until fully incorporated. The salt enhances the vanilla flavor and improves the overall taste of the ice cream.
- Refrigerate the mixture for at least 2 hours, or up to 24 hours. This step is important because the base needs to be cold (ideally around 40°F) before churning.
- Once the mixture is cold and the freezer bowl is completely frozen, assemble your Dash ice cream maker according to the manufacturer’s instructions. Make sure the bowl is securely attached to the machine.
- Pour the chilled ice cream base into the frozen bowl. The mixture should come up to about three-quarters of the way up the sides of the bowl. Don’t overfill.
- Attach the paddle or dasher to the top of the machine. Secure the lid in place. Plug in the Dash ice cream maker and turn it on.
- Allow the machine to run for 20-25 minutes, watching as the mixture gradually transforms from liquid to soft-serve consistency. The machine will automatically shut off when the ice cream reaches the proper consistency.
- Once the machine stops, unplug it and carefully remove the dasher. The ice cream should have a soft-serve texture at this point.
- For immediate serving with a soft-serve consistency, scoop the ice cream directly into bowls or cones and enjoy right away.
- For a firmer texture, transfer the ice cream to an airtight freezer-safe container and freeze for an additional 3-4 hours before scooping.
- When storing, press plastic wrap directly onto the surface of the ice cream to prevent ice crystals from forming on top. Cover the container with its lid.
- Store in the freezer for up to two weeks, though it’s best enjoyed within the first few days for optimal flavor and texture.
Pro Tips
TEMPERATURE MATTERS: Cold base mixture + frozen bowl = success. If your mixture isn’t cold enough, it won’t freeze properly during churning. Make sure to refrigerate for at least 2 hours before churning.
CORN SYRUP ROLE: The light corn syrup prevents ice crystals from forming and creates a smoother texture. Don’t skip this ingredient—it makes a noticeable difference in the final product.
FLAVOR VARIATIONS: Add 1-2 tablespoons of chocolate syrup, 1 cup of fresh fruit puree, 1 teaspoon of mint extract, or 1 cup of crushed cookies to the base mixture before churning for different flavors.
DIETARY SUBSTITUTIONS: For dairy-free ice cream, use full-fat coconut milk instead of heavy cream and unsweetened oat milk instead of whole milk. For a lighter version, substitute half the heavy cream with Greek yogurt.
SOFT-SERVE VS. SCOOPABLE: Eat immediately after churning for that authentic soft-serve texture, or freeze for a few hours for a firmer, scoopable consistency. Both are delicious depending on your preference and intended use.
CLEANUP TIPS: Wash the bowl, dasher, and paddle with warm soapy water immediately after use. Don’t put them in the dishwasher unless the manufacturer says it’s safe. Dry everything completely before storing.
MAKING AHEAD: Prepare the ice cream base up to 24 hours in advance. Keep it covered in the refrigerator, then churn it fresh just before serving for the best texture and taste.
YIELD VARIATIONS: This recipe makes about 1 quart of ice cream. If you want to make less, you can halve the recipe, but make sure the mixture still reaches at least halfway up the sides of the freezer bowl.
TROUBLESHOOTING: If your ice cream isn’t freezing, the bowl might not be cold enough or the base mixture might be too warm. If it’s too icy or grainy, the machine might have run too long or the base had too much water content.