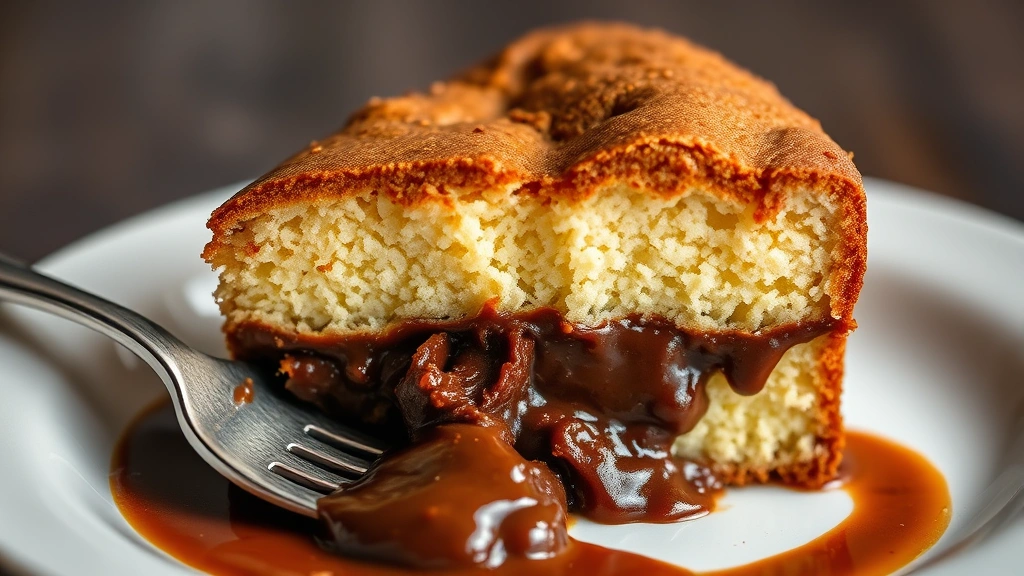
Earthquake cake is an absolutely magical dessert that creates its own fudgy sauce while baking—it’s like edible science! This German-inspired cake features a tender chocolate cake layer that literally shifts and creates a glorious chocolate pudding sauce beneath it, all while developing those signature “earthquake” cracks on top. The best part? The contrast between the moist cake and that rich, gooey chocolate layer underneath is simply divine.
This recipe has been a beloved classic for decades, and once you understand the simple technique, you’ll be making it again and again. It’s perfect for potlucks, dinner parties, or whenever you need an impressive dessert that’s actually quite forgiving. The magic happens because you’re essentially creating two layers from one batter—the cocoa-flour mixture sinks to the bottom during baking and transforms into a decadent sauce, while the remaining batter rises above it to create the cake layer.
What makes this earthquake cake so special is that it requires minimal ingredients and absolutely no special equipment. You likely have everything in your pantry right now. The result is a warm, comforting chocolate cake that’s best served slightly warm with a dollop of whipped cream or vanilla ice cream. If you’re looking for other impressive chocolate desserts, check out our guide to rich cream-based desserts for more indulgent options.
The beauty of this recipe lies in its simplicity and the stunning presentation. When you bring this cake to the table and people see those gorgeous cracks with the fudgy sauce peeking through, they’ll be amazed you made it yourself. It’s restaurant-quality impressive, yet home-baker friendly. For more inspiration on creating stunning desserts, explore our collection of layered dessert techniques.
One of the secrets to the perfect earthquake cake is not overbaking it. You want the cake to be set but still have a slight jiggle in the center—this ensures that the sauce layer beneath stays moist and fudgy. Additionally, letting the cake cool for about 10-15 minutes before serving allows the layers to set slightly while still maintaining that warm, gooey texture that makes this dessert so irresistible.
For those wondering about variations, you can easily customize this recipe. Some bakers add a splash of espresso powder to deepen the chocolate flavor, while others incorporate different extracts like peppermint or raspberry. You could also drizzle the finished cake with a chocolate ganache or dust it with powdered sugar for extra elegance. If you’re interested in complementary dessert sides, our savory side dish collection offers perfect contrasts for your dessert menu.
According to Bon Appétit, understanding the science behind why this cake works is key to mastering it. The cocoa powder and flour at the bottom of the pan create a paste that becomes sauce when it comes into contact with the liquid batter above it. As the oven heat bakes everything together, this chemical transformation creates the magic. The Serious Eats team has documented how temperature and timing affect the final texture, recommending that home bakers watch for the telltale signs of doneness rather than relying solely on a timer.
This earthquake cake recipe is also wonderful because it actually improves slightly as it cools—the sauce becomes richer and more luxurious. However, it’s absolutely delicious warm from the oven too. Many people prefer to bake it an hour or two before serving, allowing the flavors to develop and the texture to reach its optimal consistency. According to The New York Times cooking section, chocolate desserts often benefit from this resting period, as it allows the flavors to meld and the structure to stabilize.
Whether you’re a seasoned baker or someone who’s intimidated by baking, this earthquake cake is the perfect recipe to build your confidence. It’s forgiving, impressive, and absolutely delicious. The combination of simplicity and elegance makes it a dessert that works for any occasion, from casual weeknight dinners to elegant dinner parties. Make sure to explore our dessert pairing guide for menu inspiration.
Ingredients
- 1¾ cups all-purpose flour
- 2 cups granulated sugar, divided
- ¾ cup unsweetened cocoa powder
- 1 teaspoon baking soda
- ½ teaspoon salt
- ½ cup vegetable oil or melted butter
- 2 large eggs, room temperature
- 1 cup buttermilk, room temperature
- 1 teaspoon vanilla extract
- ½ teaspoon espresso powder (optional but recommended)
- 3 cups hot water or hot coffee
- Whipped cream or vanilla ice cream for serving
Instructions
- Preheat your oven to 350°F (175°C). Generously grease a 9×13 inch baking pan with butter or non-stick spray, making sure to coat the bottom and all sides evenly.
- In a large mixing bowl, whisk together the flour, 1 cup of the granulated sugar, cocoa powder, baking soda, salt, and espresso powder if using. Make sure all dry ingredients are well combined with no lumps.
- Create a well in the center of the dry ingredients and add the oil, eggs, buttermilk, and vanilla extract.
- Using an electric mixer on medium speed or a wooden spoon, beat the ingredients together until you have a smooth batter. Be careful not to overmix—just combine until you don’t see any streaks of flour.
- Pour the batter into your prepared baking pan, spreading it evenly to all corners.
- In a separate bowl, combine the remaining 1 cup of sugar and the cocoa powder, stirring until well mixed.
- Sprinkle this cocoa-sugar mixture evenly over the batter in the pan. This layer will sink to the bottom and create the fudgy sauce, so distribute it as uniformly as possible.
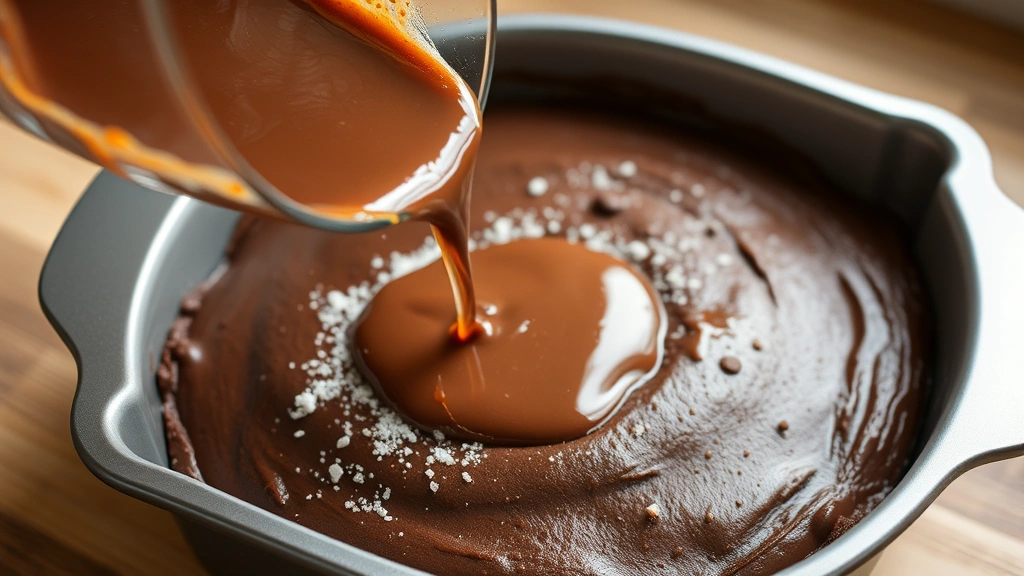
- Carefully pour the hot water or hot coffee over the entire surface of the batter. Do this slowly and gently—this will seem counterintuitive and alarming, but this is what creates the magic! The liquid will settle at the bottom and create the sauce layer.
- Place the baking pan in the preheated oven and bake for 28-32 minutes, until the cake appears set on top but still has a slight jiggle in the center when you gently shake the pan.
- Remove the cake from the oven and let it cool for about 10-15 minutes before serving. This resting period allows the layers to set slightly while maintaining the warm, gooey texture.
- Serve each slice warm with a dollop of whipped cream, a scoop of vanilla ice cream, or both. The contrast between the warm cake and cold ice cream is absolutely heavenly.