
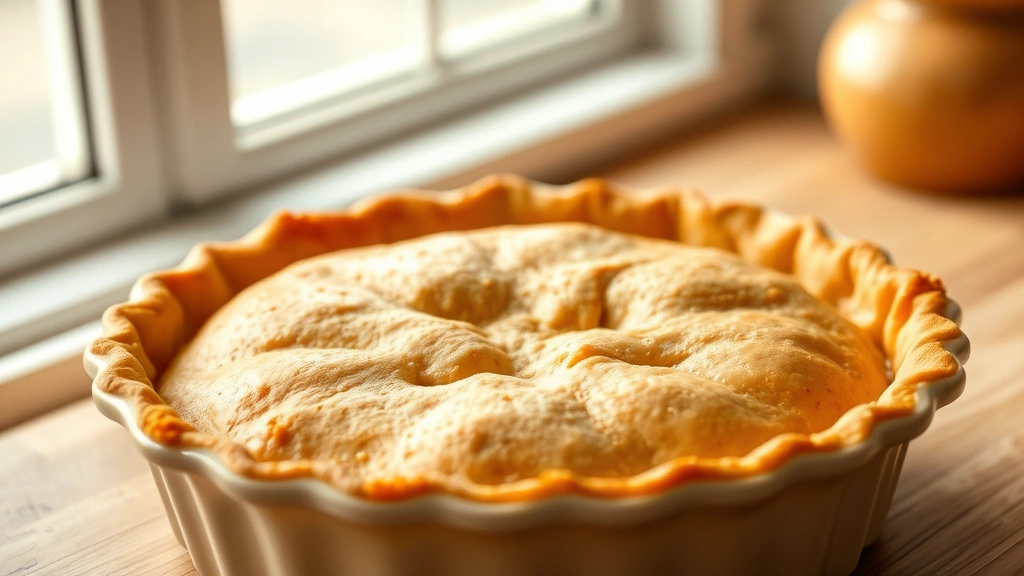
Making pie crust by hand is one of those kitchen skills that feels intimidating but is absolutely achievable with the right technique and a little patience. There’s something wonderfully satisfying about creating a buttery, flaky crust from scratch using just your fingertips and a few simple ingredients. This easy pie crust recipe breaks down the process into manageable steps, proving that you don’t need fancy equipment or years of baking experience to create a crust that rivals any bakery.
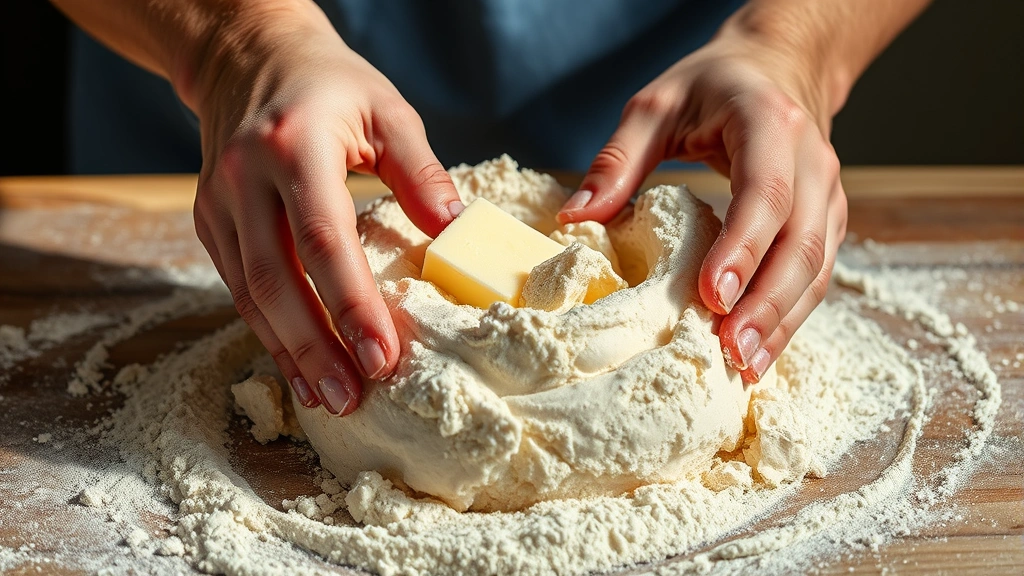
The secret to a perfect pie crust lies in three fundamental principles: keeping everything cold, handling the dough minimally, and understanding the role each ingredient plays. When you work with cold butter and ice water, you’re creating tiny pockets of fat throughout the dough. During baking, these pockets steam and create those gorgeous, delicate layers we all crave. The key is not overworking the dough—this isn’t bread, and you’re not trying to develop gluten. Instead, you want just enough mixing to bring the ingredients together while maintaining distinct butter pieces throughout.
I recommend making pie crust on a cool day, ideally when your kitchen isn’t warm. If your kitchen tends to be toasty, chill your mixing bowl and even your rolling surface before starting. Some bakers even chill their hands under cold water before beginning! These little tricks make a significant difference in your final result.
This recipe makes enough for a single 9-inch pie crust or can be doubled for a double-crust pie. I love making extra batches and freezing them for those moments when inspiration strikes. You can freeze the dough in balls for up to three months, or even pre-fit it into pie pans and freeze those as well.
Once you master this basic technique, you’ll find yourself making pie for every occasion. Serve your beautiful creation with homemade sauces for savory applications, or fill it with your favorite fruits or custards for sweet treats. The versatility of a great pie crust opens up endless possibilities in your kitchen.
Ingredients
- 1 1/4 cups all-purpose flour
- 1/2 teaspoon salt
- 1 tablespoon sugar
- 1/2 cup (1 stick) cold unsalted butter, cut into small cubes
- 3 to 5 tablespoons ice water
- Extra flour for dusting
Instructions
- In a medium mixing bowl, combine the flour, salt, and sugar. Whisk these dry ingredients together thoroughly to ensure even distribution of the salt and sugar throughout the flour. This step is important for consistent flavor in every bite of your finished crust.
- Add the cold butter cubes to the flour mixture. Using your fingertips, work the butter into the flour by gently rubbing the mixture between your thumbs and fingers. Continue this process until the mixture resembles coarse breadcrumbs with some slightly larger butter pieces still visible throughout.
- Drizzle 3 tablespoons of ice water over the flour mixture while gently tossing it with a fork. The mixture should start to come together, but it will still look quite shaggy and dry at this point.
- Add the remaining ice water, one tablespoon at a time, mixing gently with the fork after each addition. Stop when the dough just barely comes together—it should hold together when pressed but still look slightly crumbly. You may not need all five tablespoons of water, or you might need just a touch more depending on your flour and humidity.
- Turn the shaggy dough out onto a lightly floured surface. Using the heel of your hand, gently press the dough together into a rough disk. Be careful not to overwork it; you’re just bringing it together, not kneading it.
- Flatten the dough into a disk about 3/4-inch thick and wrap it tightly in plastic wrap. Refrigerate for at least one hour, or up to 24 hours. This resting period is crucial as it allows the gluten to relax and helps the crust become more tender and easier to roll out.
- Remove the dough from the refrigerator and let it sit at room temperature for about 5 to 10 minutes. The dough should be cold but pliable enough to roll without cracking.
- Place the dough on a lightly floured surface and begin rolling from the center outward using a rolling pin. Rotate the dough a quarter turn frequently to maintain an even thickness and circular shape.
- Continue rolling until the dough is about 1/8-inch thick and approximately 12 inches in diameter, which is large enough to fit a 9-inch pie pan with some overhang. If the dough becomes sticky, dust lightly with additional flour.
- Carefully transfer the rolled dough to your pie pan by rolling it loosely around your rolling pin and then unrolling it over the pan. Gently press the dough into the bottom and sides of the pan, being careful not to stretch it.
- Trim the excess dough, leaving about 1 inch of overhang around the edges. Fold this overhang under itself to create a thicker edge, then crimp or flute the edges as desired using your fingers or the tines of a fork.
- At this point, you can either fill the crust immediately or place it in the freezer for later use. If baking blind (pre-baking an empty crust), prick the bottom with a fork and chill for 15 minutes before baking at 400°F for 12 to 15 minutes until lightly golden.

Pro Tips
Water Addition: Different flours absorb water at different rates, so add water gradually. You want a dough that just barely holds together when pressed, not one that’s wet or sticky. The dough should look somewhat crumbly before you form it into a disk.
Resting is Essential: Don’t skip the refrigeration step. Resting allows the gluten to relax, making the dough easier to roll and less likely to shrink during baking. It also gives the flour time to fully hydrate, resulting in a more tender crust.
Handling Techniques: Work gently and quickly. Overworking develops gluten, which makes the crust tough rather than tender and flaky. Use your fingertips rather than the palm of your hand when cutting in the butter—fingertips are naturally cooler and more precise.
Freezing Options: This dough freezes beautifully for up to three months. Wrap the disk well in plastic wrap, then place in a freezer bag for extra protection. You can also fit the rolled dough into a pie pan, wrap it well, and freeze. Thaw in the refrigerator before baking.
Filling Variations: This versatile crust works beautifully for both sweet and savory pies. Try it with fresh fruit, cream fillings, or savory options like pickled red onions and vegetables.
Bake-Blind Method: If your recipe calls for a pre-baked crust, line the dough with parchment paper and fill with pie weights or dried beans before baking. This prevents the crust from puffing up during blind baking.