
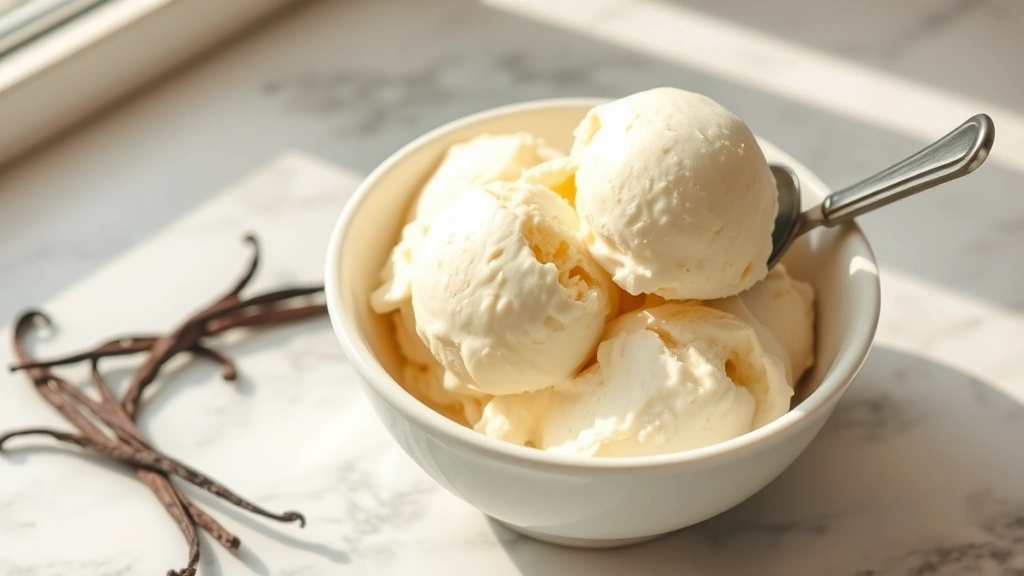
There’s nothing quite like homemade ice cream – it’s creamy, dreamy, and absolutely delicious! Making ice cream with an ice cream machine is easier than you might think, and the results are far superior to store-bought versions. This classic vanilla ice cream recipe is the perfect foundation for any ice cream lover’s repertoire, and once you master it, you can experiment with endless flavor variations.
The key to the best ice cream machine recipe is using quality ingredients and understanding the science behind the process. Heavy cream, egg yolks, and sugar create a custard base that’s both luxurious and stable. The egg yolks add richness and help create that signature creamy texture, while the sugar provides sweetness and helps lower the freezing point, ensuring your ice cream stays scoopable. Unlike no-churn ice cream recipes that require whipped cream, an properly made custard base produces ice cream with an incomparably smooth mouthfeel.
Before diving into this recipe, it’s important to understand that making ice cream from scratch requires patience and attention to detail. You’ll need to chill your custard base thoroughly – ideally overnight – before churning. This step is non-negotiable if you want professional-quality results. The churning process aerates the mixture while simultaneously freezing it, creating thousands of tiny ice crystals that give ice cream its characteristic texture. An ice cream machine does this work for you, but the quality of your base determines the quality of your final product.
This recipe yields approximately one quart of ice cream, which serves about 8 people generously. The beauty of making ice cream at home is that you control every ingredient – no artificial flavors, stabilizers, or gums unless you want them. You can use premium heavy cream from local dairies, farm-fresh eggs, and pure vanilla extract to create something truly special. Many home cooks find that once they’ve tasted homemade ice cream, they can never go back to commercial versions.
When it comes to customization, the possibilities are endless. You can infuse your custard base with different flavors – think coffee, chocolate, salted caramel, or even unexpected savory elements. You can swirl in ribbons of sauce during churning, fold in mix-ins like cookie crumbles or fruit compote, or create sophisticated flavors that rival high-end ice cream shops. The foundation techniques you’ll learn here apply to any flavor you can imagine.
For those looking to expand their culinary repertoire, making ice cream is a wonderful skill that impresses guests and brings joy to summer gatherings. Pair your homemade ice cream with fresh berries, warm pie, or simply serve it in a cone for the ultimate treat. You might even create an ice cream social featuring multiple flavors and toppings – imagine offering your guests creamy vanilla alongside fresh fruit variations and complementary dessert components. This recipe is your golden ticket to becoming the host everyone wants to visit during warm weather months.
Reading through external resources like Serious Eats’ ice cream science guide can deepen your understanding of the chemistry involved. For more inspiration and troubleshooting tips, The New York Times cooking section offers excellent guidance. Additionally, Bon Appétit’s ice cream recipe provides professional techniques you can incorporate into your homemade version.
The investment in a quality ice cream machine is worth every penny if you plan to make ice cream regularly. Whether you choose a traditional freezer-bowl model or a self-refrigerating machine, proper technique matters more than equipment cost. The method outlined here works with any standard ice cream maker, and you’ll be amazed at how restaurant-quality your homemade ice cream becomes with practice. Welcome to the wonderful world of homemade ice cream – your taste buds will thank you!
Ingredients
- 2 cups heavy cream
- 1 cup whole milk
- 3/4 cup granulated sugar
- 5 large egg yolks
- 1 tablespoon pure vanilla extract
- 1/4 teaspoon kosher salt
Instructions
- Pour the heavy cream and whole milk into a medium saucepan. Heat over medium heat, stirring occasionally, until the mixture reaches a gentle simmer and small bubbles form around the edges. This should take about 5-7 minutes. Do not let it boil.
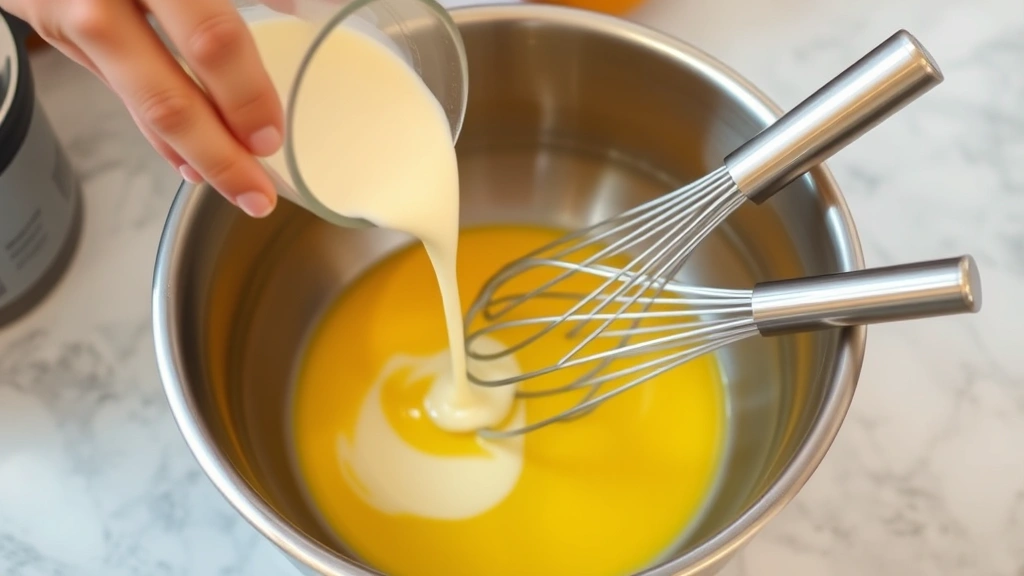
- While the cream mixture heats, whisk together the egg yolks and granulated sugar in a medium mixing bowl. Whisk vigorously for about 2-3 minutes until the mixture becomes pale yellow and slightly thickened. This helps prevent the eggs from curdling when you add the hot cream.
- Once the cream mixture is hot, slowly add it to the egg yolk mixture in a thin stream while whisking constantly. This tempering process is crucial – it gradually brings the egg yolks up to temperature without scrambling them. Keep whisking until the mixture is well combined.
- Pour the combined mixture back into the saucepan. Cook over medium heat, stirring frequently with a wooden spoon or rubber spatula, until the mixture reaches 170-175°F on an instant-read thermometer. This takes approximately 5-8 minutes. The custard should coat the back of a spoon.
- Remove the saucepan from heat and stir in the vanilla extract and kosher salt. Mix until evenly incorporated.
- Set up an ice bath by filling a large bowl with ice and water. Place the saucepan (or transfer the mixture to a smaller bowl) into the ice bath. Stir occasionally for about 5 minutes to cool the custard quickly to room temperature.
- Once cooled to room temperature, transfer the custard to a clean container and cover it with plastic wrap. Refrigerate for at least 8 hours, or preferably overnight. This chilling step is essential for achieving the best texture and allows the flavors to meld together.
- When ready to churn, prepare your ice cream machine according to the manufacturer’s instructions. If using a freezer-bowl model, ensure it has been frozen for at least 24 hours.
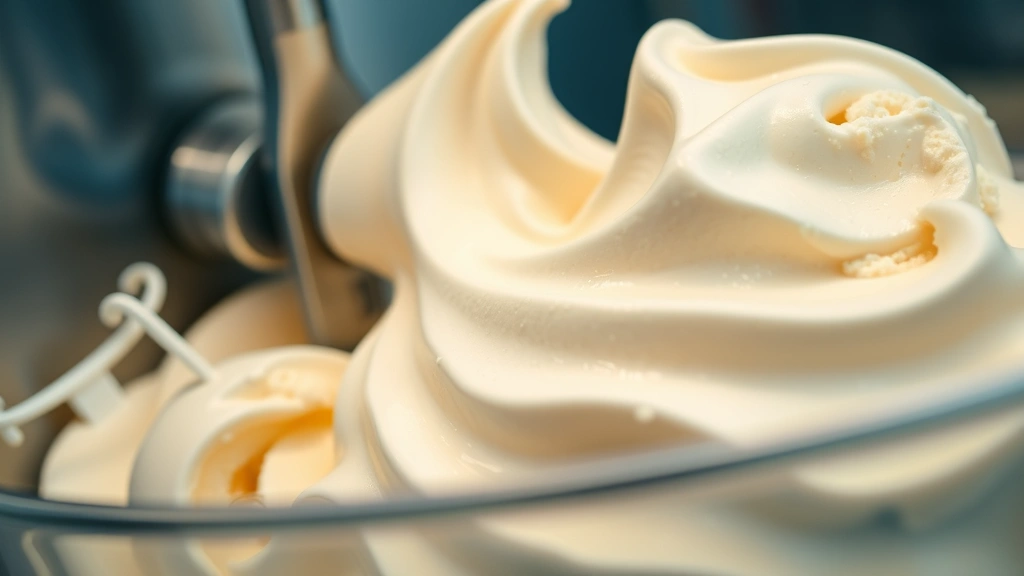
- Pour the chilled custard base into the ice cream machine and churn according to the manufacturer’s instructions, typically 20-30 minutes. The ice cream is done when it reaches a soft-serve consistency.
- Transfer the soft ice cream to a freezer-safe container, smoothing the top with a spatula. Cover with plastic wrap or parchment paper, then place the lid on top to prevent freezer burn.
- Freeze for at least 4 hours, or until firm enough to scoop. For best texture, serve within 2 weeks of making.
Pro Tips
- The egg yolks are what make this ice cream incredibly creamy and rich – they’re not just for flavor, they’re essential to the texture. Pasteurized eggs can be used if you prefer, though they may slightly affect the final texture.
- Temperature control is critical throughout this process. Using a thermometer takes the guesswork out and ensures food safety. The 170-175°F range pasteurizes the eggs while keeping them from scrambling.
- Don’t skip the overnight chilling step. This allows the mixture to fully hydrate the sugar and develop a smoother, creamier texture when churned. Rushed chilling often results in icier ice cream.
- The texture of homemade ice cream is different from commercial versions because it lacks stabilizers and emulsifiers. It will be softer and may develop ice crystals over time, which is completely normal. Consume within two weeks for best quality.
- For flavor variations, infuse the hot cream with tea bags, coffee beans, or vanilla beans before adding the egg yolks. Alternatively, add extracts or liqueurs after cooling but before churning.
- If your ice cream is too hard to scoop straight from the freezer, let it sit at room temperature for 5-10 minutes before serving. This makes scooping easier and improves the eating experience.
- Common mistakes include not chilling the base long enough, opening the ice cream machine lid during churning, or freezing in a container that’s too large. Use a container that’s appropriately sized to prevent excess air exposure.
- Storage matters – keep ice cream in the coldest part of your freezer (usually the back) and cover it well. This prevents freezer burn and flavor absorption from other foods.
- Homemade ice cream is best within 2-3 weeks. After that, ice crystals become more prominent and quality diminishes.
- For a less rich version, substitute 1/2 cup of the heavy cream with additional whole milk, though this will result in a slightly less creamy texture.
- The salt enhances the vanilla flavor and helps balance the sweetness – don’t omit it even though the amount seems small.