There’s something absolutely magical about homemade pralines – those buttery, nutty candies that taste like pure indulgence but are surprisingly simple to make at home. Whether you’re a seasoned candy maker or stepping into the kitchen for the first time, this praline recipe will have you creating restaurant-quality confections that’ll impress everyone at your next gathering.
Pralines have a rich history, particularly in New Orleans where they’re a beloved treat passed down through generations. The beauty of making pralines at home is that you control the quality of ingredients and can customize them to your exact preferences. Unlike complicated candy recipes that require specialized equipment or techniques, pralines are wonderfully forgiving and come together in just minutes.
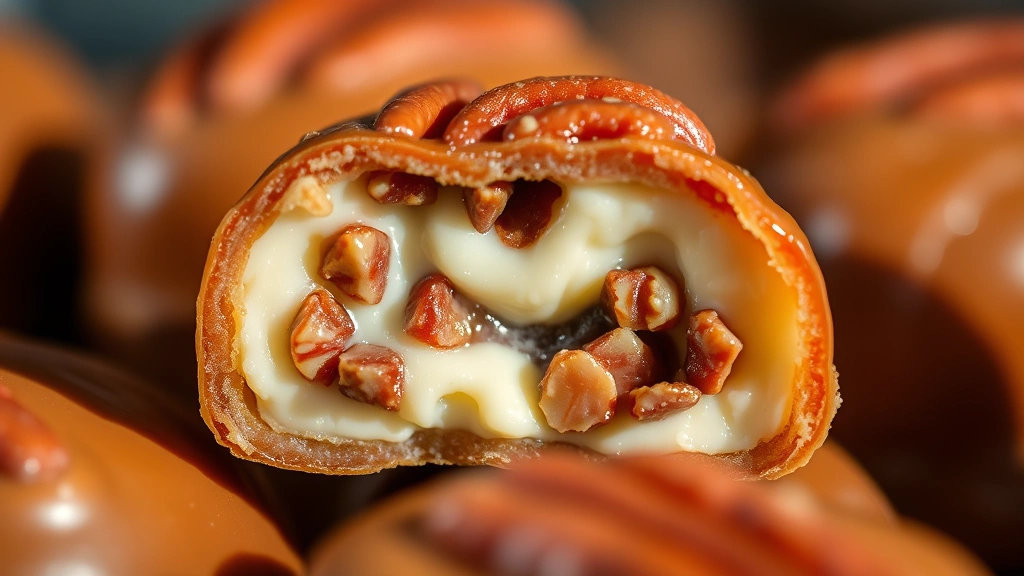
This recipe yields perfectly caramelized, creamy pralines with a delicate crunch that melts on your tongue. The secret to success lies in using a candy thermometer, quality butter, and fresh pecans or your nut of choice. I’ve tested this recipe dozens of times to ensure you get foolproof results every single time. The combination of brown sugar, butter, and vanilla creates a deep, rich flavor that’s simply irresistible.
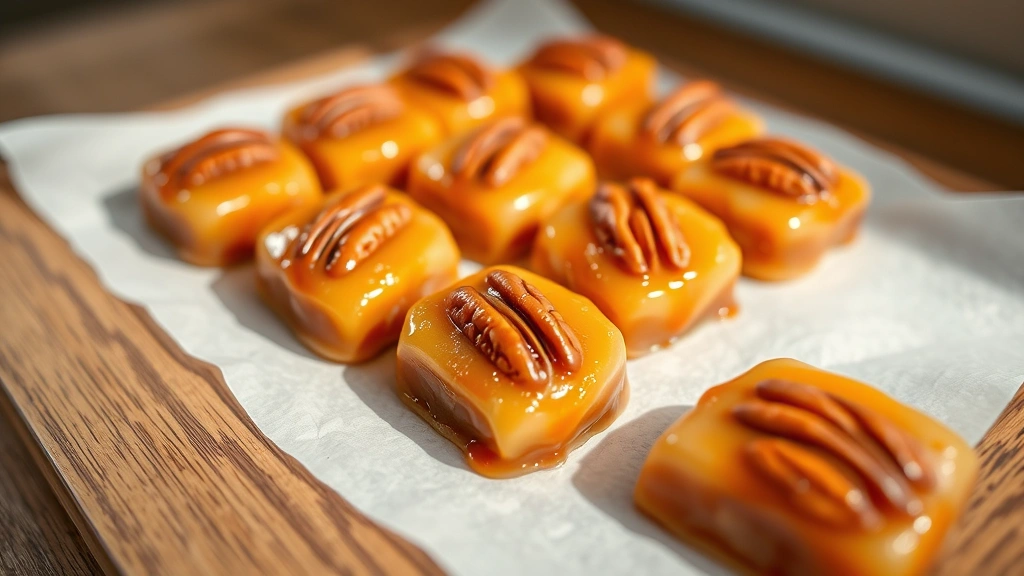
What makes this praline recipe so special is how adaptable it is. You can add a pinch of sea salt for a sweet-and-salty twist, incorporate different spices like cinnamon or nutmeg, or even drizzle them with dark chocolate once they’ve set. For gift-giving, these pralines look stunning arranged in pretty boxes lined with parchment paper.
If you’re looking to expand your candy-making repertoire, check out our collection of classic sauce recipes and creamy pasta dishes for more kitchen inspiration. The techniques you’ll learn here translate beautifully to other candy-making adventures.
One of the most rewarding aspects of making pralines at home is the aroma that fills your kitchen – pure caramelized sugar and toasted nuts create a fragrance that’s impossible to replicate. This recipe is perfect for holiday gift-giving, special occasions, or simply satisfying a sweet craving. Even beginners find success with this straightforward method, and experienced candy makers appreciate how consistently it delivers beautiful results.
The texture of homemade pralines is distinctly different from store-bought versions. You’ll notice they’re creamier, more flavorful, and have that perfect balance between a soft center and a slight candy shell exterior. This is because we’re using the soft-ball stage of candy making, which creates that signature praline texture everyone loves.
For variations, try exploring complementary sweet and savory pairings in your entertaining. You can also experiment with flavor combinations and garnishing techniques to create your signature version. Many home candy makers love making a batch to enjoy personally while also creating special varieties for their favorite people.
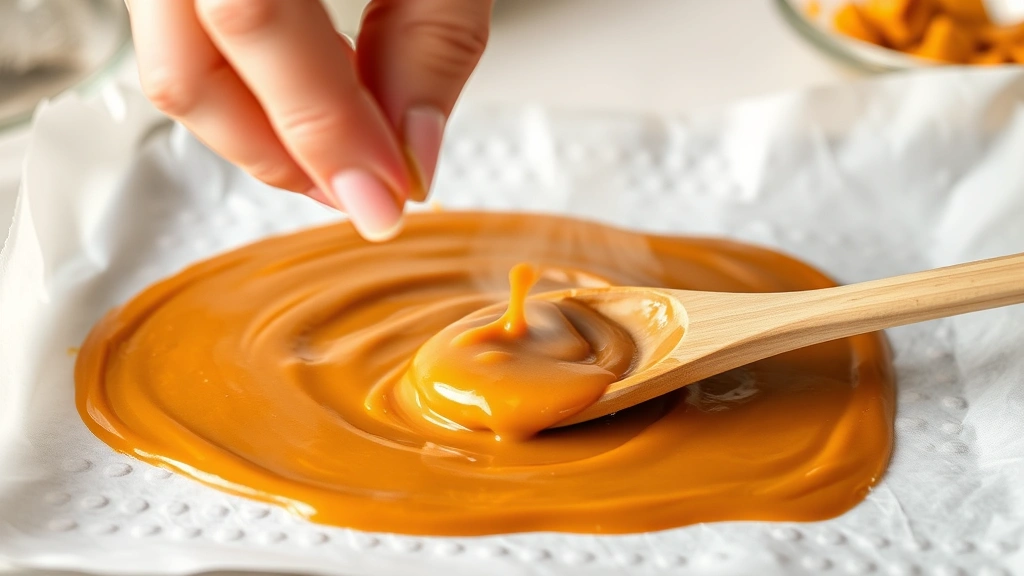
Before you start, gather all your ingredients and have your tools ready. This recipe comes together quickly once the cooking begins, so preparation is key. You’ll need a heavy-bottomed saucepan to ensure even heat distribution, a candy thermometer for accuracy, and a wooden spoon for stirring. Line your baking sheet with parchment paper or a silicone mat before you begin – this step makes cleanup remarkably easy.
The beauty of this praline recipe is that it requires no special skills or expensive equipment. Most home cooks already have everything needed in their kitchen. The ingredient list is refreshingly short, yet the results are impressive and delicious. These pralines rival any you’d purchase from specialty candy shops, and at a fraction of the cost.
Making pralines is also a wonderful activity to do with family members, particularly children who enjoy the hands-on aspect of candy-making. It teaches valuable lessons about temperature control, timing, and the science of sugar. Plus, everyone gets to enjoy the delicious results afterward – it’s a win-win situation.
For those interested in expanding their culinary creations, don’t miss our guide to creating balanced flavor profiles in your cooking. These same principles apply to candy-making: balancing sweetness with richness, creating texture contrasts, and understanding how ingredients interact.
Whether you’re making these pralines for a special someone, stocking your holiday candy dish, or simply treating yourself to something homemade and special, you’ll find this recipe delivers consistently excellent results. The investment of fifteen minutes in your kitchen yields rewards that far exceed the effort involved. Welcome to the wonderful world of homemade praline making!
Ingredients
- 2 cups packed brown sugar
- 1 cup granulated sugar
- 1 cup heavy cream or evaporated milk
- 6 tablespoons butter
- 1 teaspoon vanilla extract
- 2 cups pecan halves, toasted
- 1/4 teaspoon salt
- 1/4 teaspoon baking soda
Instructions
- Line two baking sheets with parchment paper or silicone mats and set aside. Place a candy thermometer within easy reach of your cooking station.
- Combine the brown sugar, granulated sugar, and heavy cream in a heavy-bottomed saucepan over medium heat.
- Stir constantly with a wooden spoon until the mixture comes to a boil, ensuring all sugar crystals dissolve completely.
- Add the butter and salt to the pan, stirring well to incorporate, then stop stirring and insert your candy thermometer.
- Allow the mixture to cook without stirring until it reaches the soft-ball stage, approximately 234-238°F, which typically takes 8-12 minutes.
- Remove the saucepan from heat and let it cool for exactly 5 minutes without stirring – this resting period is crucial for proper texture.
- Add the vanilla extract and baking soda, stirring gently until the mixture becomes thick and creamy, about 1-2 minutes.
- Quickly fold in the toasted pecans, stirring just until they’re evenly distributed throughout the mixture.
- Working rapidly, drop spoonfuls of the praline mixture onto the prepared baking sheets, using two spoons or a small cookie scoop.
- Allow the pralines to cool completely at room temperature for at least 2 hours before storing in an airtight container.
- Store finished pralines between parchment paper in a cool, dry place for up to two weeks, or refrigerate for extended storage.