
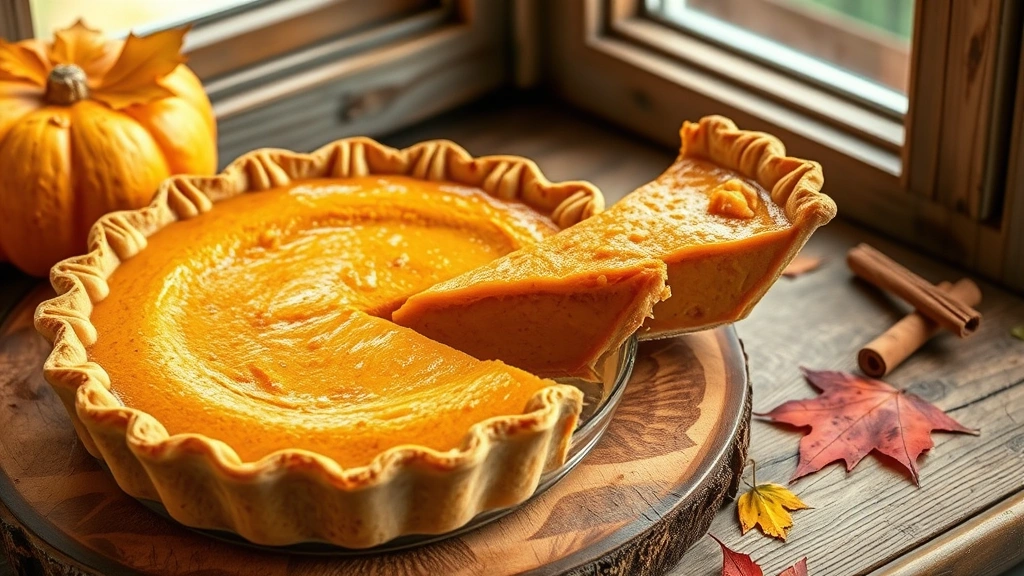
There’s something absolutely magical about a homemade pumpkin pie, and this version using sweetened condensed milk is a total game-changer! This is the easiest, most foolproof pumpkin pie recipe you’ll ever make, and honestly, it tastes like you spent hours in the kitchen when really, it’s incredibly simple.
I grew up watching my grandmother make pumpkin pie from scratch every single Thanksgiving, and while I loved her from the bottom of my heart, her version required so many steps and ingredients. Years ago, I discovered this sweetened condensed milk method, and it completely transformed how I approach this classic dessert. The condensed milk creates the most velvety, creamy filling you’ve ever tasted, and it eliminates the need for measuring out sugar separately. Plus, it ensures your pie sets perfectly every single time.
The beauty of this recipe is that it works whether you’re using a homemade crust or a store-bought one. I’m all about making life easier in the kitchen, and there’s absolutely no shame in using a pre-made crust when you’re making pies! What matters is that the filling is absolutely divine. This pie has a gorgeous deep orange color, a silky texture, and warm spice notes that make your entire home smell like autumn.
One of my favorite things about this recipe is how customizable it is. Want to add extra cinnamon? Go for it! Prefer a hint of bourbon? Absolutely! The sweetened condensed milk base is so forgiving and creates such a perfect foundation that you really can’t mess this up. I’ve made this pie for countless holiday dinners, potlucks, and casual weeknight desserts, and every single time, people ask for the recipe.
The filling comes together in just minutes with a blender or food processor, and then you simply pour it into your crust and bake. No need to stress about making a custard or worrying about cracks forming. This method is truly foolproof, which is why I recommend it to anyone who wants to serve an impressive, restaurant-quality pumpkin pie without the stress. Let me walk you through every single step so you can create your own masterpiece this season!
Heavy Cream Alfredo Sauce Recipe shows similar techniques for creating creamy, luxurious sauces, and Heavy Cream Pasta Recipe demonstrates how dairy products create silky textures. For complementary flavors, check out Pickled Red Onion Recipe for brightness and Chickpea Salad Recipe for lighter sides.
For more detailed pie-baking techniques, check out Serious Eats’ baking guides, and for Thanksgiving inspiration, visit Bon Appétit’s holiday collection. The New York Times Cooking section also has wonderful resources for holiday dessert planning.
Ingredients
- 1 unbaked 9-inch pie crust (store-bought or homemade)
- 1 can (15 ounces) pure pumpkin puree
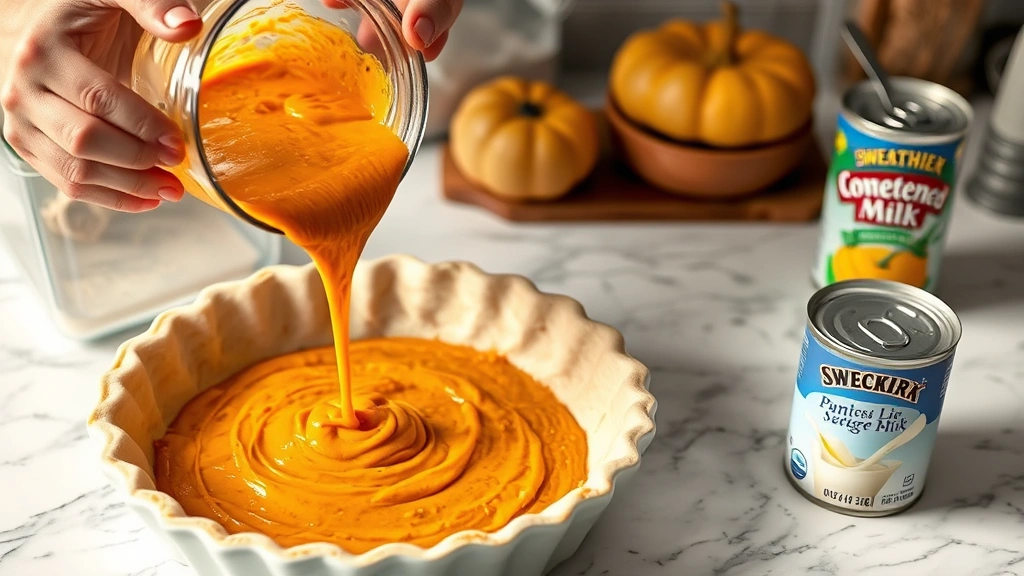
- 1 can (14 ounces) sweetened condensed milk
- 2 large eggs
- 1 teaspoon vanilla extract
- 1 teaspoon ground cinnamon
- ½ teaspoon ground ginger
- ¼ teaspoon ground cloves
- ¼ teaspoon ground nutmeg
- ¼ teaspoon sea salt
- Whipped cream for serving (optional)
Instructions
- Preheat your oven to 425°F. Make sure your oven rack is positioned in the lower third of the oven, as this helps the crust bake evenly and prevents the bottom from becoming soggy.
- Remove your pie crust from the refrigerator and let it sit at room temperature for about 5 minutes. This makes it easier to work with and helps prevent cracks.
- In a blender or food processor, combine the pumpkin puree, sweetened condensed milk, eggs, and vanilla extract. Blend until completely smooth, about 30 seconds.
- Add the cinnamon, ginger, cloves, nutmeg, and sea salt to the blender. Pulse several times until the spices are fully incorporated and the mixture is well-combined. Don’t overblend, as you just need the spices evenly distributed.
- Pour the filling mixture through a fine-mesh strainer into a bowl. This step is absolutely crucial and removes any lumps or excess moisture, creating an incredibly silky filling. Use the back of a spoon to gently push the mixture through the strainer.
- Pour the strained filling into your prepared pie crust, filling it until about ½ inch from the top.
- Place the pie on a baking sheet (this catches any drips and makes it easier to move the pie in and out of the oven) and transfer it to the preheated oven.
- Bake at 425°F for 15 minutes, then reduce the oven temperature to 350°F and bake for an additional 35-40 minutes, until a knife inserted near the center comes out clean or with just a few moist crumbs.
- Remove the pie from the oven and place it on a wire rack to cool. The pie will continue to cook slightly from residual heat, so don’t worry if the center seems slightly soft.
- Allow the pie to cool to room temperature, approximately 2 hours, then refrigerate for at least 4 hours or preferably overnight before serving.
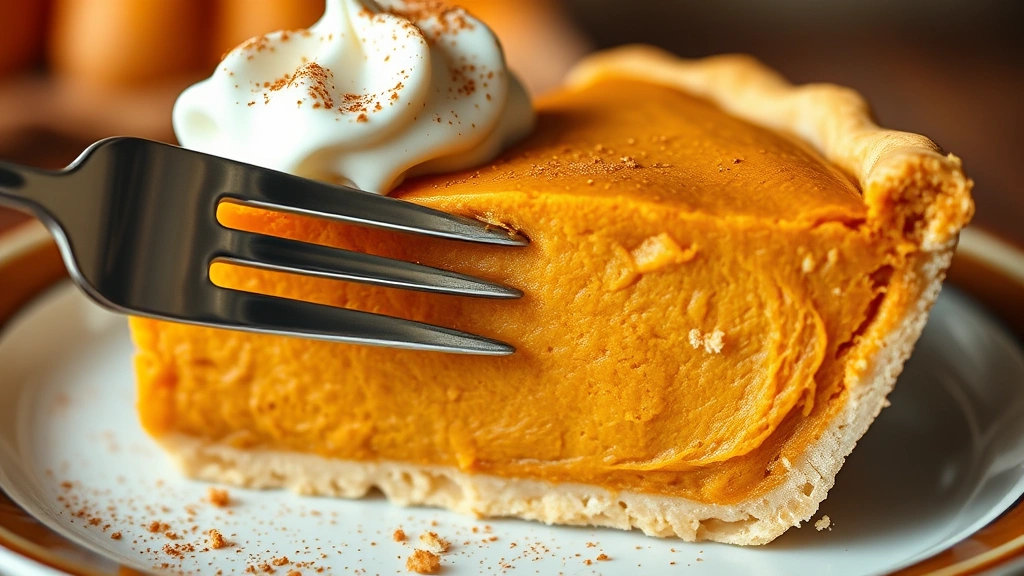
- Slice and serve with a dollop of freshly whipped cream, and enjoy your perfect pumpkin pie!
Pro Tips
Always use pure pumpkin puree, not pumpkin pie filling. Pumpkin pie filling already has sugar and spices added, which will throw off the flavor balance of this recipe.
The straining step might seem extra, but it truly makes a difference in the final texture. It creates an impossibly smooth, creamy filling that looks and tastes professional.
If your pie crust is store-bought and comes in a disposable aluminum pan, you can skip the baking sheet. If using a regular pie dish, the baking sheet is essential for catching drips.
Don’t skip the full cooling and refrigeration time. This allows the filling to set properly and develop the best texture. Cutting into a warm pie will result in a runny mess.
To prevent crust browning, loosely tent the pie with aluminum foil during the last 15 minutes of baking if it’s browning too quickly.
This pie can be made up to 3 days in advance, making it perfect for holiday planning. Store it covered in the refrigerator.
If you want to add a bourbon or rum flavor, add ½ teaspoon to the filling mixture before blending.
For a deeper spice flavor, lightly toast your cinnamon, ginger, and cloves in a dry skillet for 30 seconds before adding them to the blender.
Leftover pie stores beautifully for up to 5 days in the refrigerator. You can also freeze it for up to 3 months; simply thaw in the refrigerator overnight before serving.