
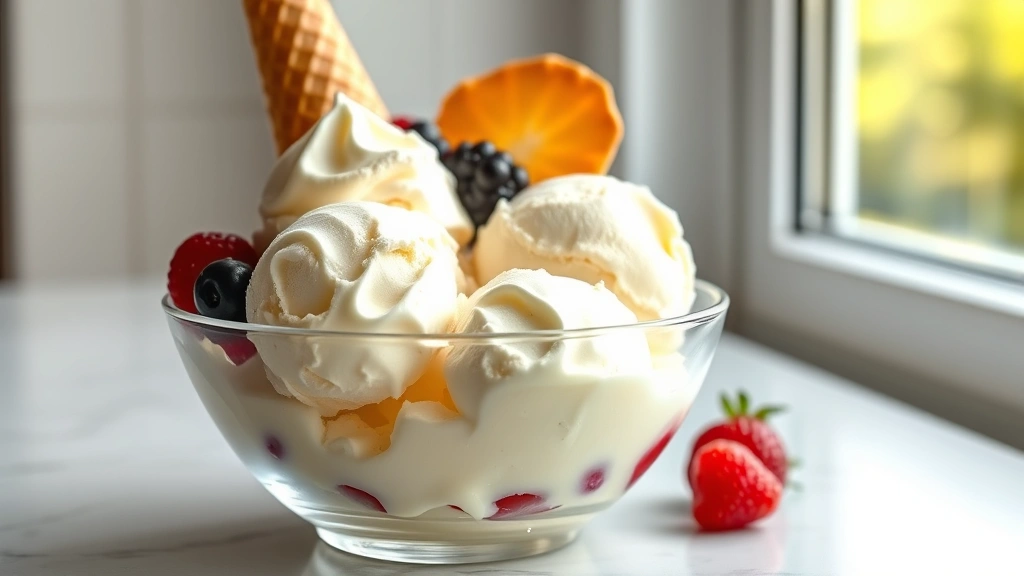
There’s nothing quite like the pure joy of homemade ice cream on a warm summer day. This classic recipe delivers that creamy, dreamy texture you’ve been craving, and the best part? You can make it right in your own kitchen!
Making ice cream from scratch might seem intimidating, but I promise it’s easier than you think. With just a few simple ingredients and a little patience, you’ll have restaurant-quality ice cream that tastes infinitely better than anything store-bought. The secret is in using quality ingredients and taking your time with the custard base—this creates that silky, luxurious mouthfeel that makes homemade ice cream so special.
This recipe uses a traditional custard method, which means we’re tempering egg yolks to create a rich, creamy base. Don’t worry if you’ve never done this before; I’ll walk you through every step. The result is an ice cream that’s smooth, scoopable, and absolutely delicious. Whether you prefer classic vanilla or want to experiment with different flavor additions, this base recipe is your golden ticket to homemade ice cream success.
One of my favorite things about making ice cream at home is the ability to customize it exactly to your preferences. You can adjust the sweetness level, experiment with flavor combinations, and even create unique mix-ins. Plus, knowing exactly what goes into your ice cream means no mysterious additives or preservatives—just pure, simple ingredients that you recognize.
I recommend investing in an ice cream maker if you don’t already have one; it makes the churning process so much easier and gives you better results. However, I’ll also share an alternative no-churn method for those who don’t have one. Either way, you’re going to end up with ice cream that tastes homemade because it is homemade, and that makes all the difference.
The beauty of this recipe is its versatility. Once you master the basic vanilla version, you can add different ingredients to create flavors you love. Think about swirling in some homemade sauce, adding crushed cookies, or incorporating fresh fruit. The possibilities are truly endless, and that’s what makes this recipe such a winner in my kitchen. For more inspiration on flavor combinations, check out resources like Bon Appétit and Serious Eats, which have amazing ice cream flavor ideas. You can also explore New York Times Cooking for creative variations on classic recipes.
Ingredients
- 2 cups heavy cream (cold)
- 1 cup whole milk (cold)
- 3/4 cup granulated sugar
- 5 large egg yolks
- 1 tablespoon vanilla extract (pure vanilla, not imitation)
- 1/4 teaspoon salt
- 1/2 teaspoon vanilla bean paste (optional, for extra vanilla flavor)
Instructions
- Combine the heavy cream and whole milk in a medium saucepan and place over medium heat. Heat the mixture until it’s steaming and small bubbles form around the edges, but do not let it boil. This should take about 5-7 minutes. Remove from heat.
- While the cream mixture heats, whisk together the egg yolks and granulated sugar in a separate medium bowl. Whisk for about 2-3 minutes until the mixture becomes pale and slightly thickened. This helps incorporate air and ensures the eggs cook evenly.
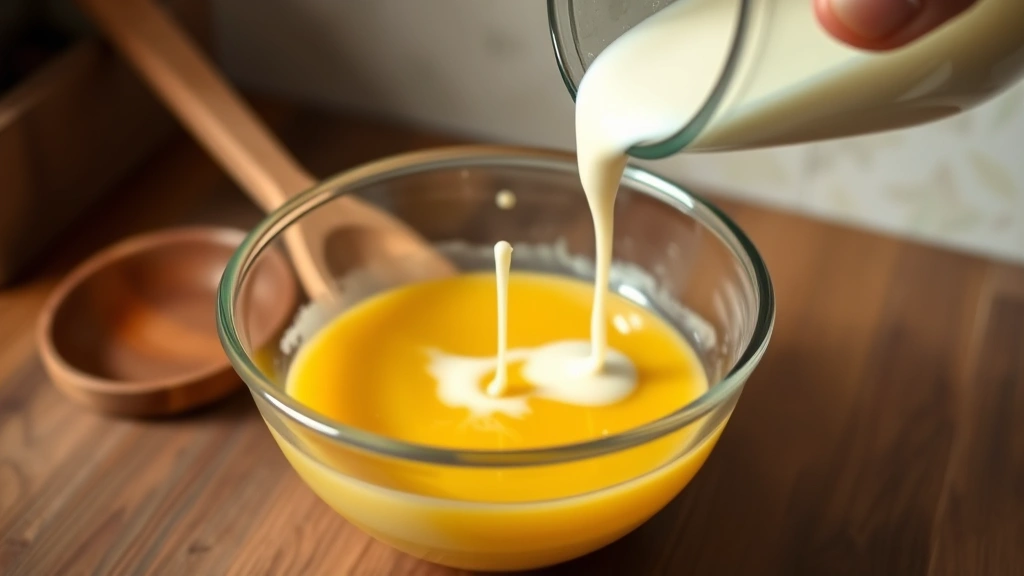
- Slowly pour about 1/2 cup of the hot cream mixture into the egg yolk mixture while whisking constantly. This is called tempering and it prevents the eggs from scrambling. Keep whisking as you pour.
- Continue adding the hot cream to the egg mixture in a slow, steady stream while whisking constantly. Once you’ve incorporated about half of the cream, you can pour the tempered egg mixture back into the saucepan with the remaining cream, whisking as you go.
- Place the saucepan back on medium heat and cook, stirring constantly with a wooden spoon or spatula, until the mixture reaches 170°F on an instant-read thermometer. This ensures the eggs are fully cooked and safe to eat. The mixture should coat the back of the spoon.
- Remove the saucepan from heat and stir in the vanilla extract, vanilla bean paste (if using), and salt. Taste the mixture and adjust sweetness or vanilla if desired.
- Pour the custard through a fine-mesh strainer into a bowl to remove any lumps or cooked egg pieces. This step is crucial for achieving that silky texture.
- Cover the bowl and refrigerate the custard for at least 2 hours, or preferably overnight. The colder the custard, the better your ice cream will turn out. You can also place an ice bath underneath the bowl to speed up the cooling process.
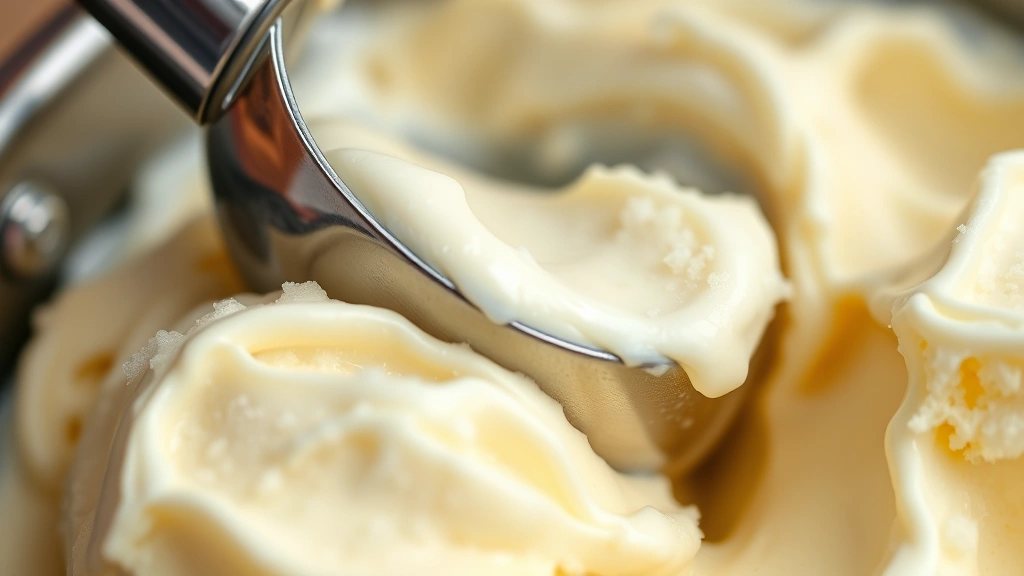
- Once the custard is completely chilled, pour it into your ice cream maker and churn according to the manufacturer’s instructions, typically 20-25 minutes. The ice cream should reach a soft-serve consistency.
- Transfer the churned ice cream to a freezer-safe container and freeze for at least 2-3 hours until firm enough to scoop. For the softest texture, let it sit at room temperature for 5 minutes before scooping.
- For no-churn method: whip 2 cups cold heavy cream to stiff peaks, fold in the chilled custard gently in two additions, transfer to a freezer-safe container, and freeze for at least 6 hours or overnight.
Pro Tips
Temperingthe eggs is the most important step for food safety. Pour slowly and whisk constantly to prevent scrambling. If you see any cooked egg pieces forming, you’re pouring too fast.
The custard must be completely cold before churning. A warm custard will not freeze properly in the ice cream maker and will result in a grainy texture.
If you don’t have an ice cream maker, the no-churn method produces excellent results, though the texture will be slightly less smooth than machine-churned ice cream. Just be sure to fold gently to maintain the whipped cream’s volume.
Store your ice cream in an airtight container to prevent ice crystals from forming. It keeps for about 2 weeks in the freezer.
For flavor variations, add mix-ins during the last 2-3 minutes of churning, or swirl them in after transferring to the container. Some favorites include crushed cookies, brownie chunks, fruit swirls, nuts, or chocolate chips.
If your ice cream is too hard to scoop after freezing, let it sit at room temperature for 5-10 minutes to soften slightly. Don’t leave it out too long or it will melt unevenly.
You can make this recipe up to a day ahead and keep the custard refrigerated until you’re ready to churn it. This is perfect for entertaining.
Using pure vanilla extract makes a noticeable difference in flavor compared to imitation vanilla. It’s worth the investment for homemade ice cream.
Pingback: How to make the BEST Asian Cucumber Salad Recipe! – Simple Recipe Finder
Pingback: How to Make the Best Shirataki Noodles Recipe! – Simple Recipe Finder
Pingback: How to make the Perfect Smashburger Sauce Recipe! – Simple Recipe Finder