
Royal icing is the crown jewel of cake decorating, and using meringue powder makes it foolproof, safe, and absolutely foolproof. This recipe creates the perfect consistency for piping intricate details, flooding, and creating showstopping designs on cookies, cakes, and gingerbread houses.
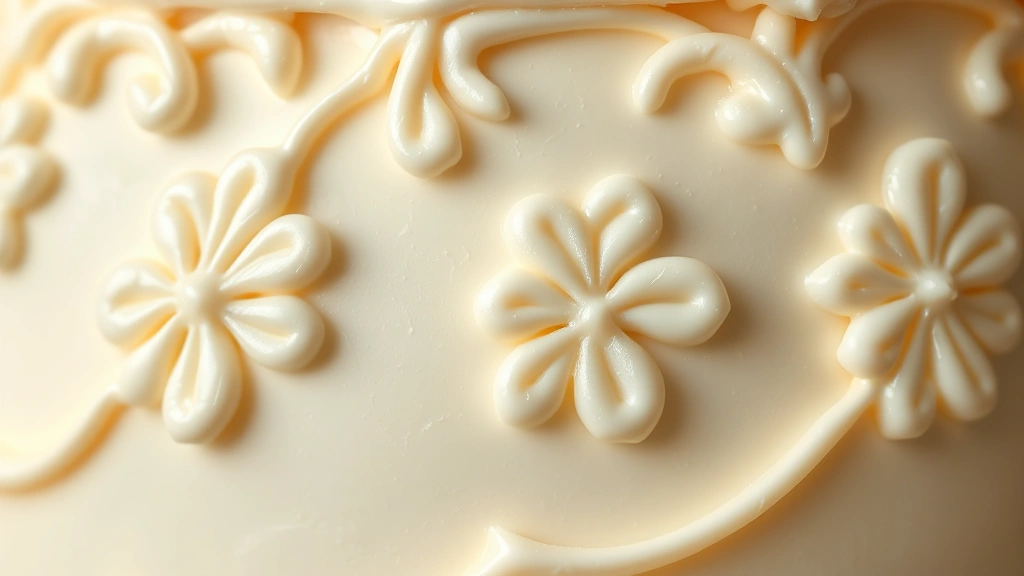
Meringue powder is a game-changer because it eliminates the food safety concerns of raw eggs while giving you that signature glossy finish and crisp drying time that makes royal icing so beloved by decorators everywhere. Whether you’re a seasoned cake artist or picking up a piping bag for the first time, this recipe will become your go-to for every special occasion.
I’ve been making royal icing for over fifteen years, and I can tell you that the meringue powder version is hands-down the most reliable. The key is getting the consistency absolutely right—too thick and you’ll have a lumpy mess, too thin and your details will slide right off your cookies. I’m sharing all my secrets today so you can create professional-looking designs that’ll have everyone asking how you did it.
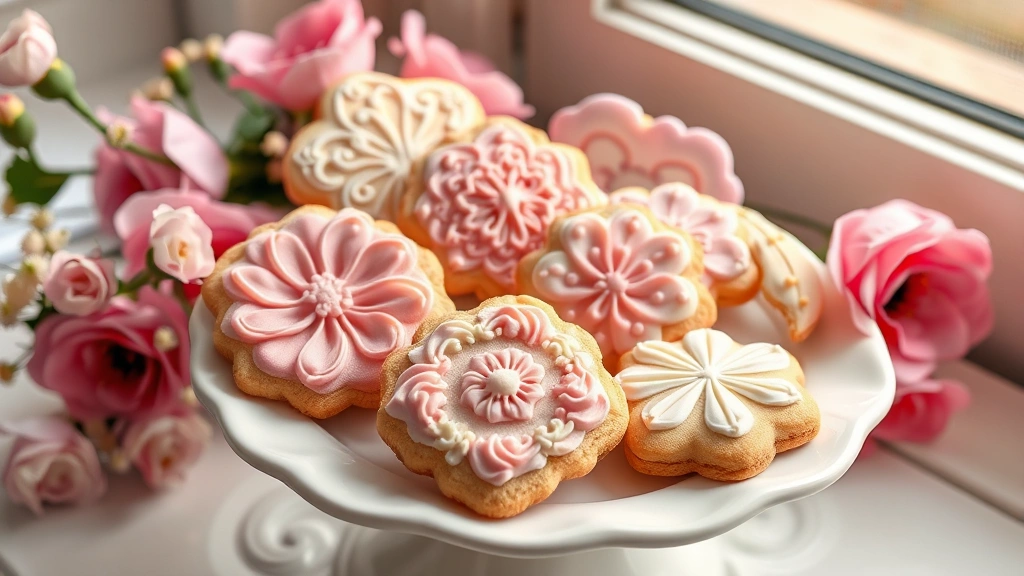
The beauty of this recipe is its versatility. Use it for delicate piping work on elegant desserts, flood intricate patterns onto sugar cookies, or decorate a stunning gingerbread house. You can also check out this royal icing guide from Bon Appétit for additional inspiration and techniques.
One of the reasons I adore meringue powder is the consistency it provides every single time. Unlike fresh egg whites which can vary in water content, meringue powder gives you predictable results. Plus, it’s food-safe without any concerns about salmonella, making these treats perfect for gifts or large gatherings.
This recipe makes enough icing for decorating several dozen cookies or a large tiered cake. I always recommend making it fresh on the day you plan to use it, though it will keep in an airtight container for up to two weeks. Just give it a good stir before using, as it may thicken slightly over time.
The technique of adding water gradually is crucial—this is where patience truly pays off. Start with less water than you think you need, then add it drop by drop until you reach that perfect consistency. For piping details, you want it thicker; for flooding, you want it slightly looser. This flexibility is what makes royal icing so special for decorative work.
I’ve decorated everything from intricate lace patterns on wedding cookies to whimsical designs on children’s birthday cakes, and this meringue powder royal icing has never let me down. The finish is always smooth, the drying time is predictable, and the taste is delightful without being overly sweet.
For more decorating ideas, check out creative plating techniques or explore Serious Eats’ comprehensive royal icing article for advanced tips and tricks. You might also enjoy seeing how this works with complementary dessert presentations.
Remember, the most important thing is to have fun with this. Royal icing is incredibly forgiving, and even if something doesn’t look perfect, it’ll still taste amazing. Start with simple designs and work your way up to more complex patterns. Before you know it, you’ll be creating masterpieces that look like they came from a professional bakery.
Ingredients
- 3 tablespoons meringue powder
- 4 to 5 tablespoons warm water
- 3 to 4 cups powdered sugar (sifted)
- 1/2 teaspoon vanilla extract or almond extract
- Pinch of salt
- Food coloring (gel or liquid, optional)
Instructions
- In a medium bowl, combine the meringue powder with 4 tablespoons of warm water, whisking until the mixture is smooth and frothy. Let it sit for about 1 minute to hydrate the meringue powder completely.
- Add 3 cups of sifted powdered sugar to the meringue powder mixture, stirring with an electric mixer on low speed until combined. The mixture will look quite thick and crumbly at this stage, which is perfectly normal.
- Add the vanilla extract and salt, continuing to mix on low speed. The icing will slowly begin to come together and become more cohesive.
- Gradually add more powdered sugar, one tablespoon at a time, while mixing on low speed. If the icing becomes too thick, add the remaining tablespoon of warm water drop by drop until you reach your desired consistency.
- For piping detail work and outlines, the icing should be thick enough that peaks hold their shape when you lift the whisk. For flooding and filling large areas, the icing should be slightly looser and flow more easily but still maintain its shape.
- If using food coloring, add gel or liquid coloring a few drops at a time, mixing thoroughly after each addition until you reach the desired shade. Gel coloring is preferred as it won’t thin out your icing like liquid coloring can.
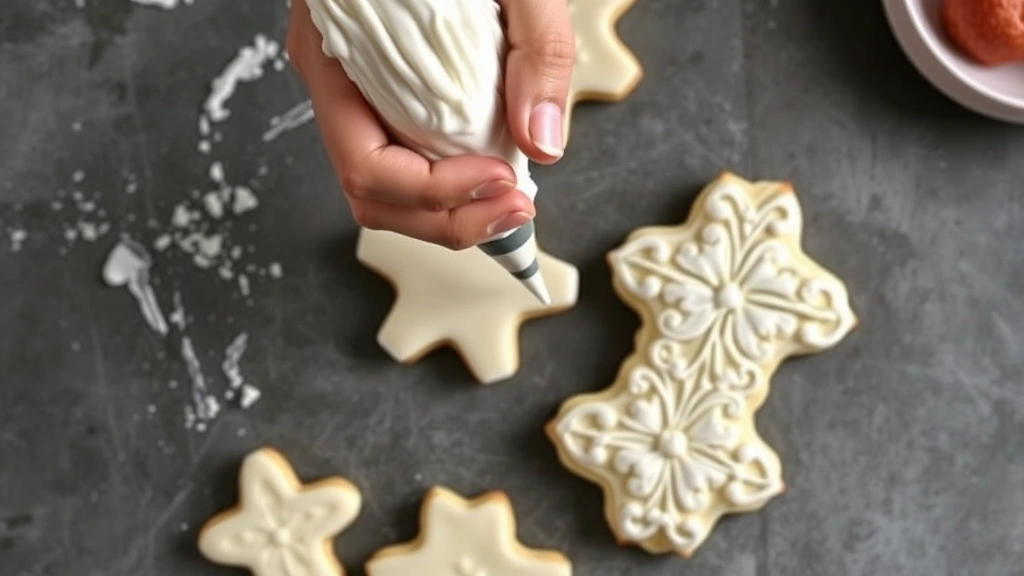
- Transfer the royal icing to a piping bag fitted with your desired tip for decorating, or keep it in a bowl and cover it with plastic wrap to prevent it from drying out while you work.
- Decorate your cookies, cakes, or gingerbread house as desired. The icing will begin to dry and set within 15 to 20 minutes, and will be completely dry and hardened within 2 to 4 hours depending on humidity and thickness.
- If the icing becomes too thick while decorating, add water one teaspoon at a time, mixing well. If it becomes too thin, add powdered sugar one tablespoon at a time until you reach the correct consistency again.
- Store any leftover royal icing in an airtight container at room temperature for up to two weeks. Stir well before using again, as it may have thickened slightly.
Pro Tips
- Meringue powder is the star ingredient here—it’s made from pasteurized egg whites, cornstarch, and gum arabic, making it completely food-safe without any raw egg concerns. This is especially important if you’re decorating for pregnant women, very young children, or elderly guests.
- Always sift your powdered sugar before using it in royal icing. Lumps will ruin your smooth finish and make piping incredibly frustrating. I recommend sifting it twice if you have the time.
- Water temperature matters more than you might think. Using warm water helps the meringue powder hydrate more quickly and dissolve evenly, resulting in a smoother icing with fewer lumps.
- The consistency of your royal icing depends entirely on how you plan to use it. For piping fine lines and details, you want a stiffer consistency—it should hold stiff peaks when you lift the whisk. For flooding large areas, thin it with a bit more water so it flows smoothly but still holds its shape.
- If you’re planning to do both piping and flooding, make two batches or divide your batch in half. Keep the thicker portion for piping details and thin the other half for flooding.
- Gel food coloring is superior to liquid coloring because it won’t thin out your icing the way liquid coloring does. You only need a toothpick dab of gel coloring to achieve vibrant colors.
- Royal icing dries much faster in low humidity environments. If you’re working in a humid climate, it may take longer to dry. You can use a fan on low speed nearby to help speed up the drying process.
- Never add too much water at once. Add it literally one drop at a time once you’re near your desired consistency. It’s much easier to add more water than to add more powdered sugar and potentially throw off your recipe.
- Cover your bowl of royal icing with a damp paper towel or plastic wrap whenever you’re not actively using it. This prevents the icing from drying out and forming a crust, which will ruin your smooth piping.
- If your icing develops lumps, strain it through a fine-mesh sieve to remove them. This is a lifesaver and takes just a minute.
- Royal icing made with meringue powder has a slightly different taste than icing made with fresh egg whites, but it’s still delicious. It’s slightly less sweet and has a more neutral flavor profile.
- For the smoothest finish on cookies, pipe your outline first and let it set for 5 minutes, then flood the interior with slightly thinner icing. This prevents the outline from bleeding and gives you the most professional appearance.
- If you’re decorating cookies for an event, make them at least the day before. This gives the icing plenty of time to set completely, and the cookies will be much easier to transport without smudging the decoration.