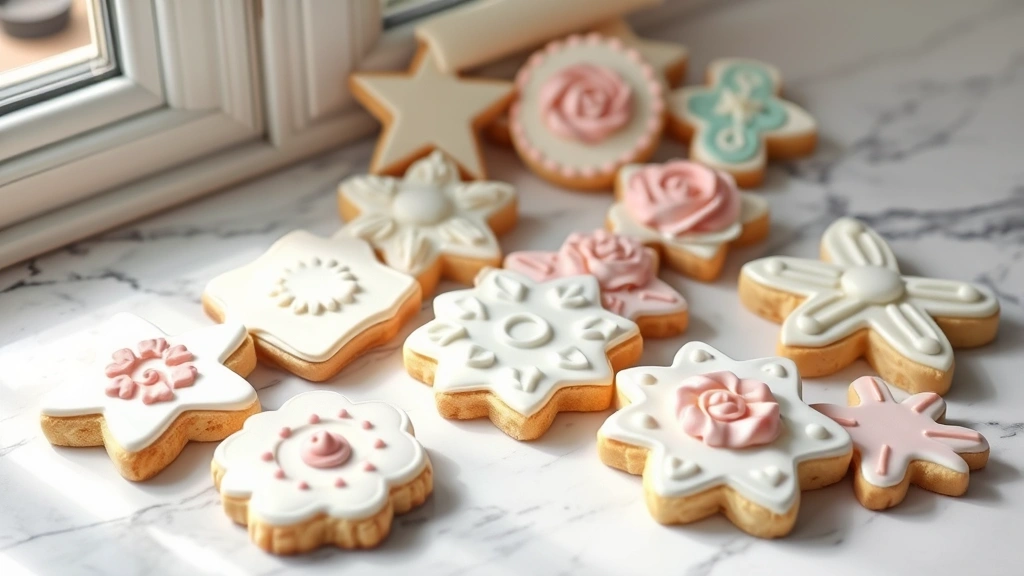
Royal icing is the crown jewel of cookie decorating, and making it without meringue powder is entirely possible—and honestly, quite simple! This easy royal icing recipe uses just three basic ingredients you likely already have in your kitchen: egg whites, powdered sugar, and a touch of vanilla extract. Whether you’re decorating holiday cookies, creating intricate piped designs, or filling in large areas with a smooth, glossy finish, this no-meringue-powder version works beautifully every single time.
I’ve been making royal icing for years, and I can tell you that the traditional method using fresh egg whites is actually the most authentic and reliable way to go. There’s something so satisfying about watching a simple mixture of eggs and sugar transform into the perfect decorating medium. The beauty of this recipe is that it requires minimal ingredients and even less fuss—no special powders, no complicated steps, just pure, simple elegance.
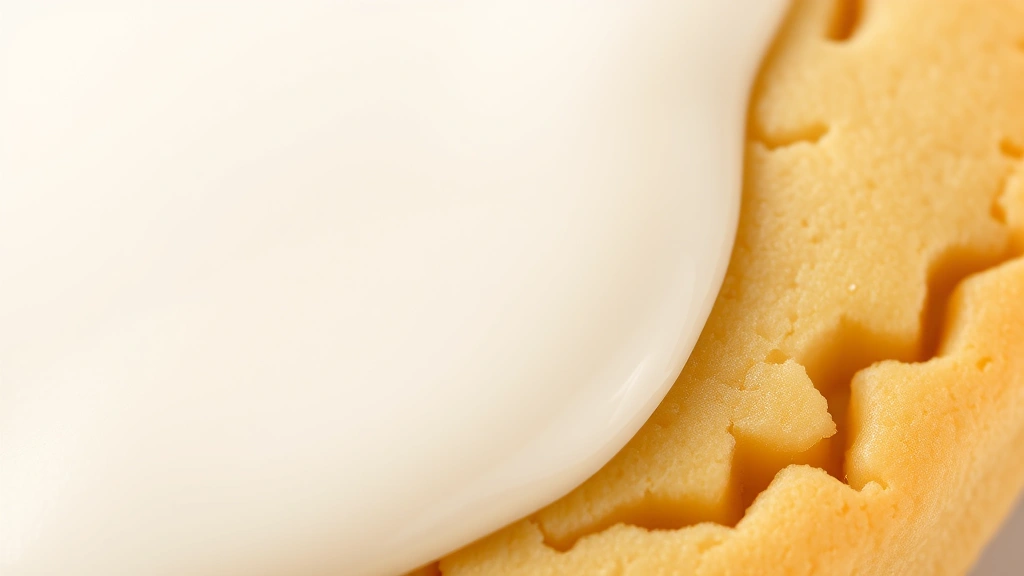
What makes royal icing so special is its incredible versatility. You can thin it out to create a smooth glaze that flows effortlessly over cookies, or keep it thick for piping delicate details and dimensional designs. It dries with a beautiful matte finish and creates that signature hard shell that makes decorated cookies perfect for gift-giving. Unlike buttercream or fondant, royal icing sets completely firm, making it ideal for stacking cookies or creating show-stopping displays.
The key to success with this recipe is understanding the consistency you need for different applications. Thick icing is perfect for piping outlines and details, while thinner icing (sometimes called flood icing) creates that smooth, glazed appearance. I’ll walk you through exactly how to achieve both, plus all my professional tips and tricks for foolproof results every single time. Once you master this basic royal icing recipe, you’ll wonder why you ever thought about using anything else.
This recipe makes enough icing to decorate several dozen cookies, and any leftover can be stored in an airtight container for up to a week. If you’re planning to decorate multiple batches of cookies or want to try your hand at more elaborate designs, this is the recipe to bookmark. Trust me, your cookies will thank you, and your friends and family will be absolutely amazed by your professional-looking creations. Let’s dive in and create some cookie magic together!
Ingredients
- 2 large egg whites (room temperature)
- 3 to 4 cups powdered sugar (sifted)
- 1 teaspoon vanilla extract
- 2 to 3 tablespoons warm water (or as needed for consistency)
- Pinch of salt (optional, but recommended)
Instructions
- Begin by ensuring your mixing bowl and beaters are completely clean and free of any oil or grease, as even the smallest amount can prevent your egg whites from whipping properly.
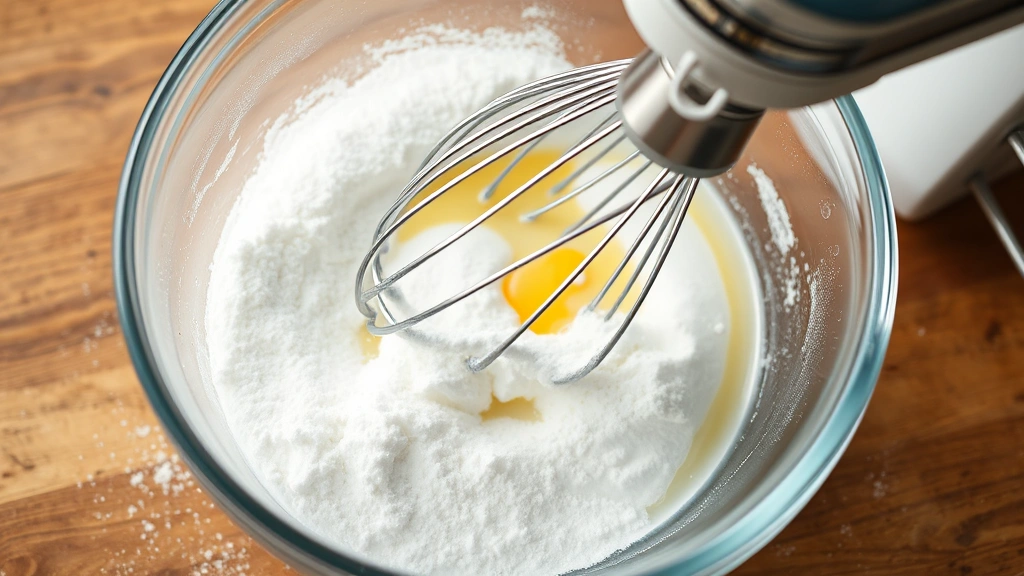
- Add the 2 room-temperature egg whites to your mixing bowl and beat on medium-high speed for about 1 minute until they become foamy and slightly thickened.
- With the mixer still running, gradually add 3 cups of the sifted powdered sugar, one cup at a time, beating well after each addition to incorporate smoothly.
- Pour in the vanilla extract and add a pinch of salt if using, then continue beating until the icing becomes thick and fluffy, approximately 2 to 3 minutes total.
- Add warm water one tablespoon at a time, mixing on low speed after each addition, until you reach your desired consistency—the icing should be thick but spreadable for piping.
- If you need thicker icing for detailed piping work, add more powdered sugar one tablespoon at a time; if you need thinner icing for flooding, add water by the teaspoon.
- Transfer the royal icing to a piping bag fitted with your desired tip for decorating, or keep it in a bowl and apply with a spreader or spatula.
- Work quickly, as royal icing begins to crust over after about 10 to 15 minutes of exposure to air, so keep any unused icing covered with a damp towel.
- Allow decorated cookies to sit at room temperature for at least 4 to 6 hours, or preferably overnight, until the icing is completely hardened and set.
- Store any leftover royal icing in an airtight container at room temperature for up to one week, or transfer to the refrigerator for up to two weeks before using.