
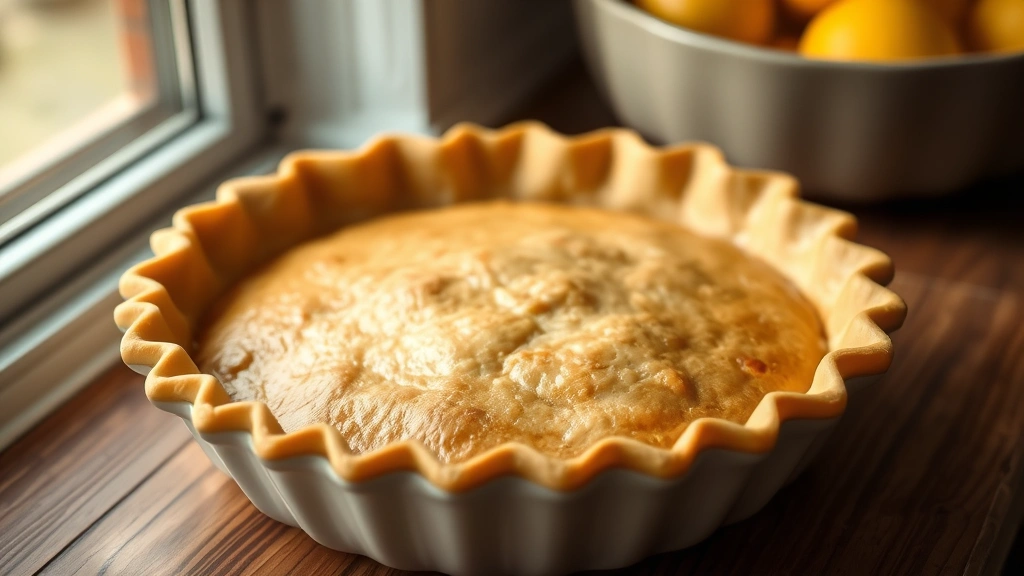
Making the perfect pie crust from scratch is easier than you think, and homemade is always better than store-bought! This single pie crust recipe is foolproof, flaky, and absolutely delicious. Whether you’re baking a savory quiche or a sweet fruit pie, this versatile crust will become your go-to recipe.
I absolutely love baking pies, and after years of testing different techniques and ingredients, I’ve finally perfected my single pie crust recipe. The secret to achieving that coveted flaky texture is keeping everything cold and handling the dough as little as possible. This recipe yields one 9-inch pie crust that’s buttery, tender, and perfect for any pie filling you have in mind.
What makes this recipe so special is how simple it truly is. You only need five basic ingredients that you probably already have in your pantry: flour, butter, salt, sugar, and ice water. No fancy equipment required—just your hands, a bowl, and a rolling pin. I’ve walked countless bakers through this process, and I can promise you that if you follow these steps carefully, you’ll end up with a crust that rivals any bakery.
This homemade approach is so much better than using pre-made crusts. Not only is it more economical, but you also have complete control over the ingredients and flavor. You can even customize it by adding herbs or spices if you’re making a savory pie, similar to how you’d season a chicken alfredo.
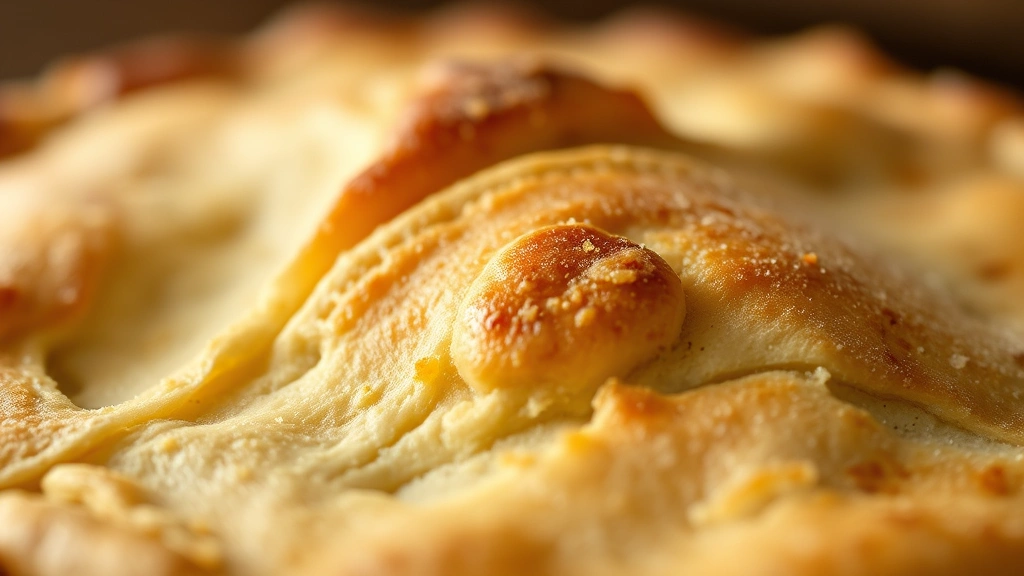
The beauty of this recipe is its versatility. Use it for classic apple pie, elegant fruit tarts, creamy custard pies, or even savory applications. I’ve made this crust dozens of times, and every single time it turns out perfectly. The combination of cold butter and proper technique creates those beautiful, flaky layers that make homemade pie crust so irresistible.
One thing I always emphasize is that pie crust doesn’t need to be intimidating. Many home bakers worry they’ll mess it up, but honestly, this recipe is quite forgiving once you understand the basic principles. The key is maintaining cold ingredients, working quickly, and not overworking the dough. I’ll walk you through every single step to ensure your success.
If you’re planning a special dessert, you might also want to explore other filling options. A creamy filling works beautifully in this crust, and you could even pair it with a complementary sauce for an elegant presentation.
Once you master this basic pie crust, you’ll find yourself making pies all the time. It freezes beautifully, so you can make extra crusts and keep them on hand for whenever inspiration strikes. I always have at least one or two in my freezer, ready for a spontaneous baking adventure.
Ingredients
- 1 1/4 cups all-purpose flour
- 1/2 teaspoon salt
- 1 tablespoon granulated sugar
- 1/2 cup (1 stick) cold unsalted butter, cubed
- 3-4 tablespoons ice water
Instructions
- In a large bowl, whisk together the flour, salt, and sugar. Make sure these dry ingredients are evenly combined.
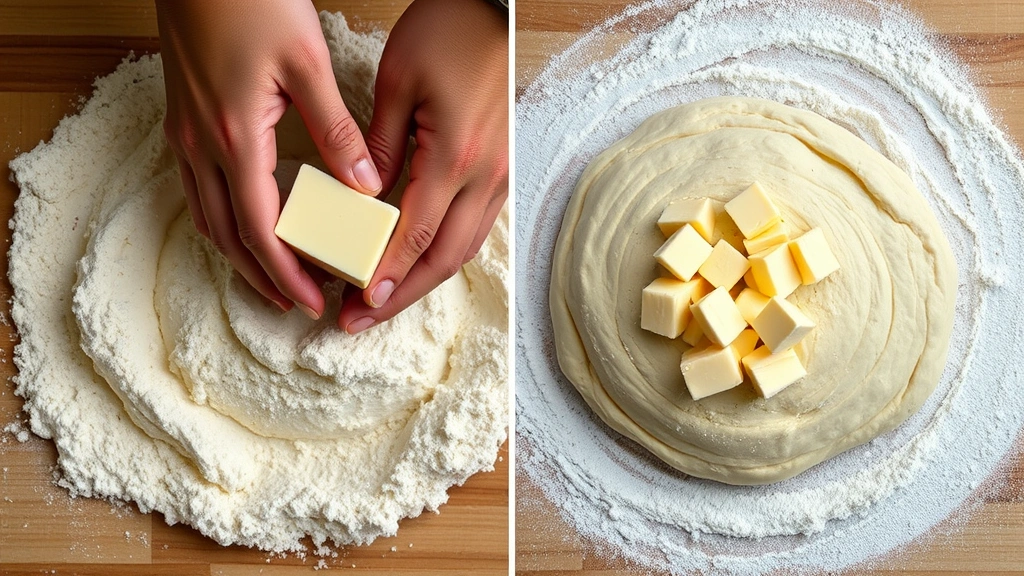
- Add the cold cubed butter to the flour mixture. Using a pastry cutter, two knives, or your fingertips, work the butter into the flour until the mixture resembles coarse breadcrumbs with pea-sized pieces of butter throughout.
- Sprinkle 3 tablespoons of ice water over the mixture and gently toss with a fork. Add more ice water one tablespoon at a time if needed, just until the dough begins to come together.
- Form the dough into a flat disk, wrap it in plastic wrap, and refrigerate for at least 30 minutes, or up to 2 hours.
- Remove the dough from the refrigerator and let it sit at room temperature for 5 minutes to soften slightly before rolling.
- On a lightly floured surface, place the dough disk and begin rolling from the center outward, rotating the dough a quarter turn frequently to maintain an even thickness.
- Continue rolling until you have a circle approximately 11-12 inches in diameter and about 1/8 inch thick.
- Carefully transfer the rolled dough to your 9-inch pie pan by rolling it loosely around your rolling pin and unrolling it over the pan.
- Gently press the dough into the bottom and sides of the pan, allowing it to overhang the edge slightly.
- Trim the excess dough to about 1/2 inch beyond the pan edge and fold it under to create a finished edge.
- Crimp the edge decoratively with your fingers or a fork if desired.
- For a fully baked crust, prick the bottom with a fork, line with parchment paper, fill with pie weights or dried beans, and bake at 425°F for 15 minutes. Remove weights and bake an additional 5-10 minutes until golden.
- For a partially baked crust, prick the bottom with a fork and bake at 425°F for 5-7 minutes until just set but still pale.
- Allow the crust to cool slightly before adding your filling, or refrigerate until ready to use.
Pro Tips
- The most important thing for a flaky crust is keeping everything cold. Warm butter will result in a tough, dense crust rather than the desired flaky texture. I recommend chilling your bowl and even your flour for 15 minutes before starting if your kitchen is particularly warm.
- Don’t overwork the dough. You want visible butter pieces in your mixture—these create the flaky layers as they melt during baking. Mix just until the dough barely comes together.
- Ice water is essential. Regular room temperature water will activate the gluten too quickly and make your crust tough. Keep your water in the freezer and add it gradually.
- If your dough cracks when rolling, don’t panic. Simply patch it with a small piece of dough and continue. These imperfections will be invisible once baked.
- This crust freezes beautifully for up to three months. Wrap the unbaked dough disk tightly in plastic wrap and freeze. You can bake it directly from frozen, adding just a few extra minutes to the baking time.
- For a pre-baked crust, the weights prevent the crust from puffing up during baking. Pie weights are wonderful, but dried beans or even crumpled parchment paper works equally well.
- If your crust is browning too quickly during baking, tent it with aluminum foil to prevent over-browning while the filling cooks.
- For extra flavor, try adding 1/2 teaspoon of vanilla extract or a pinch of nutmeg to the dry ingredients. You could also add lemon zest for a subtle citrus note.
- The dough can be made up to two days ahead. Simply keep it wrapped in the refrigerator until you’re ready to roll and use it.
- If you’re making a wet filling like fruit pie, blind baking (pre-baking) the crust for the full 20-25 minutes prevents a soggy bottom crust.
- Room temperature matters—if your dough is too cold, it becomes brittle and cracks when rolling. If it’s too warm, it becomes sticky. Aim for cool but pliable.