
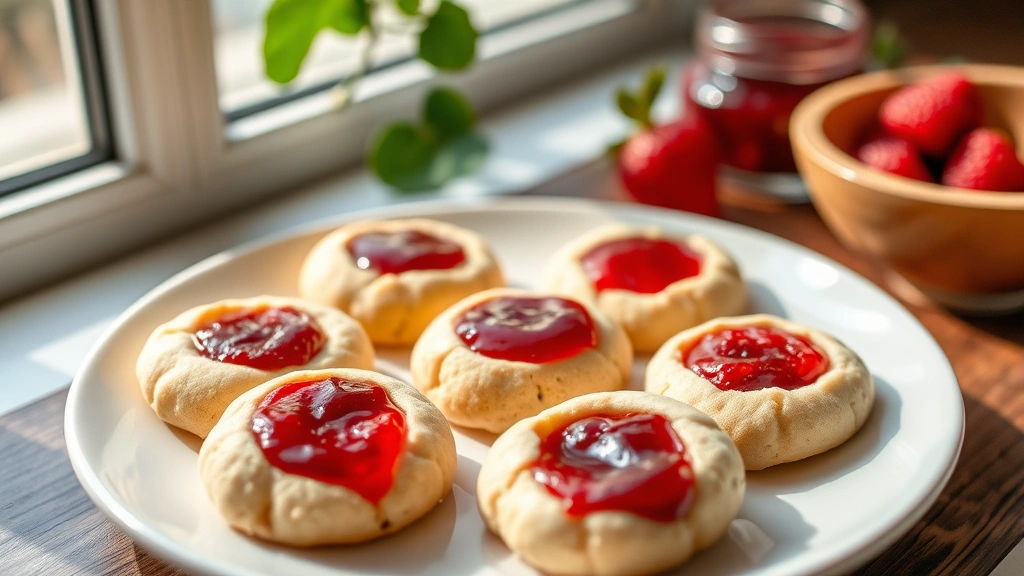
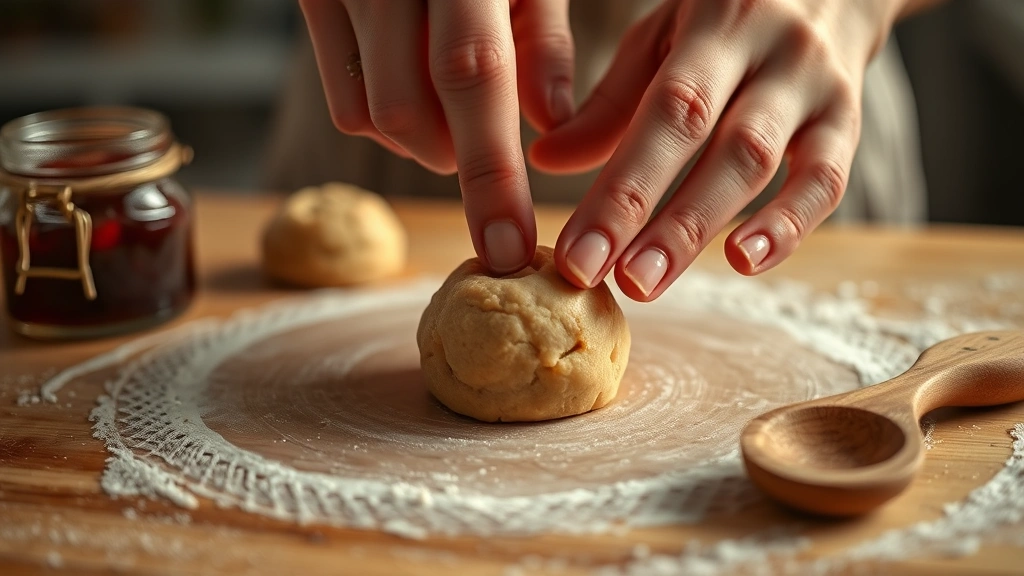
These adorable thumbprint cookies are an absolute classic that never goes out of style! With their buttery, tender shortbread base and jewel-toned jam centers, they’re the perfect addition to any cookie platter. What I love most about this thumbprint cookie recipe is how incredibly simple it is to make—you don’t need any fancy equipment or advanced baking skills. The dough comes together in minutes, and the most fun part is pressing your thumb into each cookie to create that signature indent before baking.
I’ve been making these cookies for years, and they’re always a hit with family and friends. They’re elegant enough for holiday gatherings and tea parties, yet casual enough for everyday snacking. The beauty of this recipe is its versatility—you can use any jam you like, from classic strawberry to more adventurous flavors like apricot or raspberry. I often make a batch with mixed jams to add visual interest to my dessert table.
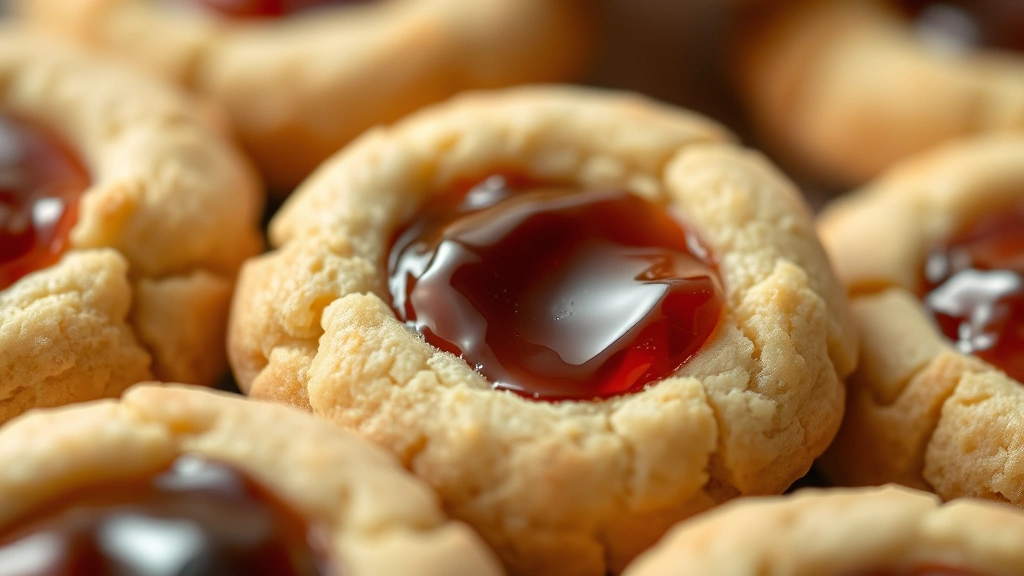
What makes these cookies extra special is their tender, melt-in-your-mouth texture. The secret is using quality butter and not overmixing the dough. You want the mixture to be just combined, creating a delicate crumb structure that bakes up perfectly. These cookies stay fresh for several days in an airtight container, making them ideal for meal prep or gift-giving.
If you’re looking for more classic baking inspiration, you might enjoy exploring our other beloved recipes that bring joy to the kitchen. You can also check out our collection of crowd-pleasing dishes perfect for entertaining.
The best part about thumbprint cookies is how customizable they are. You can use different types of jam, add a sprinkle of sugar to the dough before baking, or even dip the cooled cookies in melted chocolate for extra decadence. Some bakers like to add a hint of vanilla or almond extract to the dough for additional flavor complexity. For more creative cookie ideas and techniques, check out Serious Eats’ baking guides and Bon Appétit’s dessert collection.
These cookies are perfect for several occasions: holiday cookie exchanges, afternoon tea parties, school bake sales, or simply as a treat to enjoy with your morning coffee. They’re also wonderful to make with kids since the thumbprint pressing is engaging and fun. The recipe yields about two dozen beautiful cookies, which is the perfect amount for sharing or stashing away in the cookie jar for the week ahead.
One of my favorite tips for success with this thumbprint cookie recipe is to ensure your jam isn’t too runny. If your jam tends to spread during baking, try using a thicker preserve or jam that’s been cooked down slightly. You want it to stay nestled in that perfect little indent rather than spreading across the cookie. Also, don’t skip the chilling step—it helps the cookies hold their shape beautifully during baking.
For additional baking inspiration and techniques, explore The New York Times cooking section which offers wonderful classic recipes. You might also enjoy making complementary desserts and treats to round out your baking repertoire.
I encourage you to make this recipe your own. Try different jam flavors, experiment with extracts, or add a touch of lemon zest to the dough. The basic formula is so solid that it can handle creative modifications beautifully. Once you master this classic thumbprint cookie recipe, you’ll find yourself making it again and again throughout the year.
Ingredients
- 2 1/4 cups all-purpose flour
- 1/2 teaspoon salt
- 1 cup (2 sticks) unsalted butter, softened to room temperature
- 3/4 cup granulated sugar
- 1 large egg yolk
- 1 teaspoon vanilla extract
- 3/4 cup jam or jelly (strawberry, raspberry, or your favorite flavor)
- 2 tablespoons powdered sugar (optional, for dusting)
Instructions
- Preheat your oven to 350°F (175°C). Line two large baking sheets with parchment paper or silicone baking mats.
- In a small bowl, whisk together the all-purpose flour and salt. Set aside.
- In a large mixing bowl, cream together the softened butter and granulated sugar. Beat on medium speed for 2-3 minutes until the mixture is light and fluffy, scraping down the sides of the bowl as needed.
- Add the egg yolk and vanilla extract to the butter mixture. Mix on medium speed until well combined and the mixture looks smooth.
- Gradually add the flour mixture to the wet ingredients, mixing on low speed until just combined. Do not overmix—you want a tender dough, not a tough one.
- Scoop the dough into 1-inch balls using a cookie scoop or tablespoon measure. Place the balls about 2 inches apart on the prepared baking sheets.
- Cover the baking sheets with plastic wrap and refrigerate for at least 45 minutes. This step is important for maintaining the cookies’ shape during baking.
- Remove the chilled dough balls from the refrigerator. Using the back of a teaspoon or your thumb, gently press an indent into the center of each cookie ball, being careful not to press all the way through to the bottom of the cookie.
- Spoon approximately 1 teaspoon of jam into each indent. Don’t overfill—a little goes a long way and prevents the jam from spreading too much during baking.
- Bake in the preheated 350°F oven for 12-15 minutes, or until the cookies are set and the edges are just barely golden brown. The centers should still appear slightly underdone.
- Remove the baking sheets from the oven and allow the cookies to cool on the pan for 5 minutes. This allows the jam to set slightly.
- Transfer the warm cookies to a wire cooling rack and allow them to cool completely before serving.
- Once cooled, dust lightly with powdered sugar if desired. Store in an airtight container at room temperature for up to 5 days.
Pro Tips
Don’t overmix your dough once you add the flour. Mix just until the dry ingredients are incorporated—this prevents gluten development and keeps the cookies tender and delicate.
Chilling the dough is absolutely essential for this recipe. It prevents the cookies from spreading too much during baking and helps maintain their shape, especially important for the jam-filled center.
When pressing the indent, use the back of a teaspoon or your thumb. Be gentle but firm—you want a good-sized pocket for the jam but not so deep that you break through the bottom of the cookie.
Choose a jam that’s not too thin or runny. If your jam seems watery, you can cook it down for a few minutes before using, or select a thicker preserve instead.
For a festive twist, try using different colored jams in different cookies—strawberry, raspberry, and apricot create a beautiful colorful display.
These cookies can be made ahead and frozen for up to 3 months. You can freeze them either before or after baking. If freezing unbaked, chill them first, then freeze in an airtight container. Bake from frozen, adding an extra 2-3 minutes to the baking time.
For extra indulgence, dip the cooled cookies halfway in melted chocolate. The combination of buttery cookie, jam, and chocolate is absolutely divine.
If you prefer sweeter cookies, you can increase the sugar to 1 cup, though the current amount provides a nice balance that lets the jam shine.
For a sophisticated flavor variation, add 1/2 teaspoon of almond extract along with the vanilla, or add a teaspoon of lemon zest to the dough for brightness.
These cookies travel well, making them perfect for bake sales, potlucks, and gift boxes. They hold up nicely and stay fresh for several days when stored properly.