

There’s something absolutely magical about homemade baked chicken tenders—they’re crispy on the outside, impossibly tender on the inside, and so much better than anything you’d find in a freezer box. I grew up eating chicken tenders, and while I loved them, I knew there had to be a way to make them even more special. This recipe is the result of years of perfecting the technique, and I’m thrilled to share it with you today.
Baked chicken tenders are one of those recipes that seems deceptively simple but requires a little finesse to get absolutely right. The secret lies in proper preparation, the right coating technique, and understanding how your oven works. When you make them at home, you control every ingredient—no mysterious additives, no preservatives, just real chicken and wholesome pantry staples. This means they’re perfect for family dinners, meal prep, or even as an elegant appetizer when you dress them up a bit.
What I absolutely love about this recipe is its versatility. Serve them with pickled red onions for a bright, fresh accompaniment, or pair them with your favorite dipping sauce. They’re naturally gluten-free if you use the right breadcrumb option, and they freeze beautifully for busy weeknights. Whether you’re cooking for picky eaters or sophisticated palates, these baked chicken tenders deliver consistent, delicious results every single time.
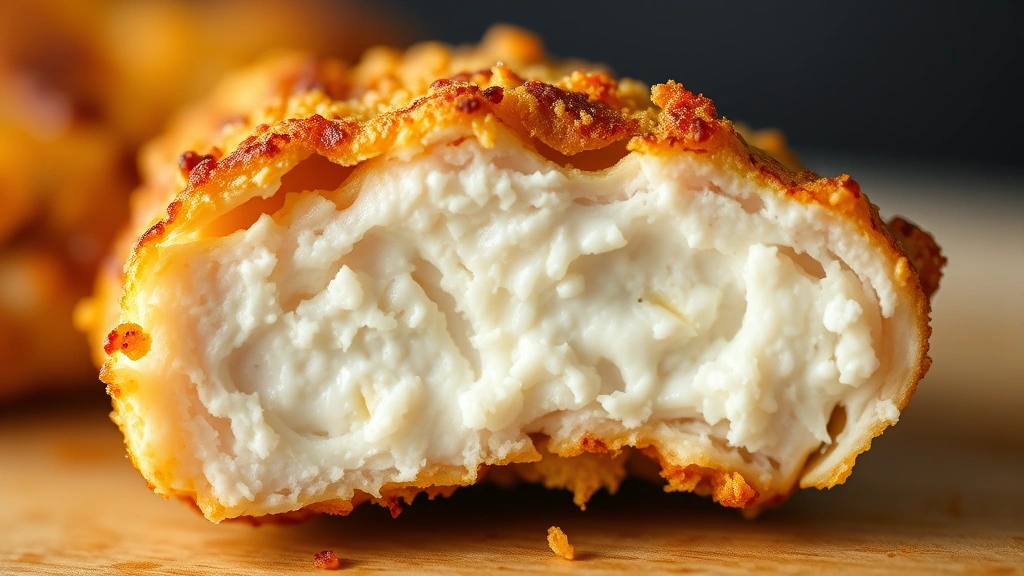
The technique I’m sharing today produces that coveted golden-brown exterior with a juicy, flavorful interior. We’re using a combination of panko breadcrumbs and a carefully seasoned coating that creates incredible texture without deep frying. The key is not skipping the brining step—it ensures your chicken stays moist throughout the cooking process. I also recommend investing in a good quality meat thermometer to ensure perfect doneness every time.
These tenders are perfect as a main course served alongside roasted vegetables or a crisp salad, but they’re equally at home as part of a fun chickpea salad for lunch. You can even shred them and use them in pasta dishes—try pairing them with a creamy alfredo sauce for an elegant dinner. The possibilities are truly endless, which is why I make a batch at least twice a month.
Before we dive into the recipe, I want to mention that the quality of your chicken matters tremendously. Look for chicken breasts that are similar in thickness—if they’re too thin, they’ll dry out, and if they’re too thick, the outside will brown before the inside cooks through. Don’t be shy about gently pounding them to an even thickness. This small step makes a huge difference in the final result.
One more tip from my kitchen to yours: let your breaded tenders rest in the refrigerator for at least thirty minutes before baking. This helps the coating adhere better and creates that beautiful, crispy exterior. I know it feels like an extra step, but trust me—it’s absolutely worth the wait. You can even prepare them the night before and bake them fresh the next day, making them perfect for meal planning.
I’m confident that once you master this recipe, you’ll be making these baked chicken tenders regularly. They’re crowd-pleasers that deliver restaurant-quality results in your own kitchen. Let me show you exactly how I make them.
Ingredients
- 1 pound boneless, skinless chicken breasts
- 1 cup whole milk or buttermilk
- 1 tablespoon kosher salt (for brining)
- 1 cup all-purpose flour
- 2 large eggs
- 1 tablespoon water
- 1 1/2 cups panko breadcrumbs
- 1 teaspoon garlic powder
- 1 teaspoon onion powder
- 1 teaspoon smoked paprika
- 1/2 teaspoon cayenne pepper (optional)
- 1 teaspoon dried Italian seasoning
- 1 teaspoon kosher salt
- 1/2 teaspoon black pepper
- 2 tablespoons grated Parmesan cheese
- 2 tablespoons olive oil or cooking spray
Instructions
- Pat your chicken breasts dry with paper towels and place them on a cutting board. Using a sharp knife, carefully slice each breast lengthwise into 3/4-inch thick strips to create uniform tenders.
- If some tenders are thicker than others, place them between two pieces of plastic wrap and gently pound with a meat mallet until they’re all about the same thickness—roughly 1/2 inch.
- In a shallow bowl or container, combine the milk and 1 tablespoon of kosher salt, stirring until the salt dissolves. This creates a simple brine that will keep your chicken incredibly moist.
- Place the chicken tenders in the brine, making sure they’re all submerged. Cover and refrigerate for at least 2 hours, or up to overnight for best results.
- When ready to cook, preheat your oven to 400°F (200°C). Line a large baking sheet with parchment paper or aluminum foil for easy cleanup.
- In a shallow dish, whisk together the flour, 1/4 teaspoon of salt, and 1/4 teaspoon of black pepper. This will be your first coating station.
- In another shallow dish, whisk together the eggs and water until well combined. This is your second coating station and helps everything stick together beautifully.
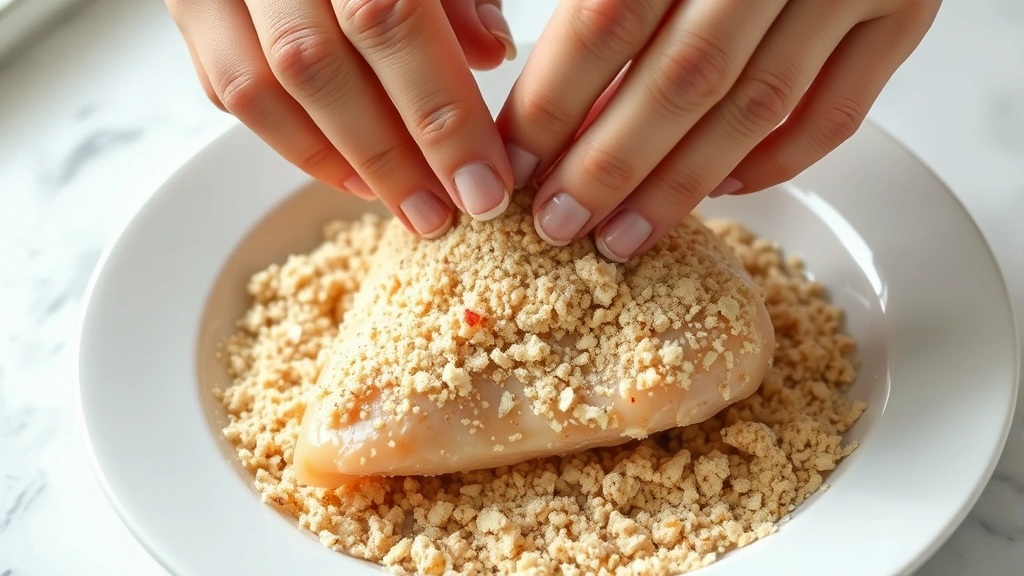
- In a third shallow dish, combine the panko breadcrumbs, garlic powder, onion powder, smoked paprika, cayenne pepper, Italian seasoning, remaining salt, remaining black pepper, and Parmesan cheese. Mix these seasonings thoroughly so they’re evenly distributed throughout the breadcrumbs.
- Remove the chicken tenders from the brine one at a time. Shake off any excess liquid and pat gently with a paper towel—you want them moist but not dripping wet.
- Working with one tender at a time, coat it in the flour mixture, shaking off any excess. This light flour coating helps the egg adhere properly.
- Dip the flour-coated tender into the egg mixture, allowing any excess to drip back into the bowl. Make sure it’s thoroughly coated on all sides.
- Now transfer the tender to the seasoned breadcrumb mixture. Press it gently into the breadcrumbs, making sure to coat all sides evenly. This is where the magic happens and you create that beautiful golden crust.
- Place the breaded tender on your prepared baking sheet, spacing them about an inch apart so they cook evenly and develop a crispy exterior.
- Repeat the breading process with the remaining chicken tenders, arranging them all on the baking sheet in a single layer.
- Once all tenders are breaded, place the baking sheet in the refrigerator for at least 30 minutes. This resting period helps the coating adhere better and creates superior texture.
- Remove the baking sheet from the refrigerator and lightly brush or spray each tender with olive oil or cooking spray. This promotes even browning and creates that coveted crispy exterior without deep frying.
- Place the baking sheet in your preheated 400°F oven and bake for 18-22 minutes, until the coating is golden brown and crispy.
- To ensure doneness, use an instant-read thermometer to check that the internal temperature has reached 165°F (74°C) at the thickest part of the largest tender.
- Remove from the oven and let the tenders rest on the baking sheet for 3-5 minutes before serving. This allows the coating to set and keeps them extra juicy.
- Serve your beautiful homemade baked chicken tenders hot with your favorite dipping sauces and sides.
Pro Tips
The resting period in the refrigerator after breading is absolutely crucial for the best texture. It allows the coating to adhere properly and creates a crispier exterior. You can breade the tenders up to 24 hours in advance and store them covered in the refrigerator.
For extra crispy tenders, brush them lightly with olive oil or cooking spray before baking. This step mimics the results of deep frying but with a fraction of the oil and calories. Cooking spray works wonderfully and creates an evenly crispy coating.
These baked chicken tenders freeze beautifully both before and after cooking. To freeze uncooked tenders, arrange the breaded ones on a baking sheet, freeze until solid, then transfer to a freezer bag for up to three months. Bake directly from frozen, adding 5-10 extra minutes to the cooking time.
For leftover cooked tenders, store them in an airtight container in the refrigerator for up to four days. Reheat in a 350°F oven for about 8 minutes to restore crispiness, or enjoy them cold in salads and sandwiches.
Customize the seasoning blend to suit your preferences—try Italian herbs, Cajun spices, or even a barbecue coating. The basic technique remains the same, so you can make these tenders your own signature dish.
Serve with homemade or store-bought dipping sauces like honey mustard, ranch, barbecue sauce, or a simple lemon aioli. These tenders are also fantastic in wraps, salads, or alongside roasted vegetables for a complete meal.