
A basil oil recipe is one of those kitchen secrets that transforms ordinary dishes into something restaurant-worthy in seconds. I discovered this five-minute method years ago, and honestly, it’s become my go-to for adding that bright, herbaceous punch to everything from pasta to soups to grilled vegetables.
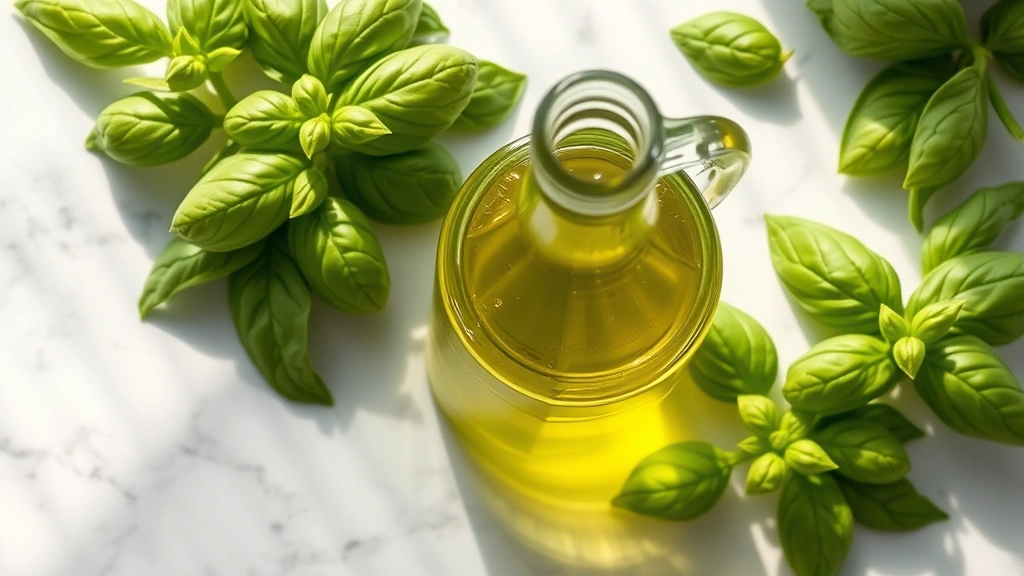
What makes basil oil so magical? It captures the essence of fresh basil at its peak—that vibrant green color, the peppery notes, the subtle anise undertones—all preserved in silky oil that’s ready whenever you need it. Unlike dried basil, which loses its delicate flavor quickly, this infusion stays potent and aromatic for weeks in your fridge.
Jump To Section
The beauty of this approach is its simplicity. No fancy equipment, no complicated techniques. Just fresh basil, neutral oil, and five minutes of your time. I use this basil oil on sun-dried tomato pasta, drizzle it over fresh tomato soup, and swirl it into creamy risottos. It’s become essential to my cooking routine.
Why This Recipe Works
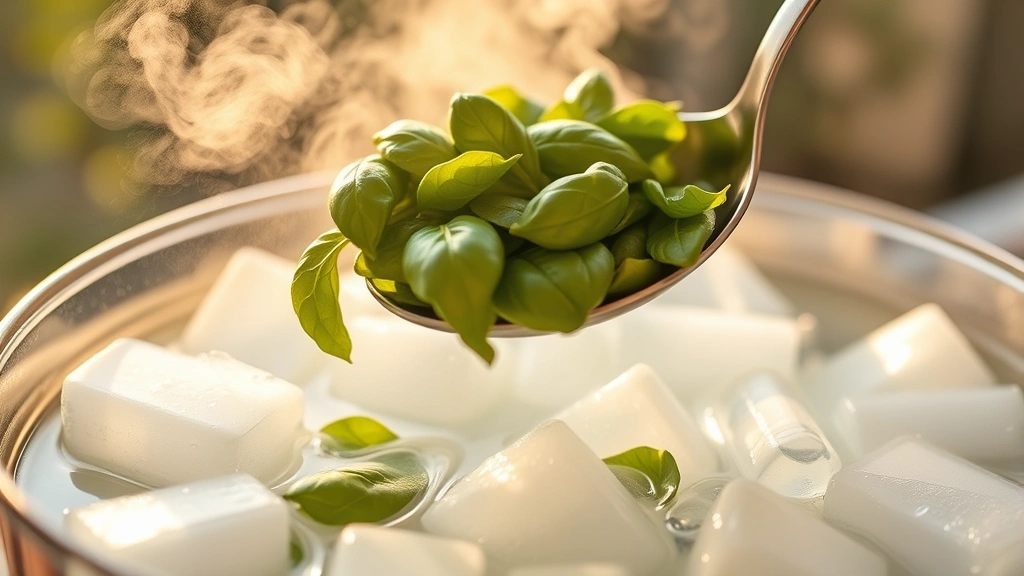
The five-minute method works because it uses heat strategically to release basil’s essential oils without cooking away its fresh flavor. By blanching the basil briefly in boiling water, you preserve that vibrant green color while deactivating enzymes that cause browning. Then the quick ice bath stops the cooking process dead in its tracks.
Meanwhile, blending the blanched basil with oil creates an emulsion that’s smooth and pourable. The technique is foolproof—even if you’ve never made an herb oil before, you’ll have beautiful, restaurant-quality results. Additionally, this method produces a basil oil that’s stable and keeps well, unlike some raw basil preparations that can separate or discolor.
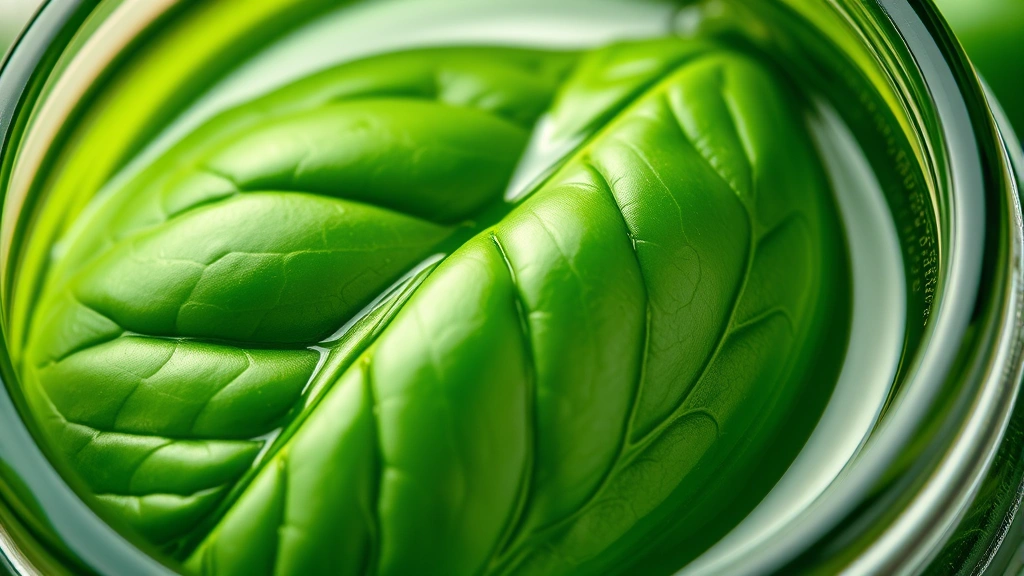
The magic happens because you’re working with the basil’s natural chemistry rather than against it. Fresh basil contains volatile compounds that give it that distinctive flavor and aroma. By respecting those delicate components and handling them gently, you preserve what makes basil special in the first place.
Ingredient Tips & Substitutions
Start with the best basil you can find—preferably fresh from a farmers market or your garden. The quality of your basil directly impacts the final oil. Look for bright green leaves with no brown spots or wilting. Genovese basil is traditional and delivers that classic peppery sweetness, though Thai basil or holy basil will give you different but equally delicious flavor profiles.
For the oil, I prefer a neutral oil like grapeseed or light avocado oil. Extra virgin olive oil works beautifully too, though its robust flavor competes slightly with the basil. Some cooks prefer vegetable oil for a cleaner taste that lets the basil shine. Whichever you choose, make sure it’s fresh—rancid oil will spoil your beautiful creation.
Salt matters more than you’d think. A tiny pinch enhances the basil’s flavor without being noticeable. It’s like the secret ingredient that makes people say, “What is that amazing flavor?” For a garlic variation, add one minced garlic clove after blanching. For lemon basil oil, include a teaspoon of fresh lemon zest. The variations are endless once you master the basic technique.
Serving Suggestions
This basil oil is incredibly versatile—honestly, you’ll start finding uses you never expected. Drizzle it over creamy feta pasta for an instant flavor upgrade. Swirl it into lemon pasta dishes for brightness and herbaceous depth.
I love finishing tomato bisque with a generous swirl of basil oil. The colors alone are stunning—that vivid green against the creamy red. Try it on grilled fish, roasted vegetables, pizza, or fresh mozzarella. It’s spectacular on a simple Italian pasta salad too.
For appetizers, brush it on crostini, use it as a dipping oil for good bread, or drizzle it over whipped goat cheese. In summer, I brush it on grilled vegetables and grilled fish. The flavor is so concentrated that a little goes a long way—you only need a teaspoon to two tablespoons per serving, depending on how much you love basil.
Storage & Reheating
Store your basil oil in a clean glass jar or bottle in the refrigerator. It will keep for three to four weeks, though the color may gradually fade slightly. The flavor remains potent throughout, even if the appearance becomes less vibrant. I always label mine with the date because it’s easy to forget when you made it.
Some people worry about food safety with herb oils, but this blanching method is safe because you’re not storing raw garlic or raw herbs in oil without proper preservation. That said, if you notice any off smells, cloudiness, or mold, discard it immediately. When in doubt, throw it out.
For longer storage, you can freeze basil oil in ice cube trays. Once frozen, pop the cubes into a freezer bag. They’ll keep for several months and are perfect for dropping into soups, sauces, or pasta dishes without thawing. This is my favorite method for meal prep because the portions are already sized perfectly.
Pro Tips from the Kitchen
One thing I learned the hard way: don’t skip the ice bath. It’s tempting to just let the basil cool on its own, but that brief shocking in ice water is what locks in the bright green color and stops the cooking. Your basil oil will look professional and appetizing because of this single step.
When blending, add the oil gradually. Starting with less oil and adding more as you blend gives you better control over the consistency. You want it pourable but still vibrant green, not thin and watery. If you add too much oil, you can always blend in another handful of blanched basil leaves to balance it out.
Pat your basil dry thoroughly after the ice bath. Any excess water dilutes the oil and can affect shelf life. I use a salad spinner, which makes quick work of it, but paper towels work fine too. This small step ensures your basil oil stays fresh longer and has a better flavor concentration.
For the most beautiful presentation, strain your finished oil through fine-mesh cheesecloth or a coffee filter. This removes any tiny basil particles and gives you a clear, gorgeous oil that looks like it came from a gourmet shop. It’s an extra five minutes, but totally worth the effort.
Finally, remember that basil oil is concentrated flavor. A little dab does you right, as they say. Start with less than you think you need, taste, and add more if desired. It’s much easier to add more basil oil than to remove it from a dish.
Ingredients
- 3 cups fresh basil leaves (about 3 ounces), packed
- 3/4 cup neutral oil (grapeseed, light avocado, or vegetable oil)
- 1/4 teaspoon fine sea salt
- Ice bath (ice cubes in cold water)
Instructions
- Bring a large pot of salted water to a rolling boil. While waiting, prepare an ice bath by filling a bowl with ice cubes and cold water.
- Once the water is boiling, carefully add the fresh basil leaves and stir gently. Let them blanch for exactly 30 seconds—no longer, or they’ll lose their bright color.
- Using a slotted spoon, immediately transfer the blanched basil to the ice bath. This stops the cooking process and preserves the vibrant green color.
- Once the basil is completely cooled (about 1 minute), carefully remove it from the ice bath and squeeze gently to remove excess water. Pat dry with paper towels.
- Place the dried basil and salt into a blender or food processor. Start blending on low speed, then slowly drizzle in the oil while the machine runs.
- Blend until completely smooth and uniform in color, about 1-2 minutes. You want a pourable consistency—if it seems too thick, add a tiny bit more oil.
- For a perfectly clear basil oil, strain through fine-mesh cheesecloth or a coffee filter into a clean jar. This step is optional but recommended for presentation.
- Store in a glass jar or bottle in the refrigerator for up to 4 weeks, or freeze in ice cube trays for up to 3 months.
Pro Tips
This basil oil recipe yields approximately one cup of intensely flavored oil. The yield may vary slightly depending on how densely you pack your basil leaves and the specific basil variety you use. Genovese basil typically produces more oil than other varieties because of its larger leaves and higher water content.
The five-minute method is called a “blanch and shock” technique in professional kitchens. It’s the secret to vibrant-colored herb oils that don’t turn brown or muddy-looking. The brief blanch deactivates enzymes called polyphenol oxidase and lipoxygenase—the culprits responsible for browning in fresh herbs. By stopping this enzymatic reaction with the ice bath, you preserve the basil’s natural green chlorophyll.
If your basil oil separates after a few days, that’s completely normal and doesn’t indicate a problem. Just give it a good shake before using. The oil and basil solids have different densities, so separation is expected. This is actually why some cooks prefer to strain the oil—it prevents separation and gives you a more stable product.
For a thicker basil oil that clings better to pasta, reduce the oil amount to 1/2 cup. For a thinner oil that drizzles more easily, increase it to 1 cup. The consistency is entirely customizable based on your intended use. I keep both versions on hand—a thick one for finishing pasta dishes and a thinner one for drizzling over soups.
You can make this recipe with other fresh herbs too. Parsley oil, oregano oil, and tarragon oil all follow the same method. However, tender herbs like basil and parsley benefit most from the blanching method, while hardier herbs like rosemary and thyme can be made with raw herbs if you prefer. Each variation brings its own special character to your cooking.
If you’re concerned about the shelf life, remember that refrigeration is your friend. Keep your basil oil in a truly cold refrigerator (below 40°F) and in an airtight container. The freezer method using ice cubes is honestly the safest option for long-term storage. You’ll always have basil flavor at your fingertips without worrying about spoilage.