
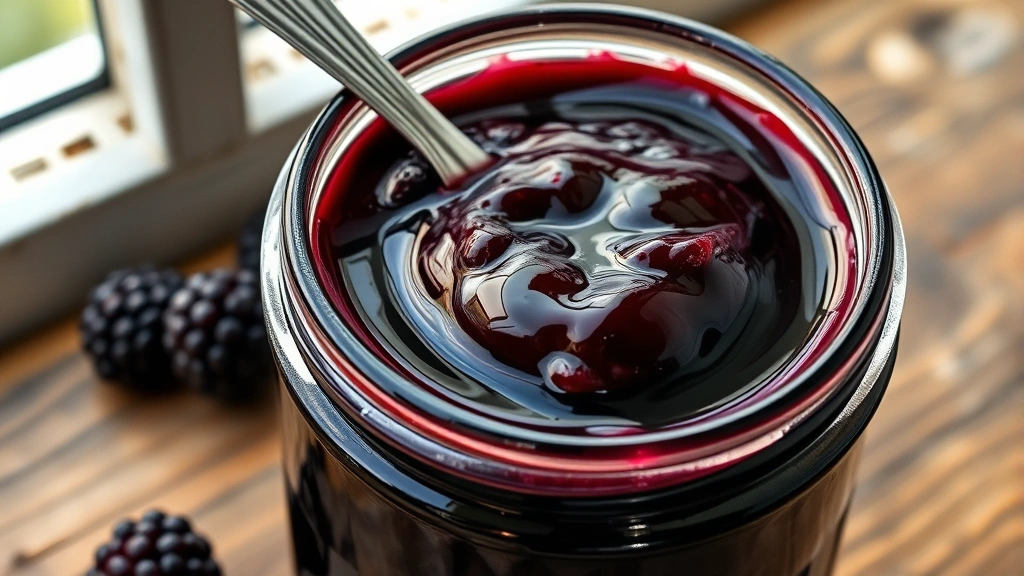
This blackberry jelly recipe is the answer to your homemade jam dreams—it’s easier than you think, and the results are absolutely stunning. There’s something magical about transforming fresh, juicy blackberries into glossy, jewel-toned jelly that tastes like summer in a jar. Whether you’re a seasoned canner or picking up a wooden spoon for the first time, this method works beautifully and yields that perfect wobble every single time.
I grew up watching my grandmother make jelly on her old stovetop, and honestly, I was intimidated for years. The whole process seemed so technical, so precise, so… well, scary. But then I realized she wasn’t doing anything fancy—just quality fruit, sugar, a little patience, and the right technique. Once you understand the simple science behind setting and gelation, you’ll be making batches of homemade blackberry jelly that puts store-bought versions to shame.
Jump To Section
Why This Recipe Works
The secret to perfect blackberry jelly lies in the natural pectin content of the fruit combined with proper cooking time and temperature. Blackberries contain just enough pectin to set without requiring commercial pectin powder, though we’ll give you that option. The key is knowing exactly when your jelly reaches the perfect gel stage—that moment when it transitions from syrupy liquid to that beautiful, spoonable consistency.
What makes this method so reliable is the cold plate test, an old-school technique that takes the guesswork out of doneness. Additionally, using a candy or instant-read thermometer gives you a backup confirmation that you’ve hit the magic 220°F temperature. The combination of these two methods means you’ll never end up with runny jelly again.
Fresh blackberries are essential here—frozen berries work in a pinch, but fresh ones have superior flavor and the ideal pectin levels for setting. The tartness in blackberries actually helps the jelly set faster and taste brighter, so don’t worry if some of your berries aren’t perfectly ripe. In fact, a mix of ripe and slightly underripe berries is ideal for jelly-making.
Ingredient Tips & Substitutions
Start with high-quality blackberries—farmers market finds are worth the splurge here since the berries are the star of the show. You’ll want about 2 pounds of fresh blackberries, which should yield roughly 3 cups of juice once cooked and strained. The berries themselves will provide most of the pectin needed, though some recipes add commercial pectin for guaranteed results.
Sugar is your setting agent and preservative, so don’t skip it or reduce it dramatically. Conventional recipes call for equal parts fruit and sugar by weight, though some people prefer slightly less sugar for a more tart jelly. For a deeper, more complex flavor, try mixing in a handful of raspberries or using a combination of blackberries and boysenberries.
Lemon juice brightens the flavor and helps with setting—the acidity is crucial for proper gel formation. However, if you’re using underripe blackberries, you might need less lemon juice since they’re already quite tart. For a special twist, consider adding a teaspoon of vanilla extract or a splash of bourbon at the very end of cooking.
Making Your Blackberry Jelly Step by Step
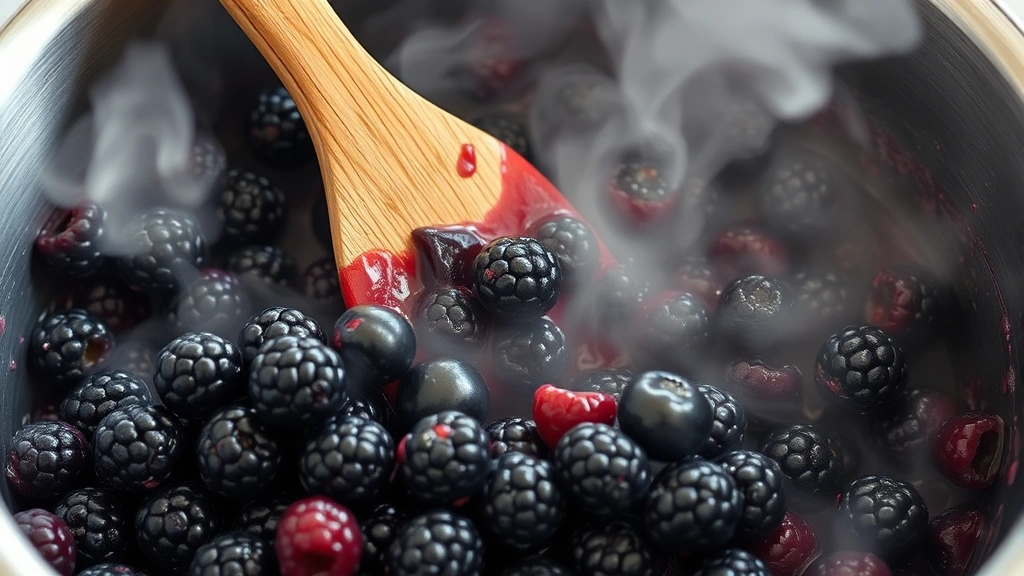
The process begins with preparing your blackberries by rinsing them gently and removing any stems or leaves. Place your berries in a large, heavy-bottomed pot—stainless steel or copper works beautifully—and mash them gently with a potato masher. You want to break them down enough to release their juices, but you don’t need to pulverize them into oblivion.
Cook the mashed berries over medium heat for about 15 minutes, stirring occasionally, until they’re soft and releasing lots of juice. Then comes the straining step, which is crucial for clear jelly. Pour the cooked berries into a fine-mesh strainer or cheesecloth-lined colander set over a bowl, and let them drip naturally—resist the urge to squeeze or press them, as that will cloud your beautiful jelly.
Once you have your strained juice (you should have about 3 cups), measure it into your pot and add equal parts sugar. Bring everything to a rolling boil over medium-high heat, stirring occasionally until the sugar dissolves completely. Add your lemon juice and stir well, then let it bubble away for 15-25 minutes, depending on your stove and the exact moisture content of your berries.
Testing for Perfect Set
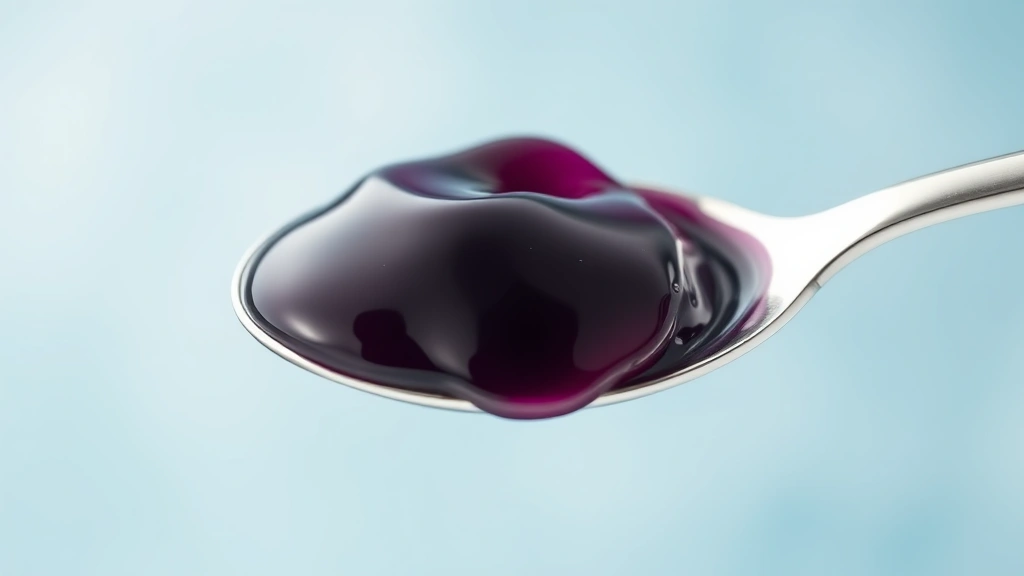
Here’s where patience pays off—you need to test your jelly multiple times to catch it at exactly the right moment. The cold plate test is your best friend: place a ceramic plate in your freezer before you start cooking. Once your jelly has been boiling for about 15 minutes, drop a small spoonful onto the cold plate and wait 30 seconds.
Push your finger through the jelly—if it wrinkles and doesn’t flow back together, you’ve reached the gel stage. If it’s still too liquid, return to the pot and boil for another minute or two, then test again. A candy thermometer reading of 220°F also indicates you’ve reached the proper setting point, though the plate test is actually more reliable because it accounts for altitude and humidity variations.
Don’t rush this step—overcooked jelly becomes rubbery and stiff, while undercooked jelly stays runny. The difference between the two is literally just one or two minutes of cooking, so stay close and keep testing. Once it passes the wrinkle test, remove from heat immediately and let it cool slightly before jarring.
Serving Suggestions & Storage
Homemade blackberry jelly is spectacular on buttered toast for breakfast, swirled into yogurt, or spooned over vanilla ice cream for a simple dessert. It makes an elegant accompaniment to charcuterie boards alongside aged cheeses and crackers—try pairing it with a sharp cheddar or creamy brie. For a sophisticated brunch option, layer it into pastry cream for a stunning tart, or brush it over fresh fruit tarts for extra shine.
You can also use your blackberry jelly as a glaze for roasted duck or ham, adding a sweet-tart dimension to savory dishes. Swirl it into cream cheese for an impressive appetizer spread, or fold it into whipped cream for a simple berry fool. The possibilities are genuinely endless once you have a few jars of this gorgeous preserve on hand.
Storage is straightforward—properly canned jars will keep in your cool, dark pantry for up to one year, though the flavor and texture are best within the first 6 months. Refrigerated jars will last about 3-4 weeks once opened. If you prefer not to can, simply store your cooled jelly in sterilized jars in the refrigerator, where it will keep beautifully for several weeks.
For canning, sterilize your jars and lids according to standard canning procedures, fill with hot jelly leaving ¼-inch headspace, wipe the rims clean, and process in a boiling water bath for 10 minutes. The jars should seal with a satisfying pop as they cool—that’s how you know they’re shelf-stable and safe.
If homemade preserves feel like your jam, you might also enjoy making fresh pasta dishes to showcase seasonal ingredients. For meal planning inspiration, check out this guide to Thanksgiving salad options that pair beautifully with preserved fruits.
There’s genuine joy in opening a jar of homemade blackberry jelly months later and tasting summer all over again. The process teaches you something fundamental about patience, timing, and the beauty of simple ingredients transformed through gentle heat. Once you’ve made one batch, you’ll understand why people have been making jelly for centuries—it’s not just preservation, it’s edible nostalgia.
Ingredients
- 2 pounds fresh blackberries, rinsed and stems removed
- 2 cups granulated sugar (or slightly less for a tangier jelly)
- 3 tablespoons fresh lemon juice
- 1 teaspoon butter (optional, helps reduce foam)
- ¼ teaspoon vanilla extract (optional, for depth)
Instructions
- Place rinsed blackberries in a large, heavy-bottomed stainless steel pot. Using a potato masher, gently crush the berries to release their juices—you want them broken down but not pulverized into a paste.
- Heat the mashed berries over medium heat for 15 minutes, stirring occasionally, until they’re very soft and releasing plenty of dark purple juice. The mixture should look thick and jammy.
- Set a fine-mesh strainer or colander lined with cheesecloth over a large bowl. Pour the cooked berries into the strainer and let them drip naturally for at least 2 hours, or overnight for the clearest jelly. Resist pressing or squeezing—this keeps your jelly crystal clear rather than cloudy.
- Measure your strained blackberry juice—you should have approximately 3 cups. Pour the juice into your cleaned pot and add equal parts sugar (about 3 cups). Add the lemon juice and stir to combine.
- Bring the mixture to a rolling boil over medium-high heat, stirring occasionally until the sugar dissolves completely. Once at a full boil, stop stirring and let it bubble steadily. If foam forms on the surface, skim it away with a spoon or add a small pat of butter to reduce it.
- After about 15 minutes of boiling, begin testing for set using the cold plate method: place a ceramic plate in your freezer before cooking. Drop a small spoonful of jelly onto the cold plate, wait 30 seconds, then push your finger through it. If it wrinkles and doesn’t flow back together, it’s ready.
- If the jelly still flows easily, return it to the boil and test again every 2 minutes. Alternatively, use a candy thermometer to monitor the temperature—you’re aiming for exactly 220°F. The entire boiling process typically takes 20-25 minutes.
- Once your jelly passes the wrinkle test or reaches 220°F, remove the pot from heat immediately. Stir in vanilla extract if using. Let the jelly cool for 5 minutes to allow bubbles to rise and settle.
- Carefully ladle the hot jelly into sterilized jars, leaving ¼-inch headspace. Wipe the jar rims clean with a damp cloth to remove any drips, then top with sterilized lids and rings.
- Process the jars in a boiling water bath for 10 minutes (start timing once the water returns to a boil). Remove jars carefully and let them cool undisturbed on the counter for 12-24 hours. You should hear the satisfying pop of the lids sealing as they cool—this means they’re shelf-stable.
Pro Tips
One of the most common questions I get about jelly-making is whether you absolutely need commercial pectin. The honest answer is no—blackberries have enough natural pectin, especially when combined with lemon juice, to set beautifully on their own. However, if you’re nervous or want a guaranteed set, you can add 1-2 tablespoons of powdered pectin mixed with the sugar before cooking.
The cold plate test is genuinely more reliable than a thermometer alone because it accounts for altitude and humidity differences in your kitchen. Some people worry they’ve overcooked their jelly when it’s actually perfect—remember that jelly continues to set as it cools, so it should be slightly softer than your desired final consistency when you remove it from heat.
If your jelly ends up too runny, don’t panic—it’s still delicious and can be used as a syrup over ice cream or stirred into yogurt. For future batches, simply cook slightly longer before testing. Conversely, if your jelly sets too firmly, you can gently reheat it and add a few tablespoons of water to loosen it up, then re-jar and re-process.
Sterilizing your jars is important for food safety, especially if you’re water-bath canning for long-term storage. You can sterilize by running them through a hot dishwasher cycle, boiling them in water for 10 minutes, or placing them in a 350°F oven for 10 minutes. Keep them hot until you’re ready to fill them—filling hot jars with hot jelly helps ensure proper sealing.
For a special variation, try adding a splash of bourbon, chambord, or cassis liqueur to your finished jelly for an elegant twist. You can also experiment with flavor additions like a vanilla bean split lengthwise, a cinnamon stick, or a few fresh mint leaves—just remember to remove whole spices before jarring. Store your finished jelly in a cool, dark place away from direct sunlight, and enjoy the taste of summer all year long.