
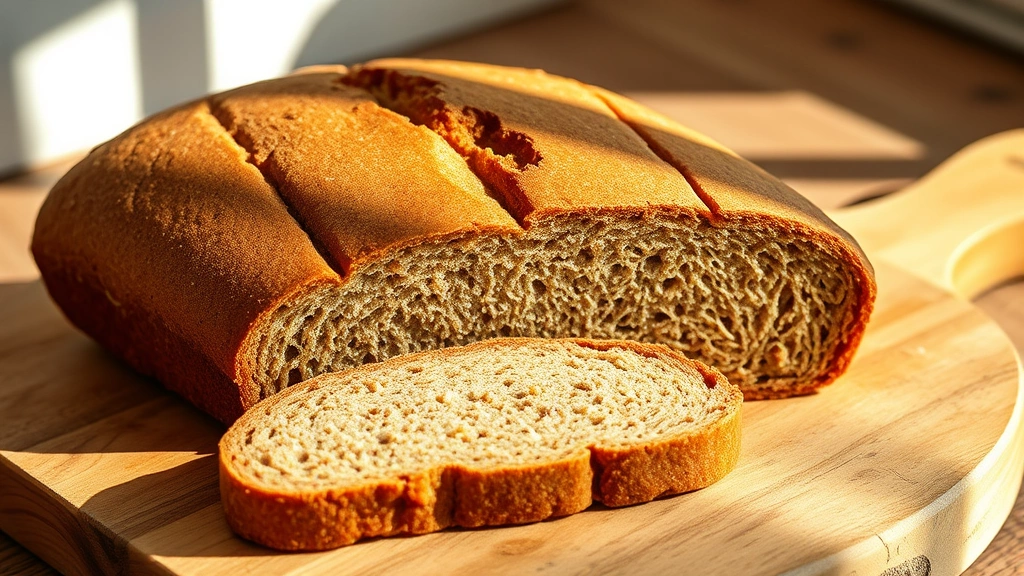
A buckwheat bread recipe is absolutely the answer if you’re looking for a hearty, nutty loaf that’s naturally gluten-free and packed with wholesome goodness. This isn’t your typical white sandwich bread—it’s something special, with a deep earthy flavor and dense, satisfying crumb that keeps you feeling full.
I fell in love with buckwheat bread during a trip to Eastern Europe, where I watched a grandmother pull steaming loaves from her wood-fired oven. The aroma alone was intoxicating—toasty, slightly sweet, with hints of earthiness that you just can’t replicate with regular flour. When I came home, I became obsessed with mastering this ancient grain bread, and now I’m thrilled to share my foolproof method with you.
Jump To Section
Why This Recipe Works
Buckwheat groats (the hulled seeds) create an incredibly tender crumb while maintaining that characteristic nutty depth. Despite its name, buckwheat contains zero wheat and zero gluten, making this bread perfect for anyone with celiac disease or gluten sensitivity. However, I’ve blended it with a small amount of all-purpose flour to help with structure and rise—you’ll still get that authentic buckwheat character without the density.
The key to success is patience. This dough benefits from a long, slow fermentation that develops flavor and makes the bread easier to digest. Additionally, the overnight rest period allows the starches to fully hydrate, resulting in better moisture retention and a loaf that stays fresh longer than most homemade breads.
What makes this recipe truly foolproof is the simplicity. You’re working with just five basic ingredients and straightforward techniques that don’t require fancy equipment. Meanwhile, the results taste like you spent hours fussing in a professional bakery.
Ingredient Tips & Substitutions
Buckwheat groats are the foundation here—make sure you’re using the hulled variety (not buckwheat flour, which has a different texture). You’ll find them in the bulk section of most health food stores or online. For instance, Bob’s Red Mill and Arrowhead Mills are reliable brands that deliver consistent quality.
The all-purpose flour serves as a structure builder. If you want to push the buckwheat flavor even further, swap half of it for whole wheat flour, though your bread will be slightly denser. Sea salt enhances the nutty notes beautifully, so don’t skip it or substitute with table salt, which has a harsher bite.
For the water, use filtered or spring water if your tap water is heavily chlorinated. Instant yeast works best here because you want reliable, predictable rise. Furthermore, if you’re using active dry yeast instead, increase the amount by about 25% since it’s less concentrated.
Serving Suggestions
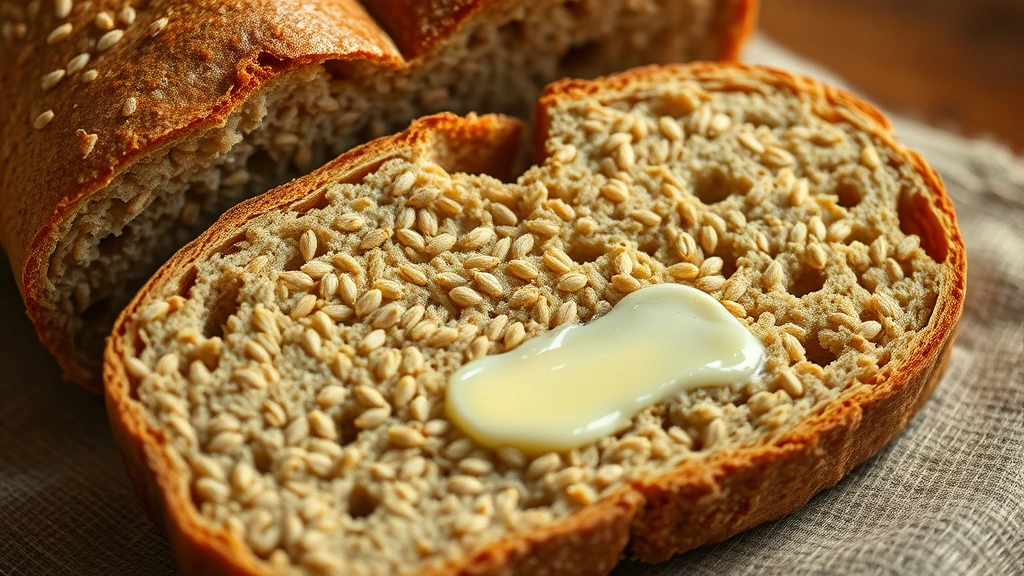
This bread is magnificent toasted with good butter and a drizzle of raw honey—the sweetness plays beautifully against the earthiness. Pair it alongside warming soups like Crock Pot Split Pea Soup or hearty vegetable stews for a truly comforting meal.
The sturdy crumb makes it perfect for open-faced sandwiches topped with smoked salmon, cream cheese, and fresh dill. You could also serve thick slices alongside Mustard Potato Salad for a rustic European-style spread. For breakfast, toast it and top with almond butter and sliced pears—absolutely divine.
This bread also shines in breadcrumb form. Once it’s a few days old, pulse it in a food processor to create flavorful coating for fish or chicken. Alternatively, toss it with olive oil and herbs for homemade croutons that taste infinitely better than store-bought.
Storage & Reheating
Your baked loaf will stay fresh at room temperature, wrapped in a clean kitchen towel, for up to four days. The buckwheat bread actually improves slightly on day two as the flavors meld and the crumb continues to set. However, if you want to extend the life further, wrap it tightly in plastic wrap and freeze for up to three months.
To refresh a slightly stale slice, spritz it lightly with water and toast in a 350°F oven for about five minutes. The moisture rehydrates the crumb while the heat revives the crust. Additionally, you can always slice and freeze individual portions, then pop them directly into the toaster whenever you need a quick breakfast or snack.
Avoid storing this bread in the refrigerator, as cold temperatures accelerate staling. Room temperature or freezer are your best friends for maintaining texture and flavor.
Buckwheat Flour vs. Buckwheat Groats
Many people confuse these two ingredients, so let me clarify. Buckwheat flour is ground from the groats and contains much less structure—bread made with it tends to be crumbly and dense in an unpleasant way. Buckwheat groats, on the other hand, are whole seeds that add texture and provide better binding properties when combined with regular flour.
This distinction matters enormously for your final result. Using groats in this buckwheat bread recipe gives you that wonderful nutty flavor with a tender, sliceable crumb. It’s the difference between a disappointing brick and a bakery-quality loaf you’ll be proud to serve.
If you’re ever curious about exploring buckwheat further, check out Serious Eats for fascinating deep-dives into ancient grains and their culinary applications.
The Science Behind the Rise
The long fermentation in this recipe does something magical—it develops organic acids that enhance flavor and improve digestibility. Buckwheat is naturally high in resistant starch, which feeds beneficial gut bacteria, but fermentation makes these compounds even more bioavailable. Furthermore, the slow rise allows gluten development in the all-purpose flour portion while the buckwheat groats stay tender.
Temperature matters here. Ideally, let your dough rise in a spot around 70-75°F. If your kitchen is warmer, reduce the fermentation time; if it’s cooler, extend it by a few hours. The dough should roughly double in volume and develop a slightly domed surface.
For more insights into bread science and fermentation, Bon Appétit has excellent resources that explain the chemistry behind great bread.
This buckwheat bread recipe represents generations of baking wisdom distilled into straightforward steps. Whether you’re gluten-free by necessity or simply seeking nutritious, delicious bread, this loaf delivers on every front. The earthy buckwheat flavor is unmistakable, the texture is perfect for slicing, and the health benefits are substantial.
Don’t be intimidated by breadmaking—this recipe is genuinely beginner-friendly despite looking fancy. Start with one loaf, and I’m confident you’ll be making this regularly. Your kitchen will smell incredible, your family will ask for seconds, and you’ll have that deep satisfaction that comes from creating something truly nourishing from scratch.
Ingredients
- 1 3/4 cups buckwheat groats (hulled)
- 1 1/2 cups all-purpose flour
- 1 1/4 teaspoons fine sea salt
- 1/2 teaspoon instant yeast
- 1 1/4 cups filtered water (approximately 85°F)
Instructions
- In a large mixing bowl, combine the buckwheat groats, all-purpose flour, sea salt, and instant yeast. Mix these dry ingredients thoroughly using a wooden spoon or your hands until they’re evenly distributed throughout.
- Pour the warm water into the dry mixture gradually while stirring continuously. Mix until a shaggy dough forms—it will look rough and slightly sticky, which is exactly what you want at this stage.
- Cover the bowl with a damp kitchen towel or plastic wrap and let the dough rest at room temperature (approximately 70-75°F) for 12 hours. This long fermentation develops flavor and allows the buckwheat groats to fully hydrate.
- After 12 hours, the dough should look puffy and smell pleasantly sour. Gently turn it out onto a lightly floured surface and shape it into a round boule by folding the edges toward the center, rotating as you go, about 4-5 times total.
- Place the shaped dough seam-side up into a floured banneton basket or a bowl lined with a well-floured kitchen towel. Cover with plastic wrap and let it rise at room temperature for 45 minutes to 1 hour until it looks slightly puffy.
- About 30 minutes before baking, preheat your oven to 450°F. If using a Dutch oven, place it inside the oven to preheat as well—this creates steam that helps develop a beautiful crust.
- Carefully remove the preheated Dutch oven from the oven and line the bottom with parchment paper. Gently flip your dough out of the banneton into the hot Dutch oven, seam-side up.
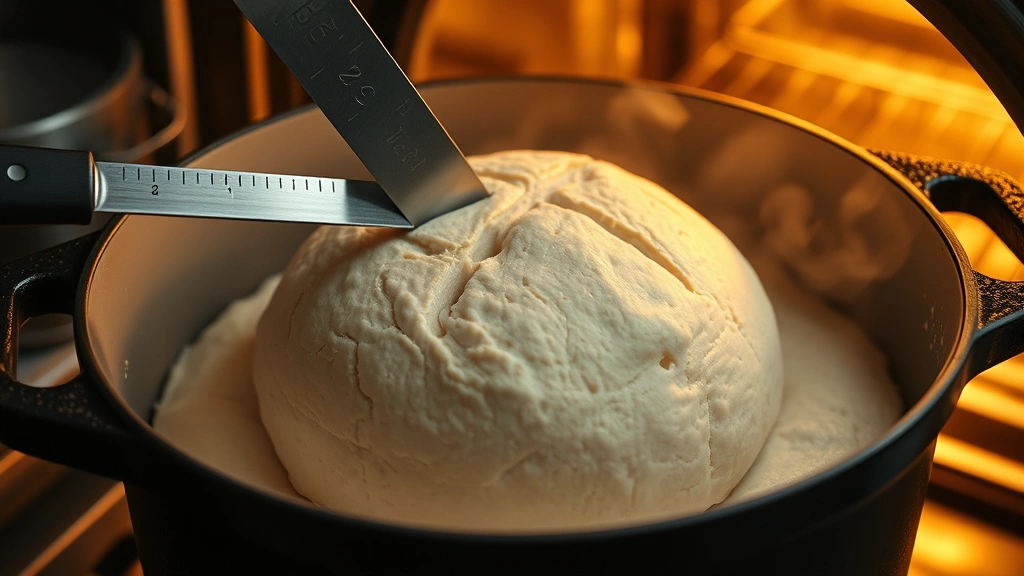
- Using a sharp bread lame or knife, score the top of the loaf with a single diagonal slash about 1/4 inch deep. This allows the bread to expand evenly during baking.
- Cover with the Dutch oven lid and bake for 25 minutes. The lid traps steam, which creates an excellent crust. Remove the lid and bake for an additional 10-15 minutes until the crust is deep golden brown.
- Remove the bread from the oven and carefully lift it out of the Dutch oven. Tap the bottom—it should sound hollow. Transfer to a wire rack and cool completely before slicing, about 1-2 hours. Resist the urge to slice earlier, as the crumb continues to set during cooling.
Pro Tips
Buckwheat groats can sometimes be harder to find than flour, but they’re absolutely worth seeking out. Check the bulk section of Whole Foods, Trader Joe’s, or order online from specialty bakers’ suppliers. The quality of your groats directly impacts your final bread, so choose fresh, plump ones without any off smell.
The dough will be wetter and stickier than traditional wheat bread dough—this is normal and desirable. Don’t be tempted to add extra flour, as it will result in a dry, crumbly loaf. Additionally, resist the urge to knead vigorously; gentle folding is all this dough needs.
Temperature control is crucial for this recipe. If your kitchen is much warmer than 75°F, reduce the initial fermentation to 10-11 hours. Conversely, if it’s cooler (say 65°F), extend fermentation to 14 hours. The dough should roughly double in volume, so watch for that visual cue rather than strictly adhering to times.
For the scoring step, a sharp knife works fine if you don’t have a bread lame. The goal is a clean 1/4 inch deep cut that allows controlled expansion. A dull blade will drag and deflate your dough, so sharpen your knife first.
If you don’t own a Dutch oven, you can still make this bread successfully. Preheat a baking stone or sheet on the bottom rack, place your shaped dough on parchment paper on a separate rack above, and place a shallow pan of boiling water on the bottom rack to create steam. The crust won’t be quite as dramatic, but the bread will still be delicious.
Storage is straightforward—keep cooled bread wrapped in a clean kitchen towel at room temperature for up to four days. The buckwheat bread actually tastes better on day two as flavors develop further. For longer storage, wrap tightly in plastic wrap and freeze for up to three months; thaw at room temperature and refresh in a 350°F oven if desired.
Troubleshooting: If your bread is too dense, you likely over-fermented it (the dough was puffy for too long). If it’s too dry, the groats weren’t fully hydrated during the long rest—ensure your water temperature is correct and your fermentation time is adequate. If the crust is too hard and thick, your oven temperature might be too high, so use an oven thermometer to verify accuracy.