

This calamari recipe delivers that coveted restaurant-quality crispiness in just 20 minutes—no fancy equipment or culinary degree required. I’ve tested this method countless times, and honestly, it’s become my go-to whenever I’m craving that perfect combination of tender squid with a golden, crunchy exterior.
The secret? A simple technique that separates the tender squid from the chewy disaster you might have experienced before. Most home cooks overthink calamari, but this approach strips away the complexity and focuses on what actually matters: proper preparation, the right temperature, and perfectly seasoned breading.
Jump To Section
Why This Recipe Works
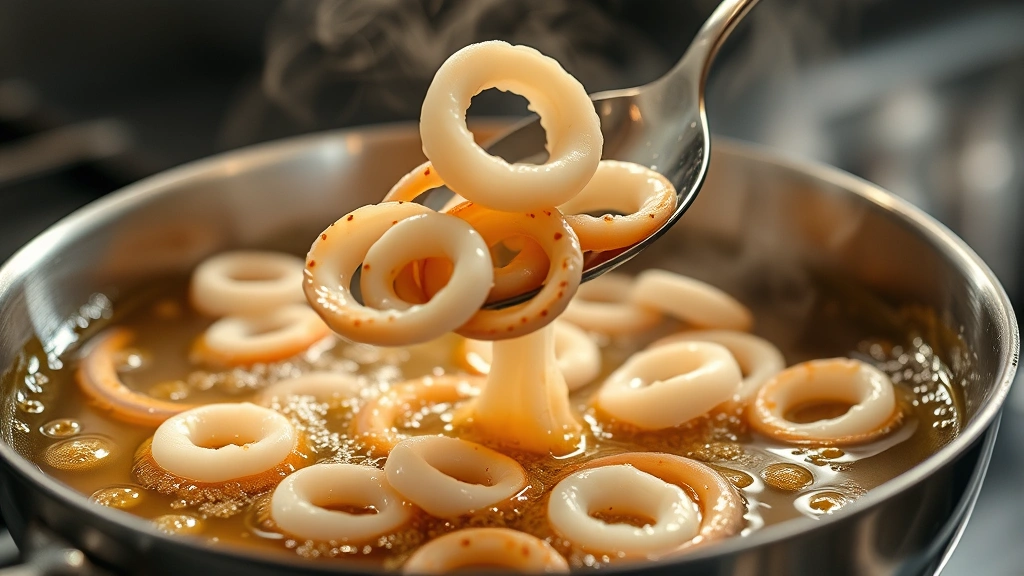
Calamari gets a bad reputation because people either undercook it (leaving it rubbery) or overcook it into submission. This recipe splits the difference with a quick, high-heat cooking method that keeps the squid tender while developing that irresistible golden crust. The trick is understanding that squid cooks fast—we’re talking 1-2 minutes max in hot oil.
Additionally, the scoring technique (those crosshatch cuts on the surface) is absolutely game-changing. It breaks down the muscle fibers, allows seasoning to penetrate, and creates extra surface area for browning. Meanwhile, patting the squid completely dry before breading ensures maximum crispness rather than steamed, soggy rings.
The cornstarch blend in the breading gives you that addictive crispy texture you’d find at your favorite Italian restaurant or seafood spot. However, all-purpose flour alone works in a pinch—the cornstarch just elevates it to that next level. For instance, the cornstarch stays crispy longer and doesn’t absorb oil as readily.
Ingredient Tips & Substitutions
Fresh squid makes the biggest difference here, though frozen (thawed properly) works beautifully too. Look for squid that’s pale and relatively uniform in size—avoid anything with a strong ammonia smell, which indicates it’s past its prime. If you can find pre-cleaned squid at your fishmonger, grab it and save yourself 10 minutes of prep work.
For the breading, I use a combination of cornstarch and all-purpose flour because it creates superior crispness compared to flour alone. If you’re avoiding cornstarch, use all-purpose flour with a tablespoon of baking powder mixed in—it provides lift and texture. The garlic powder, paprika, and cayenne can be adjusted based on your heat tolerance and flavor preferences.
The oil choice matters more than people realize. Use neutral, high-smoke-point oil like vegetable, peanut, or canola oil. Olive oil will burn at these temperatures and create off-flavors. I keep my oil at exactly 375°F because slightly cooler oil absorbs into the calamari, while hotter oil can brown the outside before the inside cooks through.
Serving Suggestions & Pairings
Serve this crispy calamari recipe immediately while it’s still hot and crunchy—don’t let it sit on the plate for more than a minute or two. A squeeze of fresh lemon juice brightens the richness beautifully, and a simple marinara sauce for dipping rounds out the experience perfectly. For something different, try pairing it with pesto chicken pasta for an elevated weeknight dinner.
These tender squid rings make an impressive appetizer for entertaining. Arrange them on a platter with lemon wedges and two or three dipping sauces—marinara, aioli, and a spicy mayo create nice variety. You could even serve this alongside PF Chang’s lettuce wraps for an Asian-fusion inspired meal.
For a light dinner option, pair it with a crisp green salad tossed with lemon vinaigrette and fresh herbs. The best steak salad recipe approach works beautifully here too—just substitute the calamari for protein. A chilled white wine like Pinot Grigio or Sauvignon Blanc complements the dish wonderfully.
Storage & Reheating
Leftover calamari (if you somehow have any!) keeps in an airtight container for up to 2 days in the refrigerator. However, I’ll be honest—crispy calamari is really best eaten fresh and warm. The texture degrades quickly as it sits, becoming less crispy over time.
If you need to reheat it, use your oven rather than the microwave. Spread the calamari on a baking sheet and warm at 375°F for about 8-10 minutes until it’s heated through and the coating re-crisps slightly. The microwave will just make it chewy and disappointing, so skip that route entirely.
You can absolutely prep the squid ahead of time—clean and score it, then store it in the refrigerator up to 8 hours before cooking. Keep it on a plate covered with paper towels to absorb any moisture. Bread it just before you’re ready to fry for maximum crispness and the best texture overall.
Pro Tips for Perfect Results
The most critical step is drying your squid completely before breading. Any moisture on the surface creates steam during frying, which prevents browning and creates a greasy coating instead of a crispy one. Pat each piece thoroughly with paper towels right before you’re ready to bread them.
Work in batches rather than crowding the pan. This keeps the oil temperature consistent and ensures even cooking. If you drop too much calamari in at once, the temperature plummets, and you’ll end up with oil-soaked, heavy rings instead of crispy perfection.
Keep a thermometer handy—seriously, it’s the difference between success and sadness. Without monitoring the oil temperature, you’re guessing, and guessing leads to inconsistent results. Professional kitchens use thermometers for a reason.
Score the squid bodies in a crosshatch pattern before cutting into rings. This creates visual appeal, helps the calamari cook more evenly, and allows seasonings to penetrate deeper into the flesh. Use a sharp knife and light, confident strokes—you’re just marking the surface, not cutting through.
Finally, don’t skip the resting period after breading. Let your breaded calamari sit for about 5 minutes before frying. This allows the breading to adhere properly and creates a better seal, resulting in a crispier, less oily final product. Think of it like giving the coating a chance to set and bond with the squid.
This calamari recipe truly is restaurant-quality and surprisingly approachable. Whether you’re cooking for a dinner party or just treating yourself to something special on a weeknight, you’ll be amazed at how impressive this turns out. The key is respecting the ingredient, using proper technique, and tasting as you go. Once you master this method, you’ll find yourself making it constantly.
For more seafood inspiration, check out this Bon Appétit seafood guide or explore Serious Eats’ seafood collection for additional techniques and flavor combinations. You might also enjoy quick spinach tomato pasta recipe as a light side dish.
Ingredients
- 1.5 lbs fresh or thawed frozen squid, cleaned
- 1 cup all-purpose flour
- ½ cup cornstarch
- 2 teaspoons garlic powder
- 1 teaspoon smoked paprika
- ½ teaspoon cayenne pepper
- 1 teaspoon kosher salt
- ½ teaspoon black pepper
- Vegetable oil for frying (about 2-3 quarts)
- Lemon wedges for serving
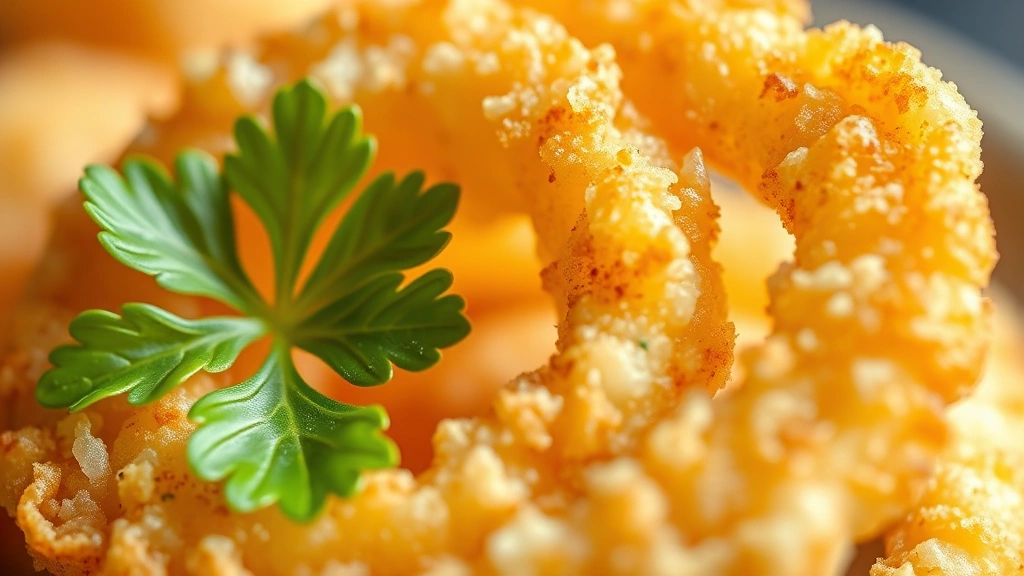
- Fresh parsley for garnish (optional)
- Marinara sauce for dipping
Instructions
- Pat the cleaned squid completely dry with paper towels. This step is crucial—any moisture on the surface will create steam during frying and prevent proper browning.
- Separate the squid bodies from the tentacles. Score each body in a crosshatch pattern using a sharp knife, making light cuts about ¼ inch deep. This helps tenderize the squid and creates extra surface area for crisping.
- Cut the scored squid bodies into rings about ¾ inch wide. Leave the tentacles whole or cut larger clusters in half. You want relatively uniform sizing so everything cooks at the same rate.
- In a shallow bowl, whisk together the flour, cornstarch, garlic powder, paprika, cayenne, salt, and pepper. This breading mixture creates that signature crispy coating.
- Working in batches, toss the squid pieces in the breading mixture, ensuring each piece is thoroughly coated. Place breaded calamari on a plate and let it rest for 5 minutes—this allows the coating to adhere properly.
- Heat the oil to exactly 375°F in a heavy-bottomed pot or deep skillet. Use a thermometer to monitor the temperature—this is non-negotiable for consistent results.
- Working in small batches to avoid overcrowding (this is important!), carefully lower the breaded squid into the hot oil. Fry for just 1-2 minutes until golden brown and crispy. Don’t walk away—this happens fast.
- Using a slotted spoon, transfer the fried calamari to a paper towel-lined plate. Season immediately with a pinch of salt while still hot.
- Repeat with remaining batches, allowing the oil to return to 375°F between batches. Serve immediately while crispy, with lemon wedges and marinara sauce for dipping.
- Garnish with fresh parsley if desired and serve within minutes for optimal texture and temperature.
Pro Tips
The oil temperature is absolutely critical to success. If it’s too cool (below 350°F), the calamari absorbs oil and becomes greasy. If it’s too hot (above 400°F), the breading browns before the squid cooks through, leaving you with burnt coating and chewy insides. Invest in a reliable thermometer and check frequently.
For the freshest squid, visit a fishmonger or seafood counter rather than the frozen section. Ask them to clean it for you if you’re not comfortable doing it yourself. Fresh squid should smell like the ocean—clean and briny—never ammonia-like or fishy in an off-putting way.
If you can’t find fresh squid, frozen works beautifully as long as you thaw it properly. Move it from the freezer to the refrigerator 24 hours before cooking. Never thaw at room temperature, which can introduce bacteria. Pat extra thoroughly with paper towels after thawing since frozen squid releases more moisture.
The cornstarch component is what separates good calamari from great calamari. It creates a lighter, crispier coating than flour alone and stays crispy longer. However, if you absolutely can’t find cornstarch, mix 1 tablespoon of baking powder into all-purpose flour as a substitute for similar results.
Don’t skip the resting period after breading. Those 5 minutes allow the coating to set and adhere better to the squid. This extra step is the difference between a coating that stays crispy and one that separates during frying.
Serve immediately—crispy calamari waits for no one. The texture degrades quickly as it cools. If you’re cooking for a crowd, keep finished batches warm in a 200°F oven while you finish cooking the remaining squid, though they won’t be quite as crispy.