
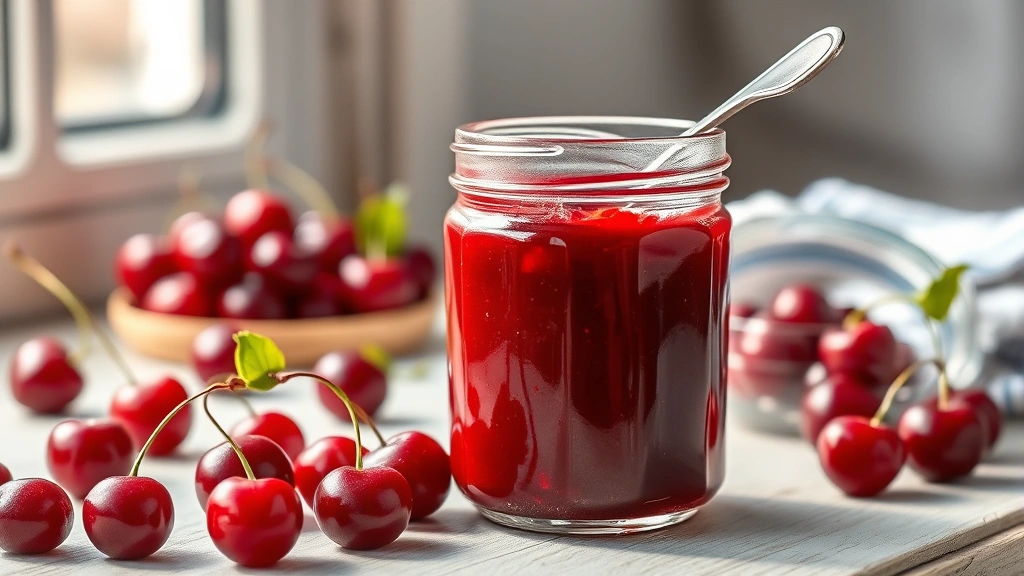
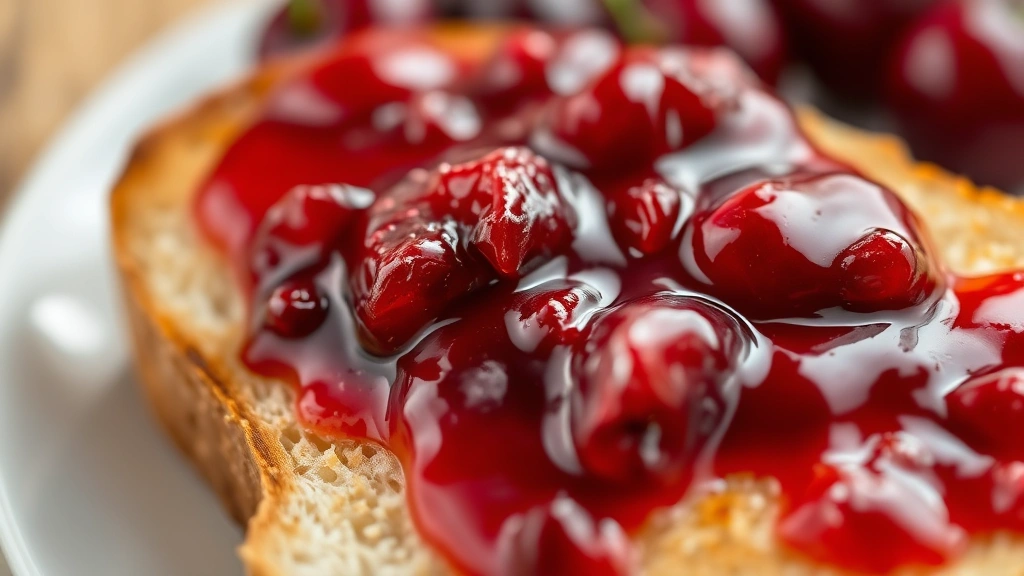
This cherry jam recipe is the easiest, most delicious way to preserve summer’s sweetest fruit—and you can make it in just 30 minutes. I absolutely love pulling out homemade jam on a quiet morning, spreading it thick on warm toast, and tasting all those bright, sun-ripened cherries at once. There’s something magical about transforming simple ingredients into something that tastes like bottled sunshine.
The best part? You don’t need fancy equipment or hours of your day. This straightforward method uses just cherries, sugar, and a splash of lemon juice to create jam that’s bursting with authentic cherry flavor. No pectin, no complicated canning procedures, no stress.
Jump To Section
Why This Recipe Works
Traditional jam-making can feel intimidating with all the talk of jam thermometers and gel stages. However, this cherry jam recipe strips away the complexity and focuses on what actually matters: delicious, spreadable jam that comes together fast. The natural pectin in cherry skins helps the jam set beautifully without any additives.
Cherry season is fleeting, and this recipe lets you capture that moment. Meanwhile, the combination of tart and sweet cherries creates the most balanced, nuanced flavor profile. The lemon juice brightens everything, while the sugar brings out the cherry’s natural sweetness without overpowering it. Additionally, cooking it just to soft-set stage means you get jam that’s chunky enough to feel homemade but spreadable enough for any purpose.
I’ve made this recipe dozens of times, and it never fails. For instance, last summer I made eight jars in a single afternoon and gave them as gifts—everyone asked for the recipe immediately. The fact that it takes 30 minutes from start to finish means you can make it whenever fresh cherries call to you.
Ingredient Tips & Substitutions
Fresh cherries are absolutely essential here. Look for dark, glossy ones that feel heavy for their size—those are the juiciest. You’ll want about 2 pounds of fresh cherries, pitted (which is roughly 4 cups). Yes, pitting is a bit tedious, but it’s worth every second. If you have a cherry pitter, use it; if not, a small knife works perfectly fine.
The sugar quantity matters more than you might think. Using the 1:1 ratio of cherries to sugar (2 cups sugar for 2 pounds cherries) gives you that perfect balance between sweet and tart. Some people reduce the sugar for a less sweet jam, but that can affect how well it sets. Fresh lemon juice—not bottled—makes a real difference in brightness and natural preservation.
For cherry selection, both sweet and tart cherries work beautifully here. Sweet cherries like Bing or Rainier give you deeper, richer flavor, while tart cherries add bright, almost floral notes. You can use all of one type or mix them for complexity. This pairs wonderfully with our best sourdough bread sandwich recipe for the most elegant jam-on-toast experience.
The Simple Cooking Method
Begin by preparing your workspace. You’ll need a large, heavy-bottomed pot (stainless steel or copper works best), a wooden spoon, and a few small plates for testing the jam’s doneness. Pit your cherries directly over the pot to catch all those precious juices.
Combine the pitted cherries, sugar, and fresh lemon juice in your pot. Stir everything together gently and let it sit for about 10 minutes—this helps the sugar dissolve and draws out the cherry’s natural juices. Then turn the heat to medium-high and bring everything to a rolling boil, stirring occasionally.
Here’s where patience becomes your best friend. You’re looking for the jam to reach what’s called “soft-set stage,” which is around 220°F on a candy thermometer. Without a thermometer, use the plate test: drop a spoonful of jam on a cold plate, wait 30 seconds, then push it with your finger. It should wrinkle slightly and not run back together immediately.
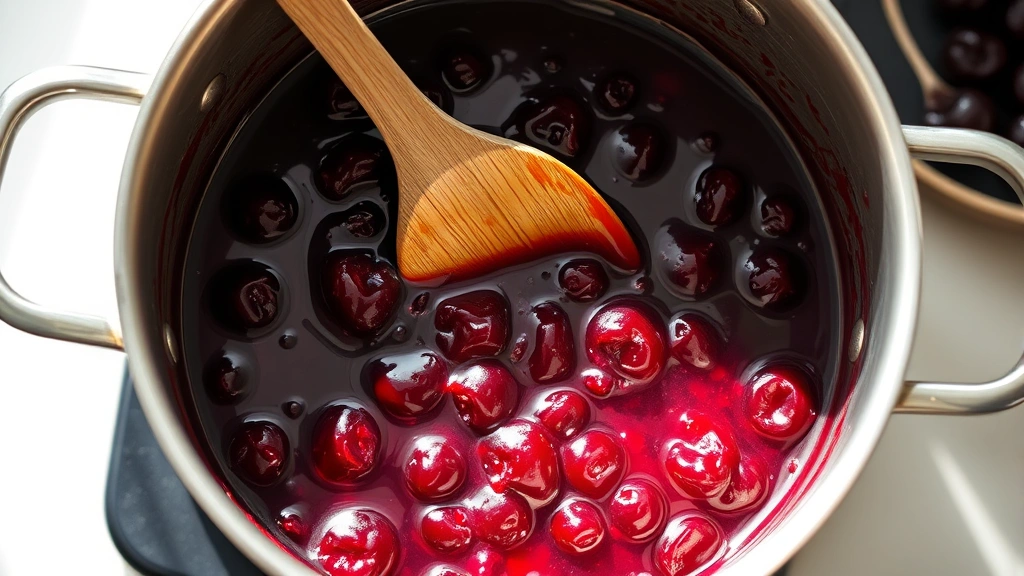
The whole cooking process takes about 20-25 minutes from boil to completion. You’ll notice the color deepening from bright red to a gorgeous jewel-tone ruby. The mixture will thicken noticeably as you approach setting point.
Storage & Serving Ideas
Once your jam reaches the right consistency, remove it from heat and let it cool for about 5 minutes. Skim any foam from the surface with a clean spoon—this is optional but creates a prettier final product. Ladle the warm jam into clean jars and seal them.
If you’re using standard canning jars with two-piece lids, process them in a boiling water bath for 10 minutes for shelf stability. However, if you’re making this to eat within a month, simply let the jars cool to room temperature and store them in your refrigerator. The jam will keep refrigerated for about 4 weeks, or frozen for up to a year.
Serving this jam is where the real joy happens. Beyond the obvious toast application, consider spreading it on the best panini recipe for an unexpected gourmet touch. Swirl it into yogurt for an elegant breakfast, dollop it on vanilla ice cream for a simple dessert, or use it as a filling for pastries and thumbprint cookies.
This jam also makes an absolutely stunning glaze for roasted duck or pork. The tartness complements rich meats beautifully, and guests will be amazed at your sophistication. Or layer it in a parfait with whipped cream and crushed shortbread for an impressive no-bake dessert.
Pro Tips for Success
Don’t skip the lemon juice—it’s not just for flavor. The acid helps preserve the jam and brings out the cherry’s complexity in ways that seem almost magical. Fresh lemon juice makes a noticeable difference compared to bottled, so squeeze it yourself if possible.
Stir occasionally while cooking, but don’t overdo it. Constant stirring can make jam grainy as the sugar crystals reform. A few gentle stirs every couple of minutes is plenty. Use a wooden spoon, which won’t react with the acidic jam.
The plate test is genuinely your best friend here. Every stove is different, and jam thermometers can be finicky. Trust the wrinkle test—it’s been used successfully for generations. If you’re unsure, undercook slightly; you can always cook it longer, but you can’t undo overcooking.
For a more elegant presentation, consider sterilizing your jars beforehand. Run them through the dishwasher or wash them in hot soapy water, then dry them completely. Warm jars prevent thermal shock when you pour in hot jam, which also helps with proper sealing.
According to Serious Eats, the science of jam-making is all about reaching the right temperature for pectin to gel. This recipe relies on the natural pectin in cherry skins, which is why using fresh, quality fruit matters so much. Some food scientists at New York Times Cooking recommend adding just a touch of butter at the end to reduce foaming, which is a nice optional touch.
Meanwhile, if you’re interested in homemade preserves as a broader topic, Bon Appétit has excellent articles on jam-making techniques and creative uses for homemade spreads. The world of fruit preservation is deeper than you might think, and this simple cherry jam recipe is your perfect entry point.
This cherry jam recipe has genuinely changed how I think about seasonal cooking. When summer ends and cherry season fades, I can open a jar and remember those warm days, that farmer’s market visit, the smell of bubbling fruit on the stove. It’s preservation in the truest sense—not just of fruit, but of moments.
Make a batch this week. Share jars with friends. Write down how you made it so you’ll remember next year. This is the kind of recipe that becomes a treasured tradition, the one people ask you to bring to gatherings, the one that makes your kitchen smell absolutely divine.
Ingredients
- 2 pounds fresh cherries, pitted (about 4 cups)
- 2 cups granulated sugar
- 3 tablespoons fresh lemon juice
- Pinch of salt
Instructions
- Pit your fresh cherries directly over a large, heavy-bottomed pot to catch all the precious juices. You should have about 4 cups of pitted cherries.
- Add the sugar, fresh lemon juice, and a pinch of salt to the pot with the cherries and their juices. Stir gently to combine.
- Let the mixture sit for about 10 minutes at room temperature. This allows the sugar to begin dissolving and helps draw out the cherry’s natural juices.
- Place the pot over medium-high heat and bring the mixture to a rolling boil, stirring occasionally with a wooden spoon.
- Once boiling, continue cooking for 20-25 minutes, stirring every few minutes. Watch as the mixture deepens in color and thickens.
- Test for doneness using the plate method: place a small spoonful of jam on a cold plate, wait 30 seconds, then push it with your finger. It should wrinkle slightly and not run back together. Alternatively, use a candy thermometer and cook to 220°F.
- Remove from heat and let the jam cool for 5 minutes. Skim any foam from the surface with a clean spoon if desired.
- Carefully ladle the warm jam into clean jars, leaving about ¼ inch of headspace.
- For shelf-stable storage, process the jars in a boiling water bath for 10 minutes. For shorter-term storage, simply seal and refrigerate once cooled.
- Allow jars to cool completely to room temperature before storing. The jam will continue to thicken as it cools.
Pro Tips
This cherry jam recipe works beautifully with both sweet and tart cherries, or a combination of both. Sweet cherries like Bing or Rainier give deeper, richer flavor, while tart cherries add brightness and complexity. Feel free to experiment with your local varieties.
The plate test is genuinely more reliable than it sounds. Every stove cooks differently, and this low-tech method has been trusted for generations. If you’re unsure whether the jam is done, it’s better to slightly undercook than overcook.
Fresh lemon juice is essential—bottled won’t give the same brightness or preservation power. The acid in fresh juice brings out the cherry’s natural complexity in ways that seem almost magical.
Storage options depend on your preferences. For water-bath canning and shelf-stable storage, process sealed jars for 10 minutes. However, if you’re eating this within a month, simply refrigerate unopened jars—the high sugar content preserves it naturally. You can also freeze jam in freezer jars or even ice cube trays for long-term storage up to a year.
To use frozen jam, simply thaw it in the refrigerator before serving. Additionally, if your jam sets too firmly, you can thin it with a splash of water or lemon juice when serving. Conversely, if it doesn’t set as firmly as you’d like, you can cook future batches for an additional few minutes.
Creative serving ideas extend far beyond toast. Swirl jam into yogurt for an elegant breakfast, dollop on vanilla ice cream for a simple dessert, or use it as a filling for pastries and thumbprint cookies. This jam also makes a stunning glaze for roasted duck or pork—the tartness complements rich meats beautifully. Layer it in parfaits with whipped cream and crushed shortbread for an impressive no-bake dessert.
For gift-giving, label your jars with the date and contents, and include serving suggestions. Homemade jam makes one of the most thoughtful, delicious gifts you can give. Meanwhile, the process of making jam is genuinely meditative and rewarding—it’s the kind of kitchen project that makes you feel accomplished and creative.
Pro tip: warm your jars slightly before filling them with hot jam. This prevents thermal shock and helps with proper sealing. Run them through the dishwasher or wash in hot soapy water, then dry completely before use.