
If you’re looking for chile con queso recipes that will become your go-to party appetizer, you’ve found your new best friend. This creamy, dreamy dip is the kind of thing that disappears faster than you can refill the bowl, and honestly, there’s nothing fancy or complicated about it—just pure, melted comfort in a skillet.
I’ve made this dip countless times for everything from casual game nights to holiday gatherings, and every single time someone asks for the recipe. The magic isn’t in some secret ingredient or complicated technique; it’s in understanding how to balance the cheese, the chiles, and just a touch of heat to create something absolutely irresistible. This isn’t your average sad spinach dip situation—this is bold, flavorful, and genuinely easy enough to pull together while your guests are still arriving.
Jump To Section
What makes these chile con queso dip recipes so special is their versatility. You can dress them up or keep them simple, add meat or keep them vegetarian, go mild or spicy. They’re the kind of recipe that welcomes your personal touch and rewards you for experimenting. Plus, they’re naturally shareable, which means less cleanup and more time enjoying your gathering.
Why This Recipe Works
The foundation of great chile con queso is the cheese selection—you want a blend that melts smoothly and creates that signature creamy texture. I’m talking about combining sharp cheddar for flavor with something like Monterey Jack or Oaxaca for that beautiful, glossy melt. When you mix these together with roasted poblano peppers or fire-roasted green chiles, you get layers of flavor that taste way more complex than the minimal effort required.
Additionally, the key to preventing a grainy, broken sauce is keeping your heat moderate and stirring constantly. Many people make the mistake of cranking up the temperature, which causes the cheese to separate and leaves you with an oily mess. Low and slow is genuinely the way to go here, and you’ll be rewarded with that restaurant-quality texture that keeps people coming back for more.
The roasted chiles bring this essential smoky, slightly sweet undertone that makes people say, “What’s in this?” without being able to pinpoint exactly what makes it so good. That’s the chile doing its job—adding depth and character without announcing itself loudly. It’s sophisticated enough for a dinner party but casual enough for tailgating.
Ingredient Tips & Substitutions
For the chiles, fresh roasted poblanos are absolutely my preference, but you’ve got options. Canned roasted green chiles work beautifully when you’re short on time, and they’re genuinely convenient without sacrificing much quality. If you want to lean into heat, jalapeños are your friend—just seed them for less fire or keep them whole for more kick.
The cheese situation is where you can really personalize this dip. Sharp white cheddar, aged Gouda, fontina, or even a good quality Velveeta (yes, I said it!) all work depending on your texture preference. However, I’d recommend avoiding pre-shredded cheese with the anti-caking agents—fresh blocks shredded right before melting give you noticeably better results. The difference is real, and your guests will taste it.
Meanwhile, for the liquid component, you can use heavy cream, whole milk, or even a splash of beer for something different. Some versions add a touch of sour cream or cream cheese for tanginess. The cream of chicken or vegetable soup trick that circulates online does work in a pinch, but homemade versions without the added sodium taste distinctly better. For instance, if you’re keeping this dairy-based, make sure everything is at room temperature before combining—cold ingredients and hot cheese don’t play nicely together.
Serving Suggestions & Pairings
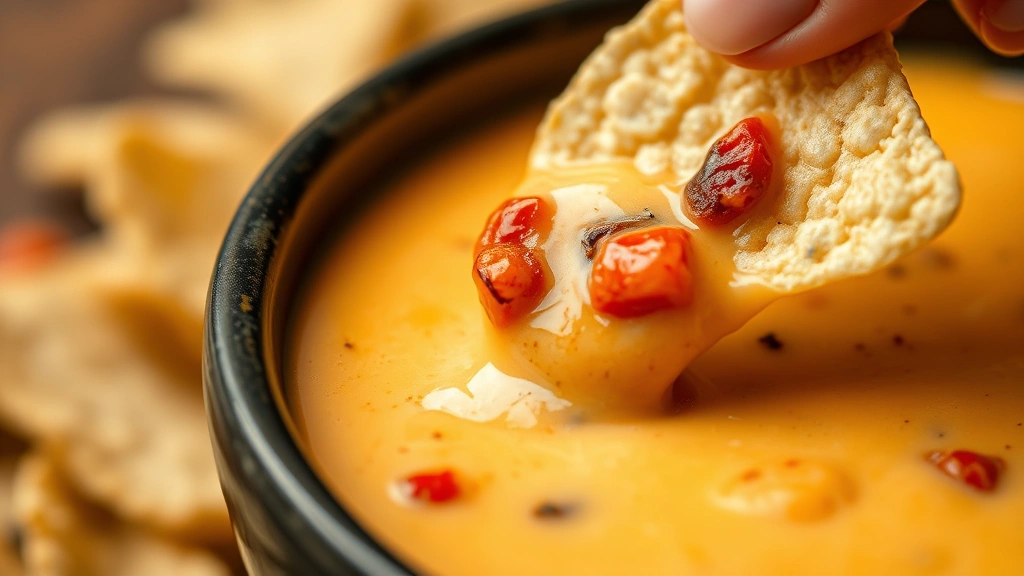
This dip truly shines with warm tortilla chips, but don’t stop there. Thick-cut vegetable sticks like bell peppers, jicama, and carrots add freshness and crunch that contrasts beautifully with the creamy richness. Cornbread, warm flour tortillas, or even crispy tortilla strips make excellent vehicles for getting this goodness into your mouth.
If you want to build out a full spread, pair this with our Best Leftover Taco Meat Nachos Recipe for a Mexican-inspired appetizer situation. Or serve it alongside Best Shrimp Quesadilla Recipe for something more substantial. These work together like they were meant to, creating a cohesive flavor story that feels intentional and delicious.
For something lighter, our Tastiest Mexican Salad Recipe provides a refreshing counterpoint. If you’re thinking appetizers and mains, consider our Best Turkey Tacos Recipe – Quick & Tasty as your main event. And don’t sleep on pairing this with Best Mexican Corn Salad Recipe for a complete spread that covers all your bases.
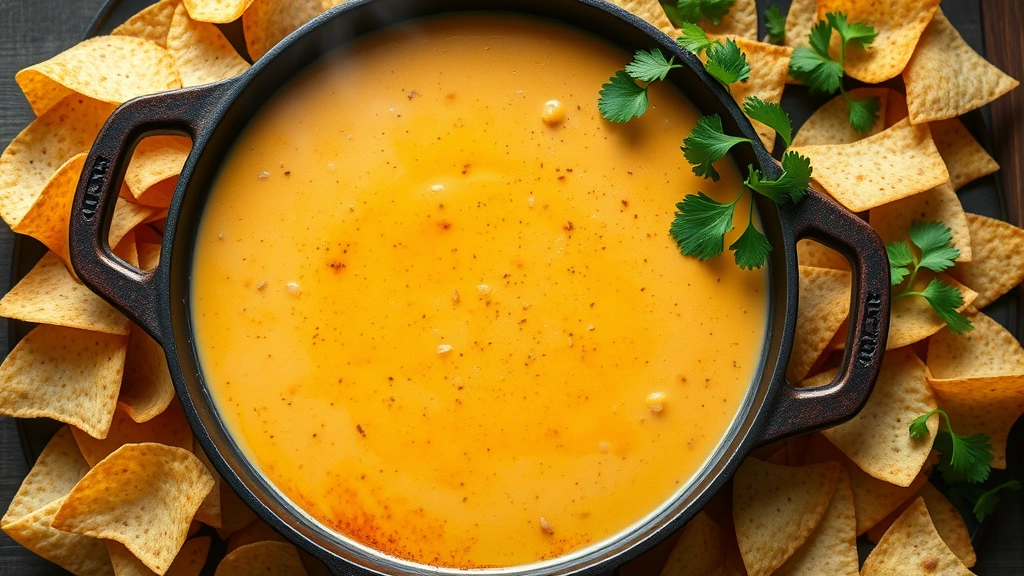
Temperature matters when serving—you want this dip genuinely hot and creamy when it hits the table. A slow cooker set to warm is genuinely your friend for keeping it at the perfect consistency throughout your gathering. If you’re serving at a dinner party, transfer it to a beautiful skillet or baking dish right before people arrive for that “I just made this” presentation.
Storage & Reheating Tips
Chile con queso keeps beautifully in the refrigerator for up to four days in an airtight container. The flavors actually deepen as it sits, so don’t worry about making it ahead—it’s genuinely better that way. Just make sure you’re storing it properly so it doesn’t absorb odd flavors from your fridge.
Reheating is straightforward: gently warm it in a saucepan over low heat, stirring frequently and adding a splash of cream or milk if it’s gotten too thick. You can also reheat it in the microwave in short bursts, stirring between intervals. The key is patience—rushing the reheating process with high heat will cause the cheese to break and separate. Additionally, if you’ve frozen it (which works for up to three months), thaw it in the refrigerator overnight before reheating gently.
For the best texture, avoid reheating in the oven at high temperatures. Gentle, low heat on the stovetop preserves that creamy, cohesive texture that makes this dip special. Think of it like nursing a good sauce back to life rather than blasting it back to temperature.
Making It Your Own
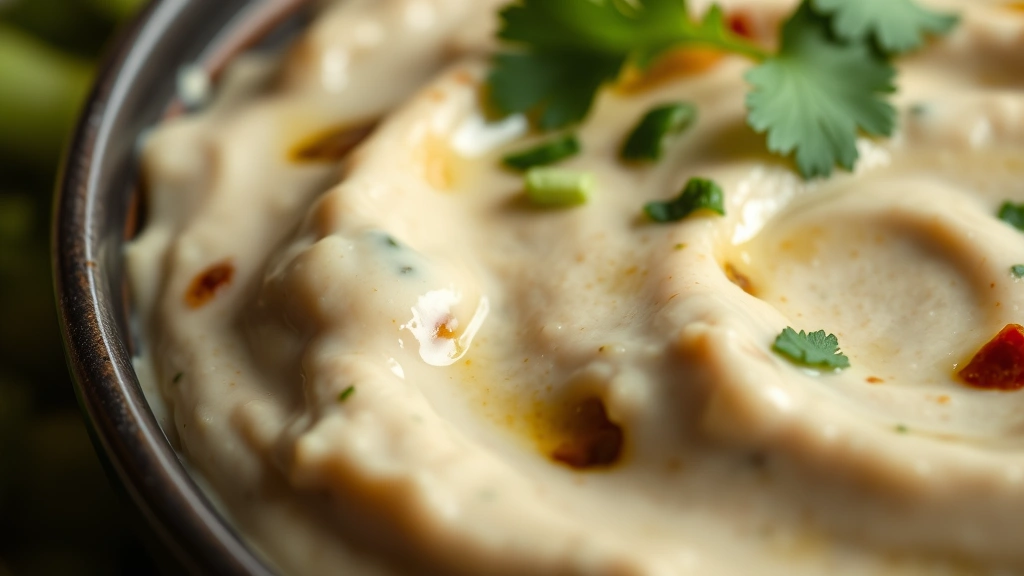
The beauty of chile con queso recipes is their flexibility. Want to add crumbled chorizo? Go for it. Thinking about fresh cilantro stirred in at the end? Perfect. Some people love adding a beaten egg to make it richer, while others prefer keeping it straightforward. This is your dip, and it should reflect your preferences and what you’ve got on hand.
Texture preferences matter too. If you like everything smooth and creamy, blend your roasted chiles before adding them. If you prefer more texture and chunkiness, leave them chopped and distributed throughout. Neither is wrong—it’s just about what brings you joy. For a spicy version, add some diced jalapeños or a pinch of cayenne pepper to the mix.
One pro tip from years of making this: taste as you go. Everyone’s cheese is different, everyone’s chiles vary in flavor and heat, and your personal salt tolerance is unique. Start with less seasoning than you think you need, then build from there. You can always add more, but you can’t take it out.
Whether you’re making this for a casual weeknight snack or bringing it to an important gathering, these easy chile con queso recipes deliver consistently delicious results. They’re the kind of recipe that makes you look like you spent hours in the kitchen when really, you spent fifteen minutes putting together something genuinely impressive. That’s the whole point, isn’t it? Impress people, enjoy the compliments, and maybe share the recipe with your closest friends. Serious Eats and Bon Appétit have great variations if you want to explore further, and New York Times Cooking always has interesting takes on classic dips like this one.
Ingredients
- 2 tablespoons unsalted butter
- 1/2 medium onion, finely diced
- 3 poblano peppers, roasted, peeled, and chopped (or 1 can roasted green chiles, drained)
- 2 cups sharp cheddar cheese, freshly shredded
- 1 1/2 cups Monterey Jack cheese, freshly shredded
- 1 cup heavy cream
- 1/2 cup whole milk
- 1/4 teaspoon ground cumin
- 1/4 teaspoon smoked paprika
- 1/8 teaspoon cayenne pepper (adjust to taste)
- Salt and black pepper to taste
- 2 tablespoons fresh cilantro, chopped (optional)
- 1 jalapeño, seeded and minced (optional, for extra heat)
Instructions
- Melt the butter in a large saucepan or skillet over medium heat. Add the diced onion and cook for about 2-3 minutes, stirring occasionally, until it becomes translucent and fragrant.
- Add the roasted poblano peppers (or canned green chiles) to the pan and stir to combine with the onion. Cook for another minute to warm through and let the flavors meld together.
- Reduce the heat to medium-low—this is important for keeping the cheese smooth and creamy. Pour in the heavy cream and whole milk, stirring gently.
- Slowly add the shredded cheddar and Monterey Jack cheese, one handful at a time, stirring constantly after each addition. This gradual approach prevents the cheese from clumping or becoming grainy.
- Once all the cheese is melted and the mixture is smooth and creamy, add the ground cumin, smoked paprika, cayenne pepper, and a pinch of salt and black pepper. Stir well to distribute the seasonings evenly.
- Taste and adjust seasonings as needed. If you like more heat, add a bit more cayenne or stir in the minced jalapeño. Remember that flavors can be subtle at first but develop as the dip sits.
- Transfer the warm chile con queso to a serving dish or slow cooker set to warm. Garnish with fresh cilantro if desired, and serve immediately with tortilla chips, vegetables, or warm tortillas.
- If the dip thickens while sitting, thin it out with a splash of milk or cream and stir gently over low heat until you reach the desired consistency.
Pro Tips
This recipe is endlessly adaptable, which is part of its charm. If you can’t find fresh poblanos, roasted green chiles from a can work beautifully and cut down on prep time significantly. Just drain them well so you don’t add excess liquid to your dip. The choice between fresh and canned really comes down to convenience versus having that slightly fresher taste—honestly, both produce delicious results.
Cheese selection makes a genuine difference in the final texture and flavor. Pre-shredded cheese contains anti-caking agents that can make your dip slightly grainy rather than silky-smooth. If you shred your cheese fresh from a block, you’ll notice an immediate improvement in mouthfeel and creaminess. It’s a small step that pays dividends in the final dish.
The low-heat approach isn’t just a suggestion—it’s actually essential for preventing broken cheese sauce. High heat causes the milk proteins to separate from the fat, leaving you with a grainy, oily mess instead of the luxurious dip you’re after. Be patient with this step, and you’ll be rewarded with professional-quality results.
For make-ahead convenience, you can prepare this completely and store it in the refrigerator for up to four days. Reheat it gently on the stovetop over low heat, stirring frequently and adding splashes of milk if needed. A slow cooker set to the warm setting is genuinely your best friend for keeping this dip at the perfect temperature during a gathering.
If you’re serving a crowd, consider doubling or tripling the recipe. The proportions scale well, and having extra means you won’t find yourself frantically making a second batch midway through your party. Additionally, any leftovers are fantastic served over nachos, baked potatoes, or even scrambled eggs the next morning for a breakfast situation nobody expects but everyone appreciates.
Texture-wise, some people prefer their chile con queso completely smooth, while others enjoy visible pieces of roasted pepper throughout. Both approaches are valid—it’s about your personal preference. If you like smoothness, quickly blend the roasted chiles before adding them. If you prefer texture, chop them into chunks and distribute them throughout for pockets of flavor.