
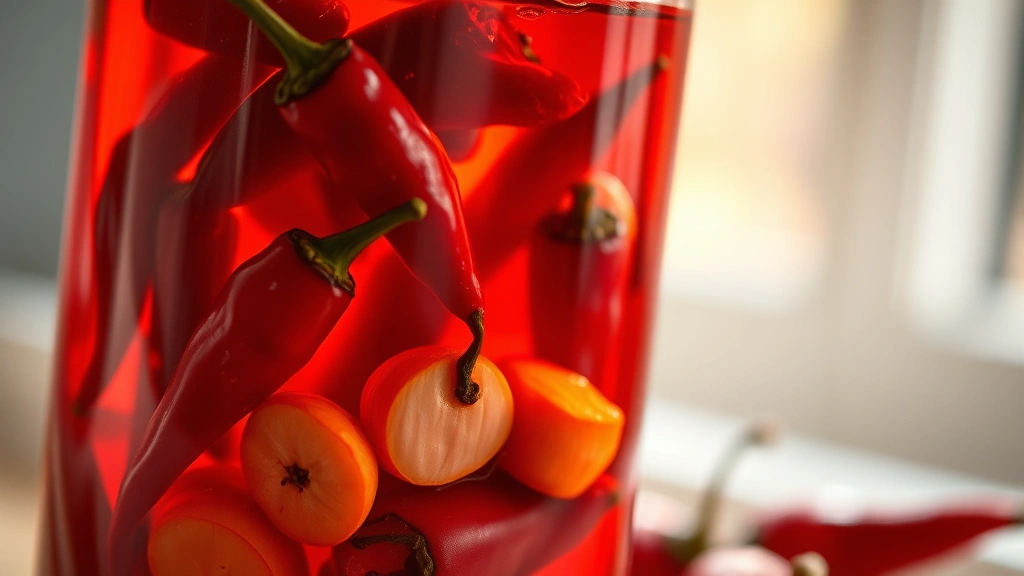
A chilli oil recipe is one of those magical kitchen staples that transforms ordinary dishes into something absolutely extraordinary. I’m talking about that gorgeous, ruby-red oil infused with fiery heat and complex flavors—the kind that makes you want to drizzle it on everything from pizza to pasta to morning eggs.
Here’s the thing: once you make homemade chilli oil, you’ll never go back to store-bought versions. The difference is night and day. Your kitchen will smell incredible, and you’ll have a pantry staple that keeps giving for weeks. Plus, it’s genuinely easier than you’d think.
Jump To Section
Why This Recipe Works
This particular chilli oil recipe strikes the perfect balance between heat and flavor. We’re not just throwing red pepper flakes into oil—that’s boring. Instead, we’re building layers of complexity with dried chilies, aromatics, and spices that create something restaurant-quality.
The magic happens when you gently warm the oil just enough to coax out all those beautiful flavors without burning anything. It’s a low-and-slow approach that respects the ingredients and rewards your patience. Additionally, this method ensures your chilli oil stays fresh and vibrant for longer.
What makes this recipe special is the combination of whole dried chilies with complementary spices. Each element plays its part—the chilies bring the heat and fruity notes, while garlic adds savory depth and the aromatics tie everything together in perfect harmony.
Ingredient Tips & Substitutions
Let’s talk ingredients because they really matter here. I recommend using a mix of dried chilies—perhaps a combination of Thai bird’s eye chilies for heat and Guajillo or Ancho chilies for deeper, fruity undertones. However, if you can only find one type, that works too. What matters is quality.
For the oil base, choose a neutral oil with a high smoke point. Extra virgin olive oil is beautiful, but it can have a lower smoke point. Consider using a blend of extra virgin olive oil (for flavor) with avocado or grapeseed oil (for stability). The ratio is really up to your preference and what you’ll be using the oil for.
Fresh garlic cloves should be sliced thin—this increases surface area for flavor extraction. Meanwhile, Sichuan peppercorns add an incredible numbing, tingling sensation that elevates the whole experience. For instance, if you don’t have Sichuan peppercorns, regular black peppercorns work, but you’ll miss that signature zing.
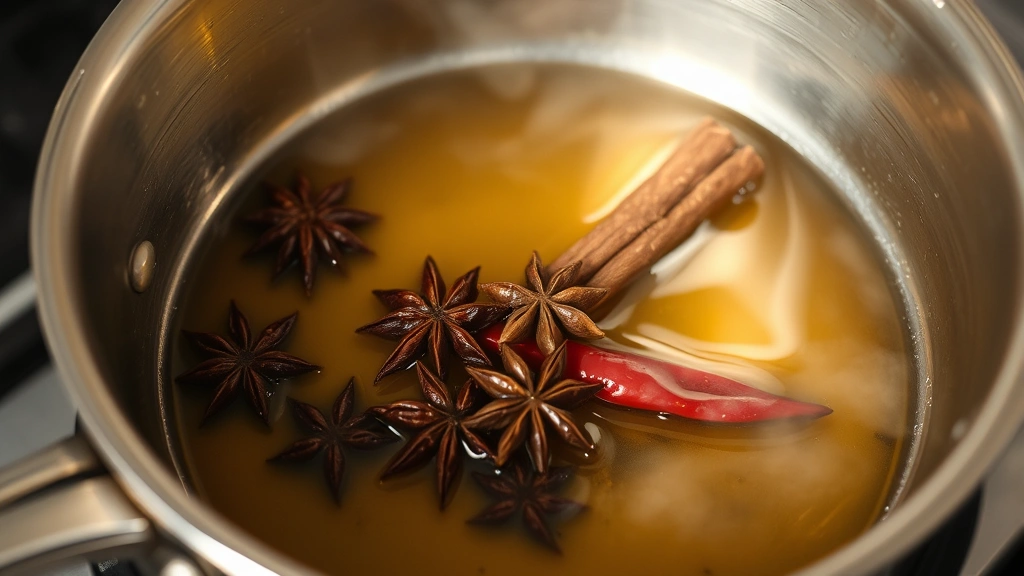
Star anise and cinnamon sticks might seem optional, but trust me—they add warmth and sophistication. Bay leaves and dried thyme round out the flavor profile with herbal notes. You can absolutely customize based on what you love.
The Infusion Process: Low and Slow
The beauty of this chilli oil recipe is that it’s forgiving. You’re heating everything gently—we’re talking barely-a-whisper heat—to gradually release flavors without burning or damaging the oil. This gentle approach means you end up with a balanced, complex oil that tastes intentional rather than scorched.
The infusion time matters. Some people prefer quick chilli oils (15-30 minutes), while others let theirs sit for days, allowing flavors to deepen and develop. I’ve found that 24 hours gives you that sweet spot—maximum flavor with a beautiful appearance.
Straining is where precision comes in. You want a clean, beautiful oil with just a hint of sediment for visual appeal. For a more refined presentation, line your strainer with cheesecloth. Additionally, make sure all your containers are completely dry before storing—moisture is the enemy of shelf stability.
Serving Suggestions & Uses
Now for the fun part—actually using this gorgeous chilli oil! Drizzle it over our oil and vinegar salad dressing for an extra kick. Try it on our sun-dried tomato pasta for a sublime finishing touch.
This chilli oil is absolutely stunning on our Tuscan chicken pasta—the heat complements the richness beautifully. For something lighter, drizzle it over our Thai cucumber salad where it enhances the fresh, bright flavors.
Honestly? Chilli oil works on just about anything. Grilled vegetables, roasted potatoes, creamy soups, fresh mozzarella, pizza, roasted fish, scrambled eggs, avocado toast—the list goes on. Our best ramen bowl recipe becomes absolutely incredible with a generous drizzle.
For a Preppy Kitchen twist, try drizzling it over whipped feta with honey, or use it as a finishing oil for creamy pasta dishes. The key is using it as a finishing touch rather than a cooking oil—that’s where its personality really shines.
Storage & Shelf Life
Proper storage is crucial for keeping your homemade chilli oil fresh and delicious. Pour it into sterilized glass bottles or jars, making sure everything is completely dry. Store in a cool, dark place away from direct sunlight—a kitchen cupboard or pantry is perfect.
Your chilli oil will keep for up to three weeks at room temperature, though some recipes advocate for refrigeration. However, if you keep it in the fridge, the oil may become cloudy or solidify slightly—this is completely normal and doesn’t affect flavor. Simply bring it to room temperature before using.
For longer storage, you can refrigerate it for up to two months. Meanwhile, if you want to extend shelf life even further, strain out all solids completely and store the clear oil in a cool place. The oil itself is stable; it’s the presence of solids and moisture that can cause spoilage.
Pro tip: Make multiple batches and gift them to friends! Homemade chilli oil in a pretty bottle makes an absolutely elegant, thoughtful present. Everyone appreciates a quality condiment that elevates their everyday cooking.
Looking for more inspiration? Check out Serious Eats for infused oils or Bon Appétit’s condiment guides for additional ideas on using your homemade chilli oil in creative ways.
Ingredients
- 1½ cups neutral oil (or combination of olive oil and avocado oil)
- 4-5 dried red chilies (Thai bird’s eye or similar), whole or halved
- 2 dried Guajillo or Ancho chilies, deseeded and torn into pieces
- 6 garlic cloves, thinly sliced
- 2 teaspoons Sichuan peppercorns
- 1 star anise
- ½ cinnamon stick
- 2 bay leaves
- ½ teaspoon dried thyme
- ½ teaspoon red pepper flakes (optional, for extra heat)
- Pinch of sea salt
Instructions
- Prepare all your ingredients by measuring them out and having them ready. Make sure your glass bottles or jars are completely clean and dry—moisture will compromise your oil.
- Pour the oil into a heavy-bottomed saucepan over medium-low heat. You want the oil to be warm but never hot or smoking. Test the temperature by dipping a wooden spoon in; it should feel warm to touch, not hot.
- Add the sliced garlic to the warm oil and let it gently infuse for about 2-3 minutes until fragrant. Watch carefully so it doesn’t brown—you’re looking for gentle toasting, not cooking.
- Add the whole dried chilies, Guajillo pieces, Sichuan peppercorns, star anise, cinnamon stick, bay leaves, and thyme. Stir gently and let everything infuse together for 15-20 minutes over low heat, maintaining that gentle warmth.
- The oil should smell absolutely incredible at this point. If you’re using red pepper flakes for extra heat, add them now and stir. Taste the oil carefully (let it cool first!) to check if you want more heat or flavor complexity.
- Remove from heat and let the oil cool to room temperature for about 30 minutes. This is important—you don’t want to pour hot oil into cold bottles.
- Carefully pour the infused oil into your prepared glass bottles or jars. You can include some of the aromatics and chilies for visual appeal, or strain everything out for a cleaner look using cheesecloth.
- Seal the bottles tightly and store in a cool, dark place. Let the oil infuse for at least 24 hours (and up to 5 days) before using—this allows flavors to develop fully.
- Once you’ve achieved your desired flavor intensity, you can strain out the solids if desired for a longer shelf life. Store in the refrigerator if you prefer, or keep in a cool cupboard.

Pro Tips
This chilli oil recipe is incredibly customizable based on your heat preference and flavor profile. If you prefer a milder oil, use fewer whole chilies and skip the red pepper flakes entirely. For something spicier, increase the chilies or add extra red pepper flakes during infusion.
The choice between leaving solids in or straining them out is purely aesthetic and practical. Leaving them in creates a beautiful, rustic presentation but shortens shelf life slightly. Straining everything out gives you a pristine, jewel-toned oil that lasts longer—it’s really your preference.
Quality ingredients truly matter here. Use whole, fresh dried chilies rather than old ones that have been sitting in your pantry. Fresh garlic tastes infinitely better than pre-minced versions. Additionally, investing in a good neutral oil makes a noticeable difference in the final product.
Temperature control is absolutely crucial. Too-hot oil will scorch everything and taste bitter. Too-cool oil won’t extract flavors properly. The key is that gentle, barely-warm temperature where you can comfortably hold your finger in for a few seconds.
If you’re concerned about botulism (which is a legitimate concern with infused oils), keep your finished oil refrigerated and use it within two weeks, or make sure everything is properly dried before infusing. The combination of low moisture and refrigeration keeps everything safe.
For substitutions, you can use any combination of dried chilies you prefer. Crushed Calabrian chilies add Italian charm, while dried habaneros bring fruity heat. Experiment and find your perfect balance. Meanwhile, if you don’t have Sichuan peppercorns, white peppercorns work, though you’ll miss that characteristic numbing sensation.
This recipe doubles easily if you want to make larger batches for gifting or heavy use. Just maintain the same proportions and be extra careful with temperature control when working with larger quantities.