

Coconut flour recipes are absolutely game-changing for anyone looking to bake and cook with wholesome, low-carb ingredients that actually taste incredible. If you’ve ever struggled with the density of almond flour or the grittiness of other keto baking staples, coconut flour might be your new best friend in the kitchen. It’s naturally sweet, beautifully light when prepared correctly, and packed with fiber—making it perfect for everything from decadent brownies to fluffy pancakes.
I discovered coconut flour about five years ago while exploring low-carb baking, and honestly? It transformed how I approach desserts and breakfast treats. The learning curve is real—coconut flour absorbs liquid differently than traditional wheat flour, and the ratio matters tremendously. But once you understand how to work with it, you’ll be whipping up batches of cookies, cakes, and pastries that rival their conventional counterparts.
Jump To Section
Why This Recipe Works
The magic of coconut flour recipes lies in their versatility and nutritional benefits. Unlike regular all-purpose flour, coconut flour contains nearly 10 grams of fiber per quarter cup, which means your treats keep you satisfied longer and won’t spike your blood sugar. Additionally, it brings a subtle sweetness that allows you to reduce added sugar in your recipes—a genuine win for your health goals.
The texture transformation is remarkable too. Many people assume coconut flour baking will be dry and crumbly, but that’s simply not true when you nail the liquid-to-flour ratio. You typically need about 1/4 cup of liquid for every 1/4 cup of coconut flour, which is substantially more than wheat flour requires. This creates a tender crumb that’s moist and delicious rather than dense and disappointing.
What makes these low-carb treats so special is how they satisfy cravings without the guilt. Whether you’re following a keto lifestyle, managing blood sugar levels, or simply seeking healthier dessert options, coconut flour recipes deliver the comfort and indulgence you’re after. Meanwhile, you’re actually nourishing your body with quality ingredients that your digestive system will thank you for.
Ingredient Tips & Substitutions
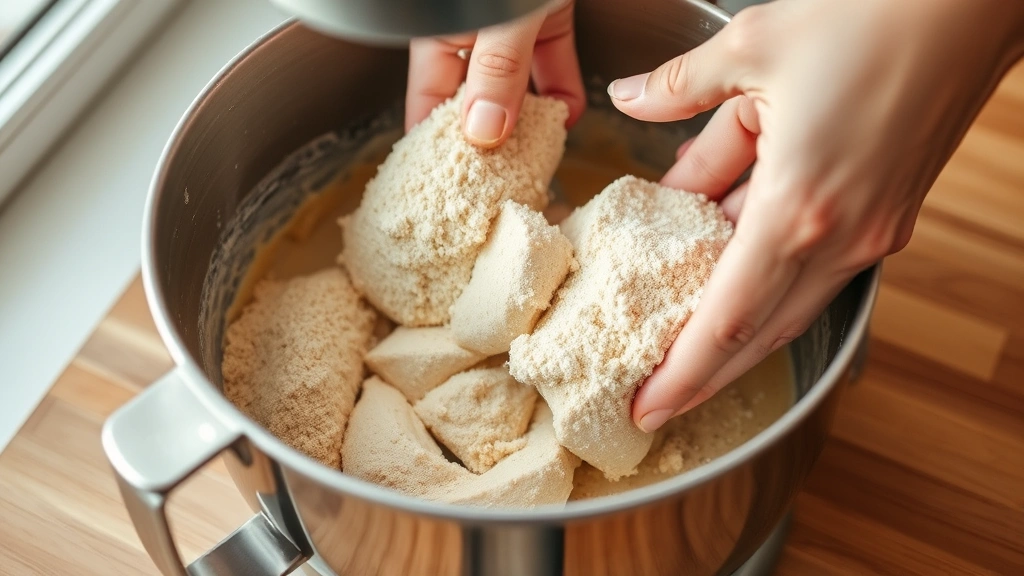
Let’s talk about sourcing quality coconut flour—because this ingredient really matters. Look for unsweetened varieties that are finely ground and ideally organic. The texture should be powdery and light, not clumpy or dense. I personally prefer Bob’s Red Mill or Anthony’s brands because they’re consistently reliable and easy to find at most grocery stores.
Now, here’s something crucial that many home bakers miss: eggs are non-negotiable in coconut flour recipes. They provide structure, moisture, and lift that you simply cannot replicate with other binders. For every 1/4 cup of coconut flour, you’ll typically need 1-2 eggs, depending on what you’re baking. If you have an egg allergy, you can experiment with flax eggs (1 tablespoon ground flaxseed mixed with 3 tablespoons water per egg), though results may vary slightly.
Fat is your friend when baking with coconut flour. Whether you’re using butter, coconut oil, or ghee, these healthy fats help create moisture and tender crumbs. Don’t shy away from recipes that call for generous amounts of butter or oil—they’re essential for achieving that bakery-quality texture. For instance, a simple coconut flour muffin might use as much butter as flour by weight, and that’s completely intentional.
Sweeteners deserve special attention too. While coconut flour has natural sweetness, you’ll want to choose sweeteners that complement its flavor profile. Allulose, monk fruit, and stevia all work beautifully. However, some people notice a slight aftertaste with certain sweeteners, so it might take experimenting to find your preference. I always recommend starting with recipes that use multiple sweeteners in combination, as they tend to mask any individual sweetener’s quirks.
Mastering Coconut Flour Baking Techniques
The most important technique to master is the liquid-to-flour ratio, which I mentioned earlier but truly cannot overstate. Unlike wheat flour, coconut flour is extremely absorbent—almost like a sponge. If you use the same proportions as traditional recipes, your baked goods will come out dry and disappointing. Always follow recipes specifically written for coconut flour rather than converting wheat flour recipes directly.
Mixing technique matters more than you might think. When combining wet and dry ingredients, do so gently and thoroughly, but avoid overmixing. Overmixing develops gluten (yes, coconut flour has some), which can make your treats tough. Mix until just combined, then let the batter rest for about 5 minutes. This resting period allows the coconut flour to fully hydrate, and you might notice the batter thickens slightly—this is exactly what you want.
Temperature control is another secret weapon. Room temperature ingredients blend together more smoothly, creating a better texture in your finished product. Before baking, take your eggs and butter out of the refrigerator about 30 minutes ahead. Additionally, accurate oven temperature is crucial—coconut flour baked goods can brown quickly on the outside while remaining underbaked inside. Consider using an oven thermometer to ensure your oven is truly at the temperature it claims.
Serving Suggestions & Flavor Pairings
One of my favorite aspects of coconut flour recipes is their incredible versatility when it comes to flavoring and serving options. The subtle coconut flavor pairs beautifully with tropical fruits like pineapple, mango, and passion fruit, but it’s equally delicious with classic combinations like chocolate and vanilla. Try serving coconut flour brownies with a scoop of vanilla ice cream and a drizzle of dark chocolate sauce for an elegant dessert.
For breakfast applications, consider pairing coconut flour pancakes with fresh berries and Greek yogurt, or make coconut flour waffles and top them with almond butter and sliced strawberries. If you’re exploring savory options, you might try coconut flour in recipes like best pork stir fry recipe coatings or as a thickening agent in curries paired with best rice noodles recipe.
Storage-friendly coconut flour treats are perfect for meal prep too. Bake a batch of coconut flour cookies on Sunday and enjoy them throughout the week with your morning coffee. Or prepare coconut flour muffins and freeze them individually—they thaw beautifully and taste just-baked within minutes. Meanwhile, you’ve established a healthy snack system that requires minimal daily effort.
Storage & Make-Ahead Tips
Properly storing your coconut flour creations ensures they stay fresh and delicious for days. Most coconut flour baked goods keep beautifully at room temperature in an airtight container for 3-4 days. If you live in a particularly humid climate, consider adding a paper towel to your container to absorb excess moisture and prevent softening.
Freezing is where coconut flour recipes truly shine. Almost any coconut flour baked good freezes exceptionally well for up to three months. Wrap items individually in plastic wrap, then place them in a freezer-safe container or bag. When you’re ready to enjoy them, simply thaw at room temperature for about an hour, or warm gently in a 300°F oven for 10-15 minutes to restore that fresh-baked texture.
For recipes like coconut flour dough or batters, you can actually freeze those ahead too. Prepare your dough, portion it into portions, then freeze on a baking sheet before transferring to freezer bags. This way, you can bake fresh cookies or muffins whenever the craving strikes without waiting for the dough to warm up. However, note that some items like cream cheese-based frostings should be applied after thawing for best results.
The beauty of preparing coconut flour recipes in advance is the flexibility it provides. Whether you’re managing a busy schedule or meal prepping for the week, having these wholesome treats on hand prevents reaching for less nutritious options. Moreover, homemade coconut flour treats are typically more cost-effective than store-bought low-carb alternatives, and you control exactly what goes into them.
For deeper inspiration on complementary recipes, explore options like best pork ramen recipe for Asian-inspired meals, best ricotta pasta recipe for Italian comfort food, or tasty mac and cheese bites recipe for fun appetizers. Each offers unique flavor profiles that balance beautifully with the sweetness of coconut flour desserts.
Learning to bake with coconut flour opens an entirely new world of possibilities in your kitchen. These recipes prove that eating low-carb doesn’t mean sacrificing flavor, texture, or the pure joy of homemade baked goods. With the right techniques, quality ingredients, and a willingness to experiment, you’ll soon be creating coconut flour masterpieces that impress family and friends while supporting your health goals. Start with one recipe that appeals to you, master it, then gradually expand your coconut flour repertoire. Before you know it, you’ll have a collection of beloved treats that are healthy, delicious, and absolutely worth making again and again.
Ingredients
- 1/2 cup unsweetened coconut flour
- 6 large eggs, room temperature
- 1/2 cup butter, softened
- 1/3 cup monk fruit sweetener or allulose
- 1/4 cup unsweetened cocoa powder
- 1 teaspoon vanilla extract
- 1/2 teaspoon baking soda
- 1/4 teaspoon sea salt
- 1/3 cup heavy cream
- 3 tablespoons water
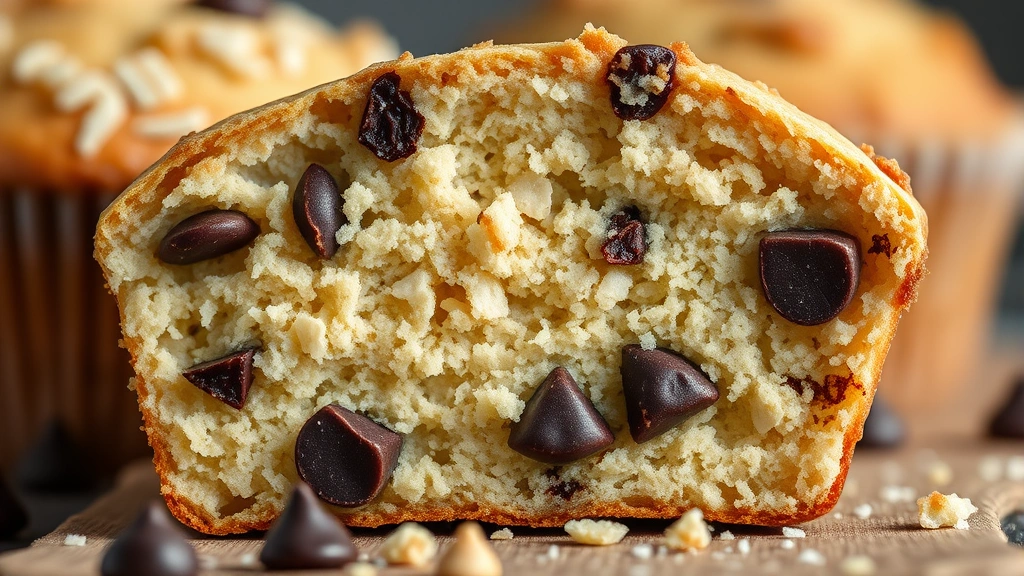
- 1/2 cup dark chocolate chips (optional)
Instructions
- Preheat your oven to 350°F and line a muffin tin with paper liners or grease it generously with butter.
- In a medium bowl, whisk together the coconut flour, cocoa powder, baking soda, and sea salt until well combined and no lumps remain.
- In a large mixing bowl, cream the softened butter and sweetener together for about 2-3 minutes until light and fluffy, scraping down the bowl as needed.
- Add room temperature eggs one at a time to the butter mixture, beating well after each addition to ensure proper emulsification.
- Stir in the vanilla extract and mix until fully incorporated into the wet ingredients.
- In a small measuring cup, whisk together the heavy cream and water to create your liquid component.
- Gently fold the dry ingredients into the wet ingredients in two additions, alternating with the cream mixture and mixing until just combined.
- Allow the batter to rest for 5 minutes so the coconut flour can fully absorb the liquids and the batter thickens slightly.
- Divide the batter evenly among the muffin cups, filling each about 2/3 full, and scatter chocolate chips on top if desired.
- Bake for 18-22 minutes until a toothpick inserted in the center comes out clean and the muffins spring back when lightly touched.
- Remove from the oven and allow muffins to cool in the pan for 10 minutes before transferring to a wire rack.
- Serve warm or at room temperature, and store in an airtight container for up to 4 days or freeze for up to 3 months.
Pro Tips
The ratio of liquid to coconut flour is absolutely crucial for success. Unlike wheat flour, coconut flour absorbs tremendous amounts of moisture—roughly one-quarter cup of liquid per quarter cup of flour. If your batter seems too thick after mixing, don’t panic. Coconut flour batters are naturally thicker than conventional batter, and they will thin slightly during the resting period as the flour continues to hydrate.
Eggs are the binding agent that makes coconut flour baking work. Each egg contributes moisture, structure, and lift, so always use room temperature eggs for proper incorporation. If you accidentally use cold eggs, let your mixed batter sit an extra 5 minutes to allow the eggs to warm and blend more thoroughly. Room temperature ingredients create a more emulsified mixture that bakes into a tender crumb rather than a dense brick.
The creaming step isn’t just for flavor—it’s essential for incorporating air into your batter. Spend a full 2-3 minutes creaming butter and sweetener together, as this creates tiny air pockets throughout your baked goods. These air pockets translate to a lighter, more delicate texture in your finished muffins or cakes. Additionally, scrape down your bowl frequently during mixing to ensure all ingredients are evenly distributed.
Sweetener selection matters more than you might realize. Allulose and monk fruit both blend smoothly into batters and provide excellent browning without any off-flavors. Stevia works too, though you’ll need less of it (about one-third the amount) since it’s much sweeter than sugar. Some bakers prefer using a combination of sweeteners, as this tends to create a more rounded sweetness that’s less noticeable as artificial.
For substitutions, you can replace the cocoa powder with additional coconut flour if you prefer vanilla-flavored treats instead. Simply use 3/4 cup total coconut flour and omit the cocoa powder entirely. You might also experiment with adding almond extract, lemon zest, or even a small amount of instant coffee powder for depth of flavor. Meanwhile, you can use melted ghee or coconut oil instead of butter if you prefer, though the flavor will shift slightly.
Storage is straightforward with these coconut flour treats. Keep them in an airtight container at room temperature for 3-4 days, or freeze them individually wrapped for up to three months. When freezing, wrap each muffin tightly in plastic wrap before placing in a freezer bag to prevent freezer burn and preserve moisture. Thaw at room temperature for about an hour, or warm gently in a 300°F oven for 10-15 minutes to refresh the texture and restore that just-baked taste.