
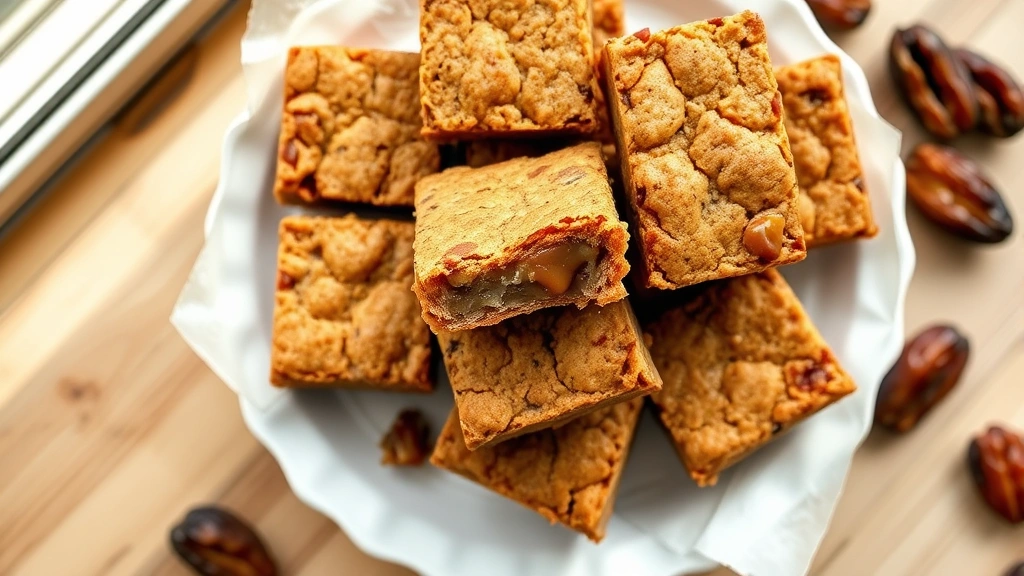
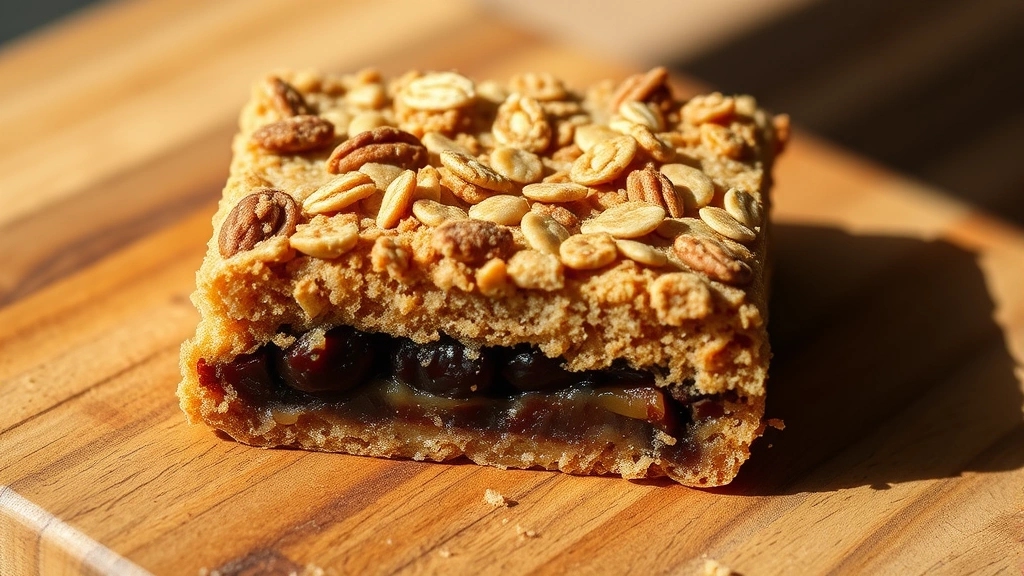
This date bars recipe is an absolute game-changer for anyone craving that perfect balance of chewy, sweet, and utterly irresistible. I’m talking about those gorgeous golden-brown bars with a tender oatmeal crust, a luscious date filling that tastes like pure comfort, and a crumbly topping that adds just the right textural contrast. These bars have been a staple in my kitchen for years, and honestly, they disappear faster than I can make them.
What makes this recipe so special? The magic lies in the simplicity combined with bold, natural flavors. You’re using whole dates—no weird processed filling here—which means you get authentic date flavor in every bite. Meanwhile, the buttery oatmeal layer provides a wholesome base and topping that feels both indulgent and satisfying.
Jump To Section
Why This Recipe Works
The beauty of this date bars recipe is how it comes together with pantry staples you probably already have on hand. Brown sugar creates depth and moisture in the crust, while oats add that signature chewiness everyone loves. Additionally, the three-layer structure—crust, filling, and topping—creates an incredibly appealing texture that keeps people coming back for more.
Unlike some bar recipes that turn out dry or overly sweet, these stay wonderfully moist thanks to the natural moisture in the dates and the generous amount of butter in the oatmeal mixture. For instance, when you soften the dates with a little water, you’re creating a filling that’s naturally sweet and deeply flavorful without any artificial ingredients. The result? Bars that taste homemade in the very best way possible.
I’ve tested this recipe dozens of times, tweaking here and there, and I’ve landed on what I consider the perfect formula. The ratio of crust to filling to topping is carefully balanced so nothing overwhelms the palate. You’ll notice the bars have a professional bakery quality while remaining completely achievable in your own kitchen.
Ingredient Tips & Substitutions
Let’s talk about the dates for a moment, because they’re really the star here. I recommend using Medjool dates—they’re larger, softer, and naturally sweeter than other varieties. However, if you can only find Deglet Noor dates, they’ll work beautifully too; just soak them a bit longer to ensure they soften completely. The key is removing the pits before you begin, which saves you considerable frustration during the filling preparation.
When it comes to the oatmeal, use old-fashioned rolled oats rather than quick oats or steel-cut varieties. Rolled oats give you that perfect chewy texture without turning into mush. Meanwhile, quick oats tend to break down too much during baking, resulting in a less appealing texture. If you’re looking for a gluten-free version, simply swap the all-purpose flour for a reliable gluten-free flour blend and use certified gluten-free oats.
The butter is non-negotiable in this recipe—don’t try substituting with oil or margarine if you want authentic flavor and proper texture. Brown sugar versus white sugar makes a noticeable difference too. Brown sugar adds a subtle molasses depth that really enhances the overall profile of these bars. Additionally, if you find your date filling isn’t sweet enough, a tablespoon of honey or maple syrup stirred in does wonders.
For those with dietary restrictions, check out our best pistachio salad recipe for alternative dessert ideas. You can also adapt this recipe using coconut oil as a partial substitute if needed, though the flavor will shift slightly. Some bakers have had excellent results adding a teaspoon of vanilla extract or even a pinch of cinnamon to the oatmeal mixture for extra warmth.
Serving Suggestions & Pairing Ideas
These date bars are absolutely perfect with a hot cup of coffee or tea in the afternoon. The chewy sweetness of the bars pairs beautifully with the slight bitterness of coffee—it’s a match made in heaven. Alternatively, serve them with a cold glass of milk for a classic combination that never disappoints.
If you’re planning a dessert spread, these bars hold their own alongside other treats. I often serve them at dinner parties or potlucks, and they’re always among the first items to disappear from the dessert table. For an elegant presentation, try dusting them lightly with powdered sugar just before serving, or drizzle with a thin white chocolate glaze for extra sophistication.
These bars work wonderfully as a lunchbox addition for kids and adults alike. They’re more substantial than most cookies, so they satisfy those mid-afternoon hunger pangs better than lighter treats. Additionally, they travel well, making them ideal for picnics, road trips, or office potlucks. Pack them in parchment paper to keep them fresh and prevent sticking.
Storage & Reheating Tips
Proper storage ensures your date bars stay fresh and delicious for days. Keep them in an airtight container at room temperature for up to five days, or cover the baking pan tightly with plastic wrap if you prefer not to transfer them. They also freeze beautifully for up to three months—just layer them between parchment paper in a freezer-safe container to prevent sticking.
If you want to refresh bars that have been stored for a few days, a quick 10-second microwave burst brings back that just-baked chewiness. However, be careful not to overheat them, as that can make them slightly tough. For a more elegant approach, let them sit at room temperature for 30 minutes before serving to ensure the flavors are at their peak.
I’ve found that these bars actually taste even better the next day, as the flavors meld together and the texture becomes slightly more cohesive. This makes them an excellent choice for advance baking—perfect when you need dessert ready to go but don’t want to spend time in the kitchen on party day. Meanwhile, if you’re serving them cold straight from the fridge, they develop a slightly firmer texture that some people actually prefer.
Baking Notes & Success Tips
Temperature control is crucial for perfect date bars. Make sure your oven is properly preheated to 350°F before you begin. If your oven runs hot or cool, invest in an inexpensive oven thermometer—it’s a game-changer for consistent results. Additionally, position your oven rack in the center for even baking throughout.
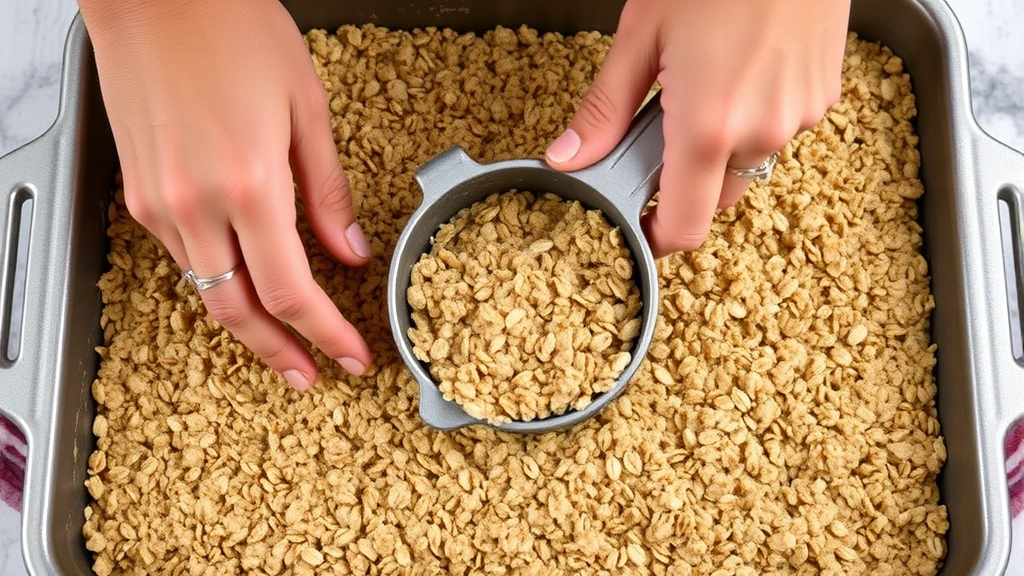
When pressing the crust mixture into the pan, use a slightly damp hand or the bottom of a measuring cup to create an even, compact layer. This prevents the crust from becoming too crumbly and ensures it holds everything together. The date filling should be smooth and spreadable, similar to jam; if it seems too thick, add a splash more water until you reach the right consistency.
For more dessert inspiration, explore our tasty salad in a jar recipe for lighter fare. The bars are done when the edges turn golden brown but the center still looks slightly underbaked—they’ll continue to set as they cool. Overbaking leads to dry bars, which is the opposite of what we’re going for here. Trust me, that slightly underbaked appearance is exactly what you want for maximum chewiness.
One pro tip: cut the bars while they’re still slightly warm, but let them cool completely before removing from the pan. This prevents crumbling and gives you clean, professional-looking bars. Use a sharp knife dipped in hot water and wiped clean between cuts for the best results.
According to Bon Appétit, homemade bar desserts are experiencing a major resurgence in home baking, and for good reason. They’re approachable, reliable, and absolutely delicious. This date bars recipe embodies everything that makes bar desserts so appealing—minimal equipment, straightforward technique, and maximum flavor payoff.
Additionally, Serious Eats emphasizes the importance of understanding ingredient interactions, which is exactly why I’ve included specific guidance on butter content and oat selection. When you understand the why behind each ingredient, you become a better baker overall.
Whether you’re a seasoned baker or just starting your culinary journey, this date bars recipe delivers impressive results every single time. The combination of wholesome ingredients, straightforward instructions, and that irresistible chewiness makes these bars something truly special. I absolutely encourage you to make a batch this week—your kitchen will smell amazing, and your family will thank you profusely.
For more creative meal ideas, check out our perfect Easter salad recipe and other seasonal favorites. You might also enjoy our best tomato bisque soup recipe for savory comfort food. Or explore our best Panera butternut squash soup recipe for cozy soup season options.
The versatility of date bars makes them perfect for any occasion—casual family dinners, holiday gatherings, or simple weeknight treats. They’re the kind of recipe that becomes a beloved family favorite, passed down through generations. I hope this date bars recipe brings as much joy to your kitchen as it has to mine.
Ingredients
- 1 cup unsalted butter, softened
- 1 cup packed brown sugar
- 2 cups old-fashioned rolled oats
- 1¾ cups all-purpose flour
- ½ teaspoon salt
- 2 cups pitted Medjool dates (about 1 pound)
- ¾ cup water
- 2 tablespoons honey or maple syrup
- 1 teaspoon vanilla extract
- ¼ teaspoon cinnamon (optional)
Instructions
- Preheat your oven to 350°F and line a 9×13-inch baking pan with parchment paper, leaving slight overhang on the sides for easy removal later.
- In a large bowl, cream together the softened butter and brown sugar until light and fluffy, about 2-3 minutes of beating with an electric mixer.
- Stir in the rolled oats, all-purpose flour, and salt until the mixture resembles coarse breadcrumbs with some small chunks remaining—do not overmix.
- Press about two-thirds of this oatmeal mixture firmly into the prepared baking pan, creating an even, compact crust layer.
- In a medium saucepan, combine the pitted dates, water, honey, vanilla extract, and cinnamon if using. Cook over medium heat for 8-10 minutes, stirring frequently, until the dates break down into a smooth, jam-like consistency.
- Spread the warm date filling evenly over the crust layer, smoothing the top with a spatula or the back of a spoon.
- Sprinkle the remaining oatmeal mixture over the date filling, gently pressing it down so it adheres slightly but remains somewhat crumbly.
- Bake for 25-30 minutes until the edges are golden brown and the top appears set but still slightly soft in the center.
- Remove from the oven and let cool completely in the pan for at least 1 hour before cutting into bars.
- Using a sharp knife dipped in hot water and wiped clean between cuts, slice into 16 equal bars and serve at room temperature or slightly chilled.
Pro Tips
These date bars truly shine when you use quality Medjool dates, which are naturally sweet and tender. If your dates seem particularly dry, soak them in hot water for 5-10 minutes before cooking to ensure they soften beautifully. This simple step makes all the difference in achieving that perfect date filling texture.
Storage is straightforward and flexible. Keep the bars in an airtight container at room temperature for up to five days, or freeze them for up to three months layered between parchment paper. Interestingly, these bars taste even better after a day or two as the flavors meld together and the texture becomes slightly more cohesive.
For substitutions, you can swap the all-purpose flour for whole wheat flour to add nuttier flavor and extra nutrition, though you may need slightly more water in the date filling. Additionally, a teaspoon of vanilla extract or a pinch of cardamom in the date filling adds unexpected depth. Some bakers have reported excellent results adding a tablespoon of coconut oil to the oatmeal mixture for subtle flavor enhancement.
If you prefer softer, chewier bars, slightly underbake them and let them cool completely in the pan—resist the urge to remove them early. Conversely, if you like them firmer and more cake-like, bake an additional 3-5 minutes until the center is fully set. Temperature control in your oven matters significantly, so consider using an oven thermometer for consistency.
The beauty of this recipe lies in its flexibility and reliability. Whether you’re baking for a special occasion or just craving something delicious, these date bars deliver every single time. The combination of wholesome ingredients and straightforward technique makes them accessible to bakers of all skill levels.