
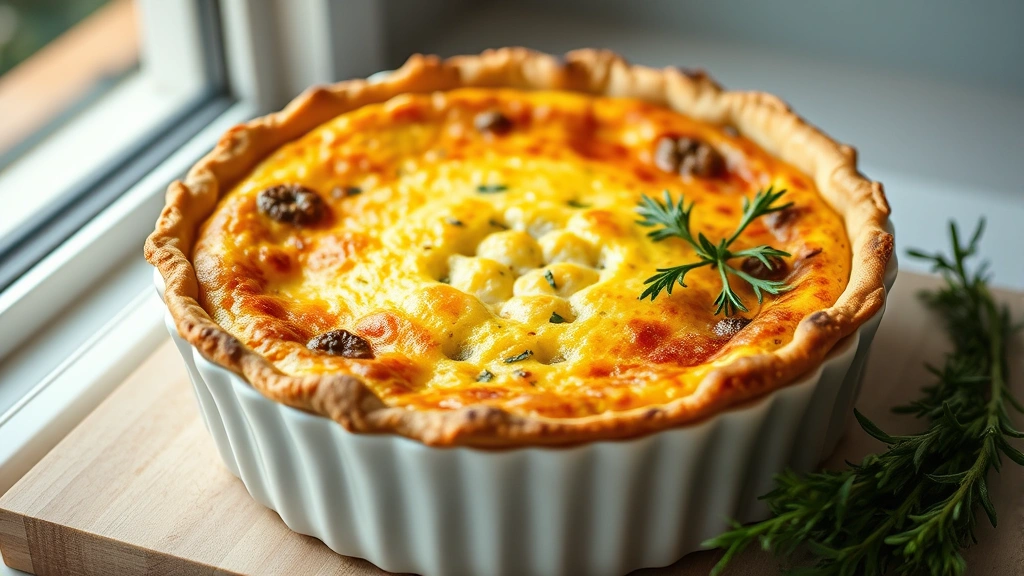
Making the perfect quiche crust is easier than you think, and it’s absolutely worth mastering! A buttery, flaky, tender crust is the foundation of any show-stopping quiche, and I’m going to walk you through every single step to ensure your success. This foolproof method has been perfected over years of baking, and I promise you’ll be making this crust again and again.
The secret to an incredible quiche crust lies in three key elements: cold butter, minimal mixing, and proper chilling time. When you keep your ingredients cold and handle the dough gently, you create those beautiful, delicate layers that make a crust absolutely irresistible. This isn’t complicated baking—it’s simple, straightforward, and so rewarding.
Whether you’re planning to fill your quiche with a creamy sauce or fresh vegetables, or you want to pair it with a chicken alfredo filling, this crust is your answer. I also love serving quiche alongside some roasted shishito peppers or a simple salad with garlic shrimp scampi for an elegant brunch.
I’ve tested this recipe countless times, and the ratio of flour to butter to liquid is absolutely perfect for achieving that coveted flaky texture. The cold water helps bring the dough together without overdeveloping the gluten, which would make your crust tough. One pro tip: I always save a bit of dough in the freezer for quick repairs if any cracks appear during baking—it’s a lifesaver!
This recipe makes enough for one 9-inch pie crust, and it takes just minutes to prepare. Once you master this technique, you’ll understand why homemade crusts taste infinitely better than store-bought versions. Your family and friends will be amazed when you tell them you made the crust from scratch. Let’s get started on creating something absolutely delicious!
For more information on pie crust techniques, Serious Eats has wonderful resources, and Bon Appétit features beautiful quiche inspiration. You can also find detailed baking guidance at New York Times Cooking.
Ingredients
- 2½ cups all-purpose flour, plus more for dusting
- 1 teaspoon salt
- 1 tablespoon granulated sugar
- 1 cup (2 sticks) cold unsalted butter, cubed
- 6-8 tablespoons ice water
- 1 egg yolk mixed with 1 tablespoon water (for egg wash)
- Parchment paper for blind baking
- Pie weights or dried beans for blind baking
Instructions
- In a large mixing bowl, whisk together the flour, salt, and sugar. This ensures the salt and sugar are evenly distributed throughout the dough.
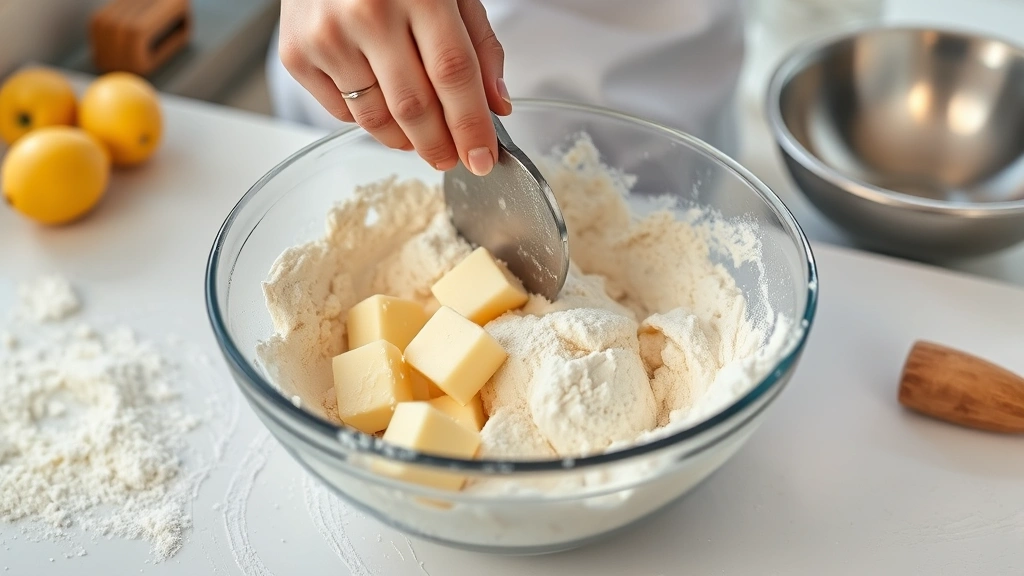
- Add the cold cubed butter to the flour mixture. Using a pastry cutter, two forks, or your fingertips, work the butter into the flour until the mixture resembles coarse breadcrumbs with some pea-sized pieces of butter still visible.
- Add 6 tablespoons of ice water and gently mix with a fork until the dough just begins to come together. Add more water 1 tablespoon at a time if needed, being careful not to overmix.
- Form the dough into a flat disk, wrap it in plastic wrap, and refrigerate for at least 1 hour, or up to overnight. This resting period is crucial for relaxing the gluten and making the dough easier to roll.
- Remove the dough from the refrigerator and let it sit at room temperature for 5 minutes to soften slightly, making it easier to roll without cracking.
- On a well-floured surface, roll the dough out to a circle about ⅛-inch thick, approximately 11-12 inches in diameter. Rotate the dough frequently and dust with flour as needed to prevent sticking.
- Carefully transfer the rolled dough to your 9-inch quiche dish or pie pan, gently pressing it into the bottom and sides. Allow the excess dough to hang over the edges.
- Trim the excess dough with a knife, leaving about ½-inch overhang. Fold this overhang under itself to create a neat, finished edge, then crimp decoratively with your fingers or fork.
- Refrigerate the lined quiche dish for at least 30 minutes. This helps prevent shrinkage during baking.
- Preheat your oven to 375°F. Line the chilled crust with parchment paper and fill with pie weights or dried beans to prevent puffing during blind baking.
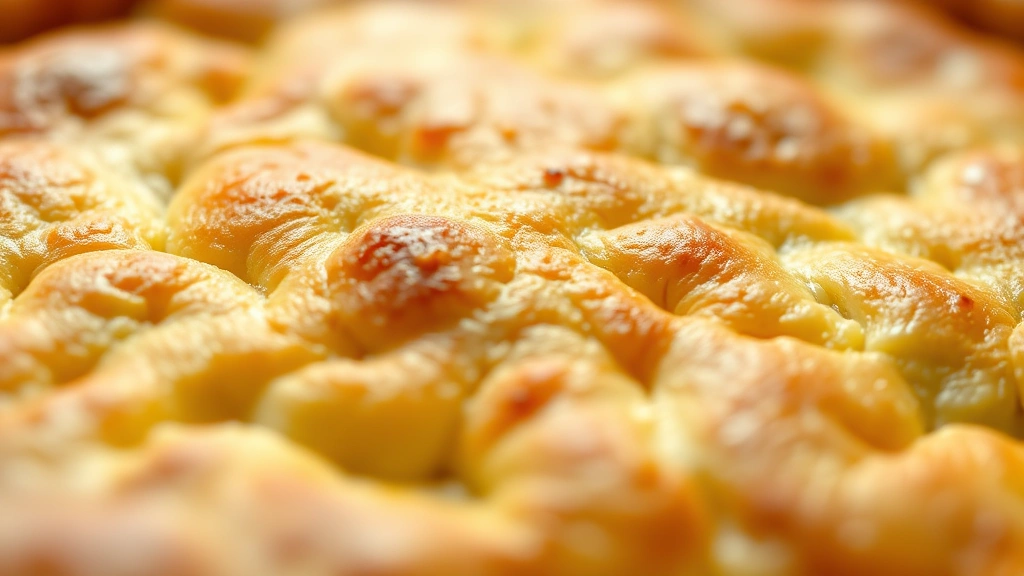
- Blind bake the crust for 20-25 minutes until the edges are light golden brown. The crust should be set but not fully baked since it will continue cooking with your filling.
- Carefully remove the parchment paper and pie weights. If you see any cracks or holes, patch them with small pieces of reserved dough or egg wash.
- Brush the hot crust with the egg wash mixture for a beautiful golden finish, then let it cool slightly before adding your quiche filling.
- Your quiche crust is now ready for any filling you desire! Follow your specific quiche recipe for filling and final baking instructions.
Pro Tips
Don’t skip the chilling steps. They’re not optional—they’re absolutely essential for preventing shrinkage and ensuring a tender, flaky result. Plan ahead and give yourself time.
When rolling the dough, aim for even thickness throughout. Thicker sections will be doughy, while thinner sections may tear. A dough mat and rolling guide can help achieve consistency.
If your dough cracks while transferring, don’t panic. Simply patch it with a small piece of dough moistened with water. These patches will seal during baking.
For a pre-baked crust, bake until the edges are golden and the bottom is set and dry, about 25 minutes. For a partially baked crust (recommended for most quiches), bake for 20 minutes until set but still pale.
You can make this dough ahead and freeze it for up to three months. Wrap tightly in plastic wrap and then in foil. Thaw in the refrigerator overnight before using.
If you notice the edges browning too quickly during blind baking, cover them with foil. This prevents over-browning while the bottom crust finishes cooking.
The egg wash creates a beautiful golden color and helps seal the crust, preventing it from absorbing too much moisture from the filling. Don’t skip this step!
After removing pie weights, the crust may have slight indentations. These will mostly disappear as you add your filling.
For extra flavor, add 1 teaspoon of fresh thyme or Italian seasoning to the flour mixture. This subtle addition complements almost any quiche filling beautifully.