
Making homemade ice cream is one of those magical kitchen experiences that seems intimidating but is actually quite simple, especially when you have an ice cream maker on hand. There’s something truly special about creating your own frozen desserts from scratch – you control the quality of ingredients, the sweetness level, and can experiment with flavors that store-bought versions simply can’t offer. Whether you’re a seasoned baker or someone who’s never made ice cream before, this guide will walk you through everything you need to know.
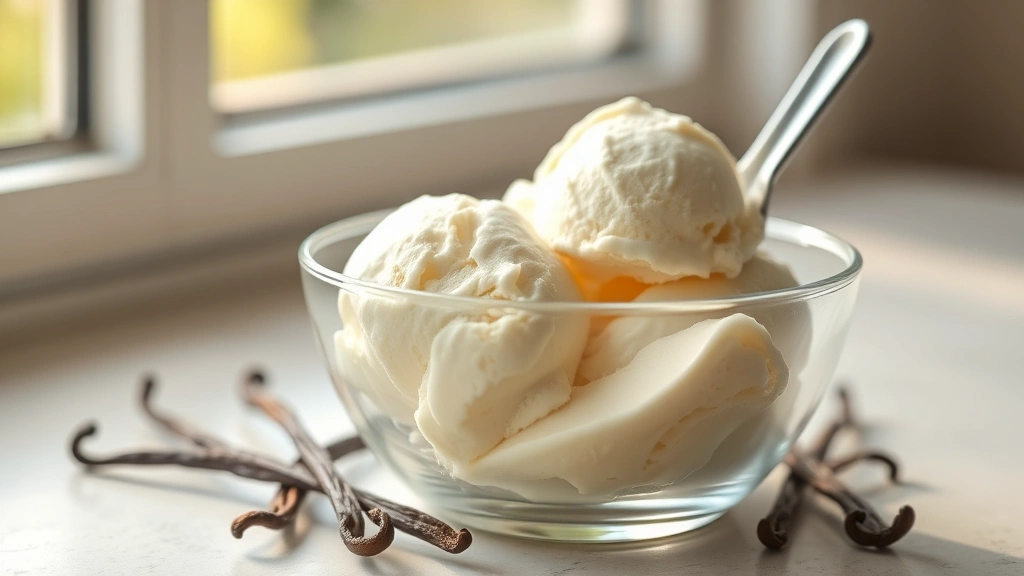
The beauty of homemade ice cream lies in its creamy, luxurious texture that comes from a proper custard base. Unlike the overly sugary commercial versions, homemade ice cream allows you to appreciate the subtle flavors of real vanilla beans, fresh fruit, or premium chocolate. Plus, there’s an undeniable joy in serving homemade ice cream to family and friends – it’s a dessert that impresses without requiring extensive culinary skills.
Before you start, understand that ice cream making involves two essential steps: creating a custard base and churning it in your machine. The custard base is essentially a cooked mixture of cream, milk, egg yolks, and sugar that gets chilled before churning. This cooking step is crucial because it pasteurizes the eggs, making them safe to consume, while also creating that signature creamy texture. Once your base is ready and properly chilled, your ice cream maker does the hard work, freezing and aerating the mixture simultaneously.
One of the most common questions I receive is about the difference between ice cream and gelato, and whether this recipe works for both. The answer is yes! Ice cream typically contains more fat (from cream and egg yolks), while gelato uses more milk and fewer egg yolks, resulting in a denser texture. This basic recipe skews toward traditional American-style ice cream, but you can easily adjust the ratios to create gelato or even frozen custard if you prefer.
The key to perfect ice cream is patience and proper temperature control. Your custard base needs to be completely chilled – ideally overnight in the refrigerator – before churning. This isn’t just a suggestion; cold base churns more efficiently and produces better texture. If you try to churn warm or room-temperature base, your ice cream maker will struggle, and you’ll end up with icy rather than creamy results. Additionally, pre-chilling your ice cream maker’s bowl (if it’s not a self-refrigerating model) ensures optimal freezing during the churning process.
Flavoring your ice cream opens up endless possibilities. Beyond classic vanilla, you can infuse your base with coffee, create rich cream-based sauces for swirling, or fold in unexpected flavor combinations. For fruit ice creams, you can either cook the fruit down into a compote or blend fresh fruit directly into your chilled base. For chocolate lovers, quality cream-based recipes work beautifully when you whisk in premium cocoa powder or melted chocolate. The possibilities truly are limitless, and this is where homemade ice cream really shines.
Storage is another important consideration. Homemade ice cream doesn’t contain the stabilizers and emulsifiers found in commercial versions, so it can crystallize over time. The best approach is to store it in an airtight container in the coldest part of your freezer. For optimal texture, consume your homemade ice cream within two weeks. If you notice it’s become too hard, simply let it sit at room temperature for a few minutes before scooping – this is actually a sign of quality, as it indicates less air and fewer additives than store-bought versions.
For those looking to explore further, check out this comprehensive guide to working with cream in cooking, and don’t miss tips for infusing flavors into desserts. For professional techniques, I recommend checking out Bon Appétit’s comprehensive ice cream collection and Serious Eats’ detailed ice cream science. The New York Times also offers excellent ice cream recipes and techniques that can help you master this beautiful dessert.
Ingredients
- 2 cups heavy cream
- 1 cup whole milk
- 3/4 cup sugar
- 5 large egg yolks
- 1 tablespoon vanilla extract (or 1 vanilla bean, split and scraped)
- 1/4 teaspoon sea salt
Instructions
- Pour the heavy cream and whole milk into a medium saucepan and place over medium heat. Stir occasionally and heat until the mixture is steaming and small bubbles form around the edges – do not let it boil. This should take about 5-7 minutes.
- While the cream mixture heats, place the egg yolks in a medium bowl and add the sugar. Whisk vigorously for 2-3 minutes until the mixture is pale, thick, and creates ribbons when you lift the whisk – this ensures the sugar begins to dissolve and incorporates air.
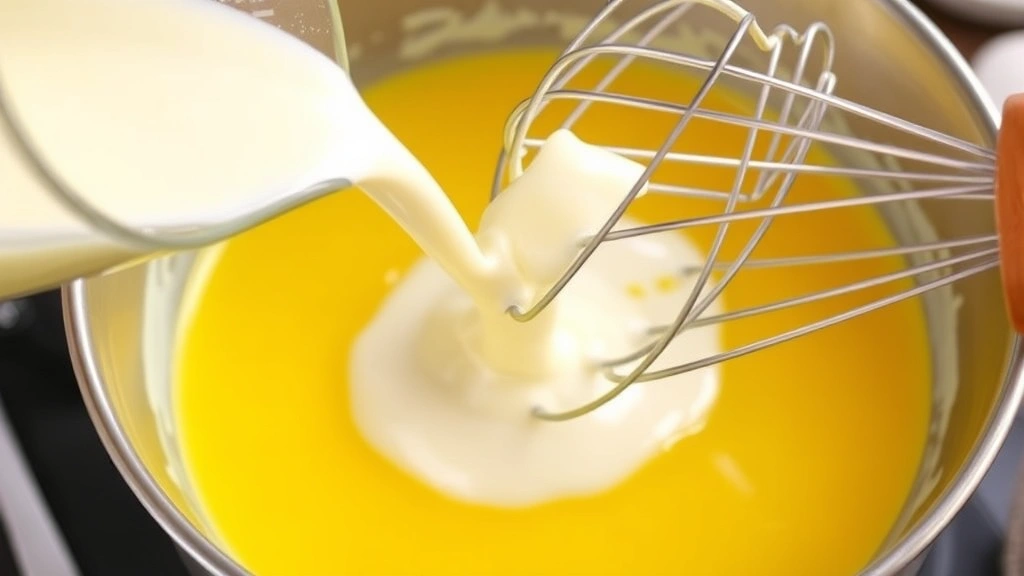
- Once your cream mixture is hot and steaming, slowly pour about 1/2 cup of it into the egg yolk mixture while whisking constantly. This tempers the eggs, gradually raising their temperature so they don’t scramble when you add the rest of the hot cream.
- Continue whisking and slowly pour the remaining hot cream into the egg mixture in a steady stream. Keep whisking to ensure everything combines smoothly and no cooked egg bits form.
- Pour the entire mixture back into the saucepan and place over medium-low heat. Stir constantly with a wooden spoon or spatula, scraping the bottom and sides, until the mixture reaches 170°F on an instant-read thermometer or coats the back of a spoon (when you run your finger across it, it leaves a trail). This takes about 5-8 minutes.
- Remove from heat immediately and stir in the vanilla extract and sea salt. If using a vanilla bean instead, it should have been added during the initial heating step and will have infused the cream – just stir to combine.
- Pour the custard through a fine-mesh strainer into a clean bowl to remove any small cooked egg bits. Press plastic wrap directly onto the surface of the custard to prevent a skin from forming.
- Refrigerate the custard for at least 8 hours, or preferably overnight, until it’s completely chilled. You can also place it in an ice bath for 30-45 minutes if you’re in a hurry, but overnight chilling produces the best results.
- When ready to churn, ensure your ice cream maker’s bowl has been frozen according to the manufacturer’s instructions (usually at least 24 hours for non-self-refrigerating models).
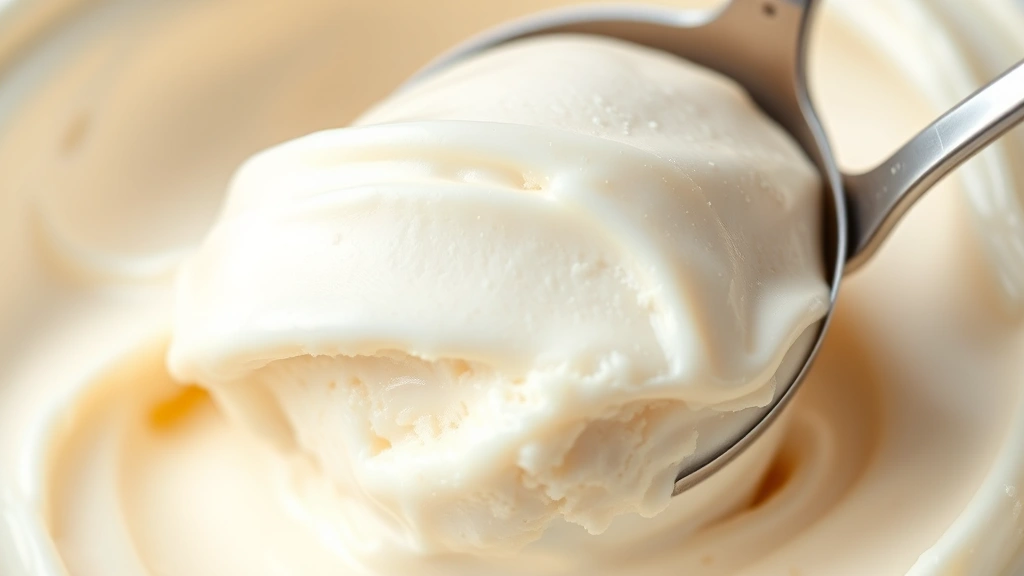
- Pour the chilled custard into your ice cream maker and churn according to the manufacturer’s instructions, typically 20-25 minutes, until it reaches a soft-serve consistency.
- Transfer the soft ice cream to an airtight freezer container and freeze for at least 4-6 hours until it reaches scoopable hardness. The ice cream will continue to freeze and firm up as it sits in the freezer.
Pro Tips
Egg Safety: The key to safe homemade ice cream is bringing the custard to 170°F, which pasteurizes the eggs and eliminates any food safety concerns. Use an instant-read thermometer for accuracy – this step is not optional. If you’re uncomfortable with eggs or prefer egg-free options, there are excellent dairy-free and eggless ice cream bases available.
Flavoring Flexibility: This vanilla base is incredibly versatile. To make chocolate ice cream, whisk 1/4 cup unsweetened cocoa powder into the egg yolks before tempering. For coffee ice cream, steep 2 tablespoons of finely ground espresso beans in the hot cream for 15 minutes, then strain before tempering. For fruit ice cream, prepare a fruit compote and swirl it into the soft ice cream just before final freezing, or blend fresh fruit into the chilled base.
Ice Cream Maker Types: This recipe works with all ice cream maker types – traditional models with a frozen bowl, self-refrigerating models, and even old-fashioned rock salt and ice methods. If using the rock salt method, follow your machine’s specific instructions for salt and ice ratios, as they vary by model.
Textural Adjustments: If your ice cream is too hard straight from the freezer, let it sit at room temperature for 5-10 minutes before scooping. This is normal for homemade ice cream without commercial stabilizers. Conversely, if it’s too soft after churning, it may not have churned long enough – the mixture should nearly double in volume and look like soft-serve when done.
Storage Solutions: Homemade ice cream keeps best in an airtight container in the coldest part of your freezer for up to two weeks. To prevent freezer burn and crystallization, press plastic wrap directly onto the surface before sealing the container. This minimizes air exposure and maintains optimal texture.
Make-Ahead Strategy: You can prepare the custard base up to three days ahead – simply store it covered in the refrigerator until you’re ready to churn. This makes homemade ice cream perfect for entertaining, as you can prepare the base days in advance and churn it fresh just before serving.
Scaling Up: This recipe doubles easily if you need larger quantities. Simply multiply all ingredients by two, adjusting cooking times slightly as needed. Most home ice cream makers have a capacity of 1.5-2 quarts, so doubling this recipe should fit comfortably.
Pingback: How to Make the Best Chicken Fettuccine Recipe! – Simple Recipe Finder