
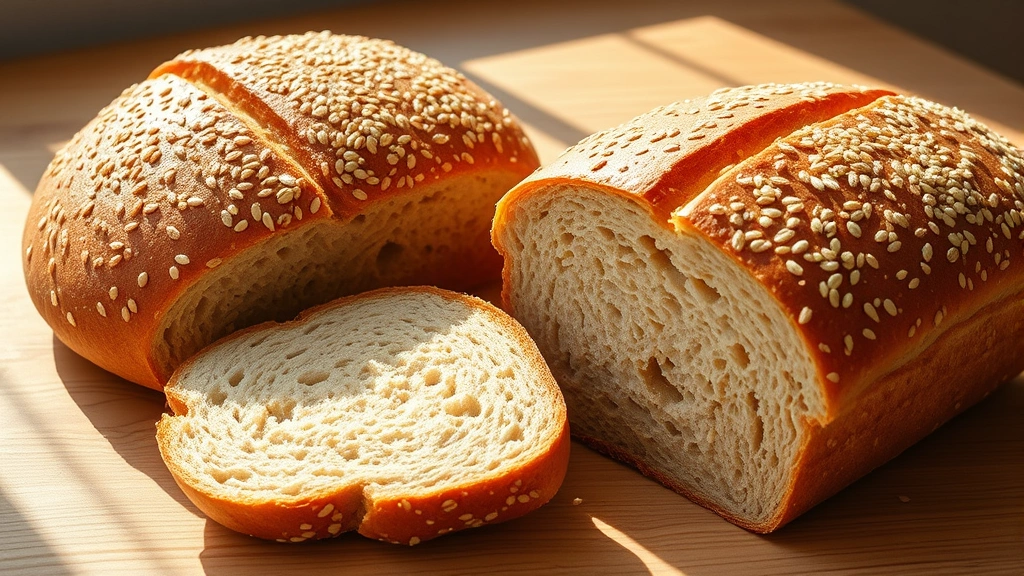
There’s something truly magical about the aroma of freshly baked honey grain bread wafting through your kitchen on a lazy weekend morning. This honey grain bread recipe combines the natural sweetness of honey with hearty whole grains to create a loaf that’s both nutritious and utterly delicious. The beauty of this bread lies in its perfect balance—it’s not too dense, not too light, and has a wonderful golden crust that gives way to a soft, tender crumb inside.
I’ve been making this honey grain bread recipe for years, and it’s become a staple in my home. What I love most about it is how versatile it is. You can serve it toasted with butter and jam for breakfast, use it for sandwiches at lunch, or simply enjoy it with a bowl of soup for dinner. The combination of whole wheat flour, oats, and a touch of honey creates a bread that feels wholesome and comforting, yet sophisticated enough to impress dinner guests.
The process of making this bread is quite straightforward, even for beginners. Don’t be intimidated by the thought of working with yeast—I promise it’s easier than you think! The key is to be patient and let the dough rise properly. The resulting loaf will have a beautiful rustic appearance and a flavor that improves as it sits. In fact, I often find that day-old slices are even better than fresh.
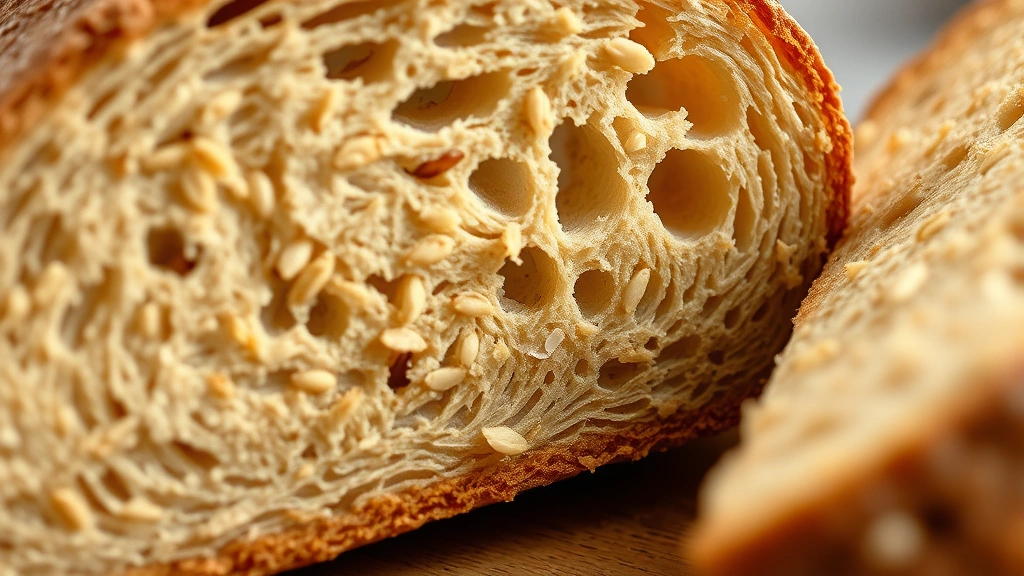
What makes this honey grain bread recipe special is the use of multiple grains. Beyond the traditional all-purpose and whole wheat flour, I like to add rolled oats, flax seeds, and sometimes sunflower seeds for extra texture and nutrition. The honey not only sweetens the bread but also helps keep it moist and tender for days. It’s the secret ingredient that elevates this bread from ordinary to extraordinary.
If you’re looking to expand your baking repertoire, you might also enjoy exploring savory bread pairings or even complementary side dishes. And for those interested in grain-based recipes beyond bread, lemon orzo is another wonderful option that celebrates the versatility of grains in the kitchen.
This honey grain bread recipe yields two beautiful loaves, perfect for sharing or freezing for later. The baking time is reasonable, and most of it is hands-off rising time, so you can multitask while your bread develops its wonderful flavor and texture. I’m confident that once you make this recipe, it will become a regular feature on your table, just as it has in mine.
Ingredients
- 2 cups whole milk, warmed
- 3 tablespoons honey
- 2 tablespoons unsalted butter, melted
- 2 teaspoons salt
- 2 1/4 teaspoons active dry yeast (one packet)
- 2 cups all-purpose flour
- 2 cups whole wheat flour
- 1 cup rolled oats, plus extra for topping
- 2 tablespoons flax seeds
- 2 tablespoons sunflower seeds
- 1 tablespoon sesame seeds (optional)
- 1 egg, beaten (for egg wash)
- 2 tablespoons water (for egg wash)
Instructions
- In a large mixing bowl, combine the warmed milk, honey, melted butter, and salt. Stir until the honey is dissolved and the ingredients are well combined. Allow the mixture to cool slightly until it feels warm to the touch (around 110°F), then sprinkle the active dry yeast over the top.
- Let the yeast sit for about 5 minutes to bloom and become foamy. This indicates that your yeast is active and ready to work its magic. If the yeast doesn’t foam, it may be expired, and you’ll need to start over with fresh yeast.
- In a separate large bowl, combine the all-purpose flour, whole wheat flour, rolled oats, flax seeds, and sunflower seeds. Mix these dry ingredients together thoroughly so the seeds and oats are evenly distributed throughout the flour mixture.
- Pour the wet ingredients (milk mixture with yeast) into the dry ingredients and stir with a wooden spoon until a shaggy dough begins to form. The dough will be somewhat sticky and rough at this stage, which is completely normal.
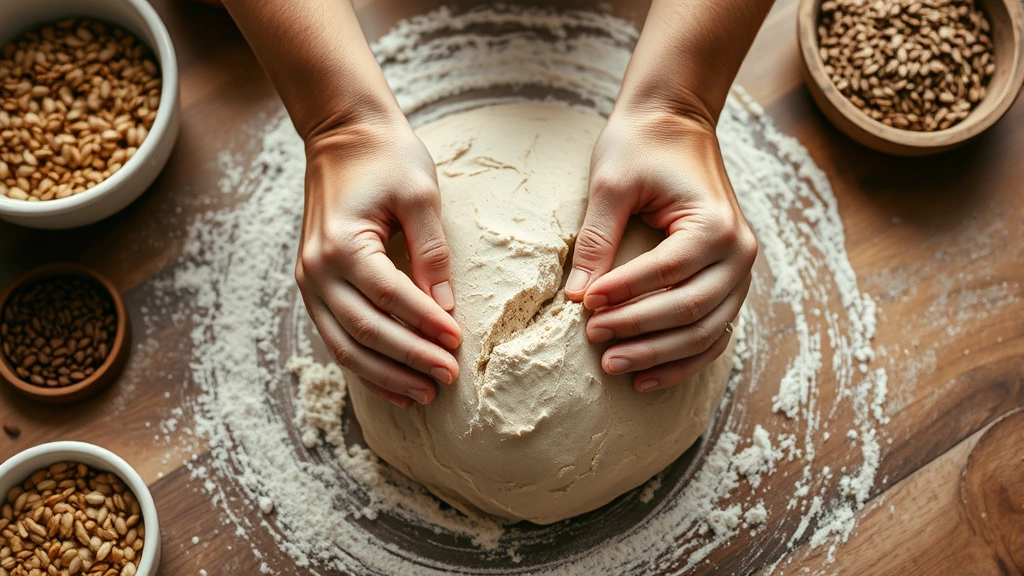
- Transfer the dough to a lightly floured surface and knead for about 10 minutes. Push the dough away from you with the heel of your hand, fold it back over itself, rotate it a quarter turn, and repeat. The dough should gradually become smoother and more elastic. If it’s too sticky, add a bit more flour; if too dry, add water by the teaspoon.
- Shape the dough into a ball and place it in a lightly oiled bowl, turning it once to coat all sides with oil. This prevents the dough from drying out during rising. Cover the bowl with a damp kitchen towel or plastic wrap.
- Allow the dough to rise in a warm, draft-free location for about 1 hour to 1 hour 30 minutes, until it has roughly doubled in size. To test if the dough has risen enough, gently poke it with your finger—if the indentation slowly springs back halfway, it’s ready.
- Turn the risen dough out onto a lightly floured surface and gently punch it down to release excess gas. Divide the dough into two equal portions using a bench scraper or sharp knife.
- Shape each portion into a round loaf by pulling the edges toward the center and rotating as you go, creating tension on the surface. Place each shaped loaf seam-side down on a parchment-lined baking sheet, leaving several inches between them for expansion.
- Cover the shaped loaves loosely with a damp towel or plastic wrap and let them rise for 45 minutes to 1 hour, until they’re puffy and have increased in size. They don’t need to double in size at this stage—just become noticeably fuller.
- While the loaves are having their second rise, preheat your oven to 425°F. Place an oven-safe skillet or baking vessel on the lower rack to preheat as well. This will be used for creating steam, which gives the bread its beautiful crust.
- In a small bowl, whisk together the egg and water to create an egg wash. Using a pastry brush, gently brush this mixture over the top of each loaf. This creates that beautiful golden-brown finish that’s so appealing.
- Sprinkle the tops of the loaves with additional rolled oats and sesame seeds if desired. These toppings add visual interest and extra texture. Using a sharp knife or bread lame, make a deep slash across the top of each loaf at about a 45-degree angle. This allows the bread to expand properly during baking.
- Carefully pour about 1 cup of hot water into the preheated skillet on the lower rack (be very careful to avoid steam burns). This creates steam in the oven, which is essential for developing a crispy, golden crust on your bread.
- Place the baking sheet with your loaves on the middle rack of the oven. Bake for 35 to 40 minutes, until the loaves are deep golden brown and sound hollow when tapped on the bottom. You should hear a distinct hollow sound, indicating the bread is fully baked through.
- Remove the loaves from the oven and transfer them to a wire cooling rack. Allow them to cool for at least 30 minutes before slicing. I know it’s tempting to cut into warm bread, but this resting time allows the interior to set properly, resulting in cleaner slices and better texture.
Pro Tips
- This honey grain bread recipe can be made ahead by preparing the dough up to the first rise, then refrigerating it overnight. Simply remove it from the fridge, shape it, allow it to come to room temperature (about 30 minutes), and proceed with the second rise and baking.
- For a more rustic appearance, you can score the top of the loaves with deeper, more dramatic cuts. Some bakers prefer an X pattern, while others like parallel lines. Experiment to find your favorite style.
- If you don’t have all the seeds mentioned in this honey grain bread recipe, don’t worry! Feel free to substitute with any seeds or grains you have on hand, such as pumpkin seeds, poppy seeds, or millet.
- The type of honey you use can affect both the flavor and color of your bread. Darker honeys like buckwheat honey will create a deeper color and more robust flavor, while lighter honeys produce a milder taste and lighter crust.
- To store your finished honey grain bread, wrap it tightly in plastic wrap or place it in an airtight container at room temperature for up to 4 days. For longer storage, freeze whole loaves or individual slices for up to 3 months.
- If your dough seems to be rising too quickly (in less than 45 minutes), your kitchen may be very warm. You can slow down the process by placing the dough in a cooler spot or even the refrigerator during the second rise.
- For a softer crust, brush the warm bread with butter immediately after removing it from the oven. For a crispier crust, skip this step and allow the bread to cool uncovered.
- This honey grain bread pairs wonderfully with creamy pesto or can accompany cream-based pasta dishes beautifully. For sandwiches, try it with chicken alfredo for a gourmet meal.
- If you’re new to bread baking, watch for visual cues rather than relying solely on time. The dough should look puffy and feel light, and the baked loaves should be golden and hollow-sounding.