
There’s something so satisfying about making your own protein balls at home – they’re the perfect grab-and-go snack that feels indulgent but is actually packed with nutrition. I’ve been making these for years, and honestly, they’ve become my go-to when I need an afternoon pick-me-up or want something sweet without the guilt. The beauty of protein balls is their versatility; you can customize them with your favorite nut butters, mix-ins, and coatings to create endless flavor combinations.
These little bites are not only delicious but also incredibly practical. Whether you’re meal prepping for the week or need a quick energy boost before a workout, protein balls deliver on both taste and function. What I love most is how simple they are to make – no baking required, which means your kitchen stays cool and you can have a batch ready in just minutes. I’ve shared plenty of healthy snack options here, but these protein balls consistently rank as a reader favorite.
The foundation of a great protein ball is high-quality ingredients. I always start with a good protein powder – vanilla, chocolate, or even unflavored works beautifully depending on your flavor profile. Combined with natural nut butter, a touch of honey or maple syrup for binding, and your choice of mix-ins, you’re creating a snack that’s both satisfying and nutritious. For more no-bake dessert inspiration, check out my collection here.
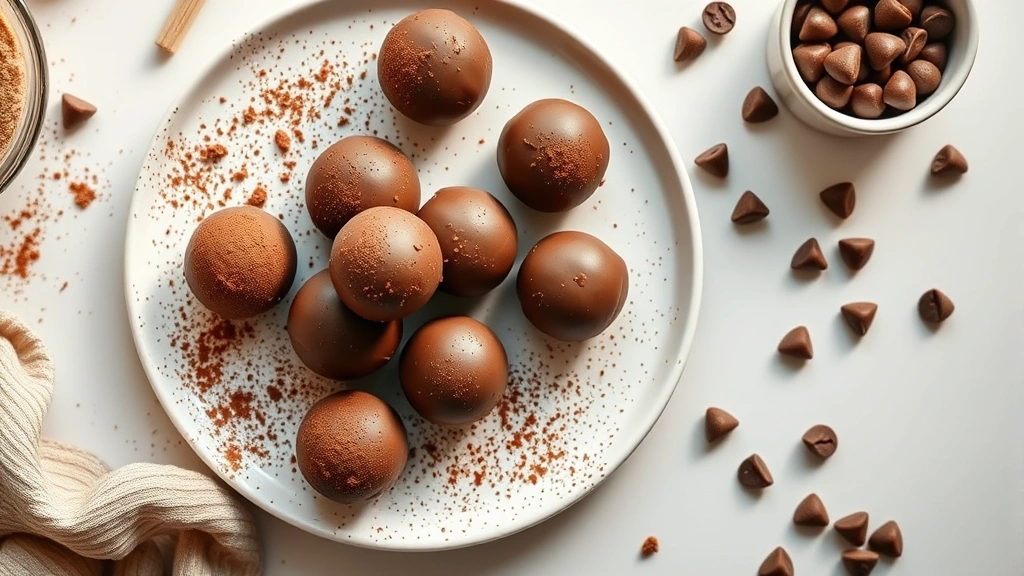
What makes these protein balls particularly special is how customizable they are. You can make a batch of chocolate peanut butter, another with white chocolate and macadamia, and even a third with coconut and lime if you’re feeling adventurous. The ratio of ingredients remains consistent, so once you nail the basic formula, you can experiment freely. I’ve found that coating them in dark chocolate, white chocolate, or even cocoa powder not only makes them look professionally made but also adds another layer of flavor.
These treats are perfect for so many occasions. Pack them in cute containers for gifts, bring them to potlucks, stash them in your gym bag, or simply keep a batch in your refrigerator for those moments when you need something sweet and nourishing. Check out my meal prep guide for more make-ahead snack ideas. They also make wonderful additions to lunchboxes, and kids absolutely love them – though I won’t tell you that they’re sneaking in quality protein!
One of my favorite things about protein balls is how they bridge the gap between indulgence and health-consciousness. You’re getting protein, healthy fats, and sustained energy without any refined sugars or artificial ingredients. Similar to my energy bites recipes, these are designed to keep you satisfied between meals. The combination of protein powder, nut butter, and healthy fats creates a satisfying snack that actually curbs cravings rather than triggering more hunger.
Storage is wonderfully simple too. Keep them in an airtight container in the refrigerator for up to two weeks, or freeze them for up to a month. This means you can make a large batch and enjoy them throughout the month – perfect for busy weeks when you need a reliable, no-fuss snack option. I often make a triple batch on Sunday and portion them into containers for grab-and-go convenience throughout the week.
For more inspiration on no-bake treats, Bon Appétit has fantastic no-bake dessert ideas. If you’re interested in protein-packed recipes in general, Serious Eats covers high-protein recipes extensively. For more healthy snacking options, The New York Times has a collection of protein snacks that might inspire your next batch.
These protein balls represent everything I love about modern cooking – simple ingredients, minimal effort, maximum flavor, and results that look like you spent hours in the kitchen when really you spent minutes. They’re proof that healthy eating doesn’t have to be complicated or time-consuming. Whether you’re new to making homemade snacks or a seasoned pro, this recipe will quickly become a staple in your kitchen rotation. I genuinely can’t recommend them enough!
Ingredients
- 1 cup natural peanut butter (or almond butter, sunflower seed butter)
- 1 cup rolled oats
- 1/2 cup vanilla protein powder
- 1/3 cup raw honey or pure maple syrup
- 1/2 cup mini chocolate chips
- 1/4 cup unsweetened cocoa powder
- 1 teaspoon vanilla extract
- Pinch of sea salt
- 8 ounces dark chocolate or white chocolate for coating (optional)
- 1 tablespoon coconut oil (if using chocolate coating)
- Additional cocoa powder, sprinkles, or chopped nuts for decoration (optional)
Instructions
- In a large mixing bowl, combine the peanut butter and honey, stirring until well blended and smooth.
- Add the rolled oats to the peanut butter mixture and stir thoroughly to combine.
- Pour in the vanilla protein powder and cocoa powder, mixing well until no dry streaks remain.
- Stir in the mini chocolate chips and vanilla extract, then add a pinch of sea salt and mix until the mixture is fully combined.
- Cover the bowl with plastic wrap and refrigerate for 30 minutes to allow the mixture to firm up slightly, making it easier to roll.
- Line a baking sheet with parchment paper for easy storage and transfer of your finished balls.
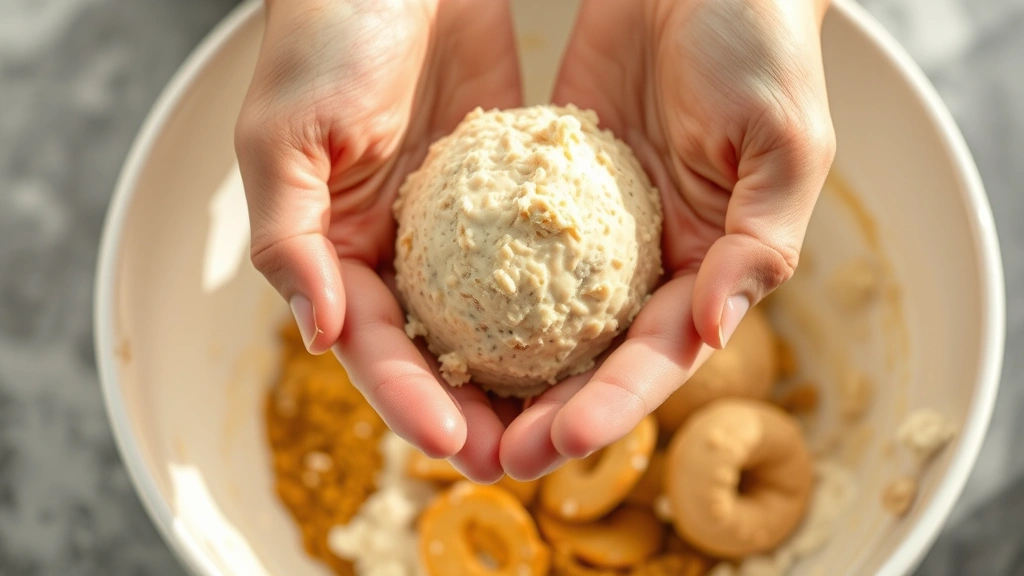
- Using a cookie scoop or tablespoon, measure out portions of the mixture and roll them between your palms into smooth, uniform balls about 1 inch in diameter.
- Place each finished ball on the prepared parchment paper-lined baking sheet.
- If coating with chocolate, chop your chocolate into small pieces and place in a microwave-safe bowl.
Add the coconut oil to the chocolate.
- Microwave the chocolate in 30-second intervals, stirring between each interval, until completely melted and smooth (usually 1-2 minutes total).
- Using a fork, dip each protein ball into the melted chocolate, allowing excess to drip back into the bowl, then return it to the parchment paper.
- If desired, immediately sprinkle the chocolate-coated balls with cocoa powder, mini sprinkles, chopped nuts, or shredded coconut while the chocolate is still wet.
- Place the baking sheet in the refrigerator for at least 15-20 minutes to allow the chocolate coating to set completely.
- Transfer the finished protein balls to an airtight container and store in the refrigerator for up to two weeks, or freeze for up to one month.
- Remove from refrigerator 5 minutes before serving if you prefer them slightly softer, or enjoy them straight from the fridge for a firmer texture.
Pro Tips
- **Protein Powder Options**: Vanilla protein powder is my go-to for these, but you can experiment with chocolate protein powder for a double-chocolate version, or even unflavored protein powder if you prefer to let the other flavors shine. The choice of protein powder can significantly change the final flavor, so don’t hesitate to play around.
- **Nut Butter Variations**: While peanut butter is classic, almond butter creates a more refined flavor, cashew butter adds richness, and sunflower seed butter is perfect for anyone with nut allergies. You can even use tahini for a unique twist, though you may need to adjust sweetness slightly.
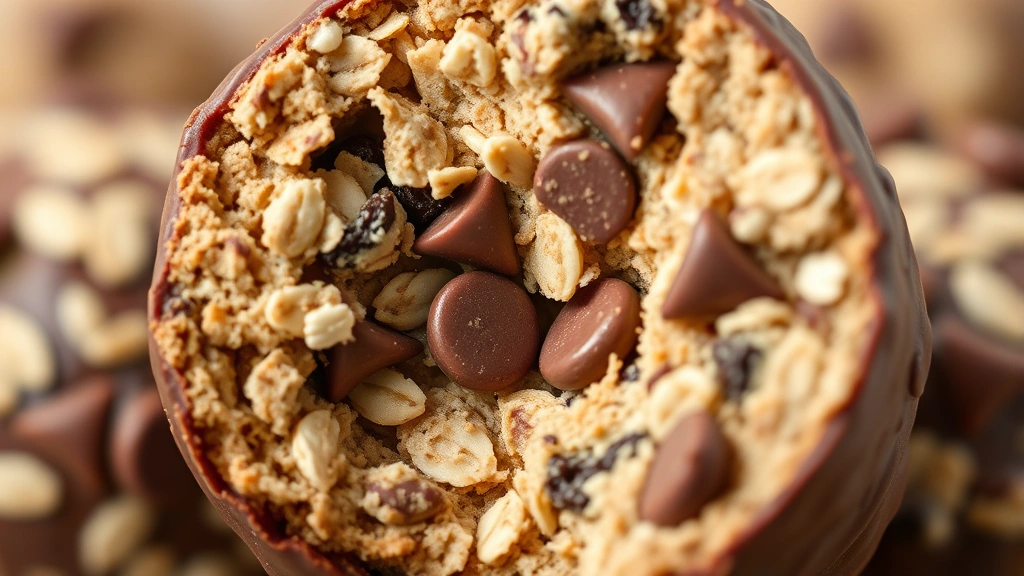
- **Mix-In Ideas**: Beyond chocolate chips, consider adding chopped dried fruit like cranberries or raisins, shredded coconut, chopped nuts, white chocolate chips for contrast, or even a pinch of espresso powder for a mocha flavor. The mix-ins are where you can really personalize these to your taste.
- **Sweetener Substitutions**: Honey and maple syrup both work beautifully, but you can also use agave nectar or even almond butter with slightly less liquid. If using liquid sweeteners, the mixture may be slightly softer and require more chilling time.
- **Chocolate Coating Alternatives**: While dark chocolate is my favorite, white chocolate creates a beautiful contrast, and milk chocolate offers a sweeter option. You can also skip the chocolate coating entirely and roll finished balls in cocoa powder, finely chopped nuts, or shredded coconut for a different texture.
- **Make-Ahead Magic**: These are perfect for meal prep. Make a triple batch on Sunday and portion into containers for the week. The overnight chilling actually improves the flavor as ingredients meld together.
- **Texture Tips**: If your mixture is too soft to roll, refrigerate longer. If it’s too crumbly, add a touch more honey or nut butter by the teaspoon until you reach the right consistency. Room temperature ingredients mix more easily than cold ones.
- **Freezer Friendly**: Store uncoated balls in a single layer on a baking sheet, then transfer to a freezer bag once frozen. Chocolate-coated versions are best stored in an airtight container with parchment between layers to prevent sticking.
- **Gift-Worthy Presentation**: Layer finished protein balls in a glass jar with parchment paper between layers, tie with ribbon, and include a label with ingredients for a gorgeous homemade gift that looks professionally made.
- **Dietary Adaptations**: These are naturally gluten-free, dairy-free (when using dairy-free chocolate), and can be made vegan by substituting maple syrup for honey and using vegan protein powder and chocolate.
Pingback: How to make the BEST Elote Salad Recipe (Quick & Tasty!) – Simple Recipe Finder