
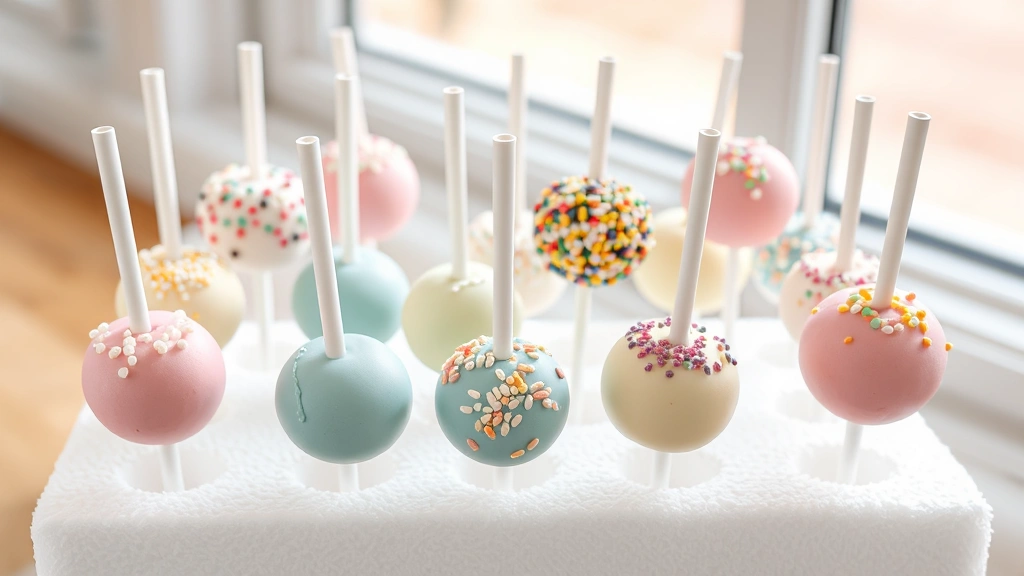
Cake pops are the ultimate party treat and show-stopper dessert that looks far more complicated than it actually is! Using a simple boxed cake mix as your base, you can create these adorable bite-sized spheres of cake and frosting that are perfect for celebrations, bake sales, or just because.
The beauty of this easy cake pop recipe is that it requires minimal ingredients and even less baking experience. Whether you’re a seasoned baker or someone who’s intimidated by the kitchen, this foolproof method will have you creating professional-looking cake pops in no time. The key is using quality cake mix, homemade or store-bought frosting, and patience when coating them in melted candy melts.
I love making these for special occasions because they’re so versatile. You can customize the flavor by choosing different cake mix varieties, and you can decorate them to match any theme or color scheme. From pastel pink for baby showers to spooky designs for Halloween, cake pops are the perfect blank canvas for your creativity. For more creative dessert ideas, check out our collection of best heavy cream alfredo sauce recipe or explore other fun treat options.
The process is simple: bake your cake, crumble it, mix it with frosting, roll into balls, chill, dip in candy coating, and decorate. Each step is straightforward and takes just minutes. Once you master the basic technique, you’ll find yourself making these treats regularly. They’re also wonderful for gift-giving since they travel well and stay fresh for several days when stored properly.
For additional dessert inspiration and techniques, explore delicious heavy cream pasta recipe or visit Bon Appétit for more creative recipe ideas. Don’t be intimidated by the cake pop craze – this easy method proves that anyone can make them at home!
Whether you’re hosting a gathering or simply want to impress your family with a homemade treat, this cake pop recipe is a total game-changer. The combination of soft, moist cake and creamy frosting, all encased in a smooth candy shell, creates an irresistible bite. Plus, making them is actually quite fun and meditative. It’s the kind of recipe that brings joy not just in the eating, but in the making too.
Ingredients
- 1 box cake mix (any flavor you prefer)
- Ingredients listed on cake mix box (typically eggs, oil, water)
- 1 container (16 oz) store-bought frosting or homemade frosting
- 1 package (10-12 oz) candy melts in white, milk chocolate, or your desired color
- 2 tablespoons vegetable shortening or coconut oil
- Lollipop sticks or cake pop sticks
- Decorative sprinkles, nonpareils, or additional toppings
- Styrofoam block or floral foam for drying
- Parchment paper
Instructions
- Preheat your oven to 350°F and prepare your cake pans according to the package directions on the cake mix box.
- Mix the cake batter following the box instructions, combining the cake mix with eggs, oil, and water.
- Pour the batter into the prepared pans and bake for the time specified on the box, typically 25-30 minutes.
- Allow the cakes to cool completely in the pans for about 15 minutes, then turn them out onto a wire rack to cool to room temperature.
- Once cooled, crumble the entire cake into a large mixing bowl, breaking it into small, uniform pieces.
- Add the entire container of frosting to the crumbled cake, one-third at a time, stirring well after each addition.
- Mix until the combination resembles wet sand and holds together when squeezed – you want it moist but not overly wet.
- If the mixture is too wet, add a bit more crumbled cake; if too dry, add a tablespoon more frosting.
- Using a cookie scoop or your hands, roll the mixture into 1-inch balls and place them on a parchment-lined baking sheet.
- Place the rolled cake balls in the freezer for at least 2 hours, or up to overnight, until very firm.
- Prepare your dipping station by placing candy melts in a microwave-safe bowl with 2 tablespoons of shortening or coconut oil.
- Microwave the candy melts in 30-second intervals, stirring between each interval, until completely smooth and pourable.
- Insert the lollipop sticks into the frozen cake balls, pushing them about halfway through.
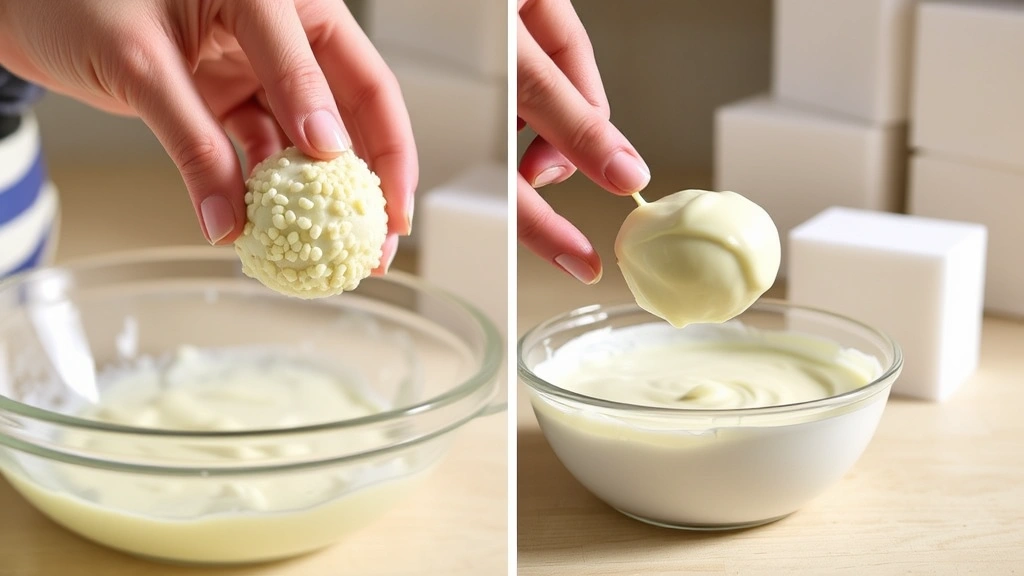
- Dip each cake pop stick end into the melted candy coating, then use it to anchor the cake pop into a styrofoam block.
- Working quickly before the coating sets, dip each cake ball into the melted candy coating, twisting gently to coat evenly.
- Tap off any excess coating and immediately return the cake pop to the styrofoam block, stick-side down.
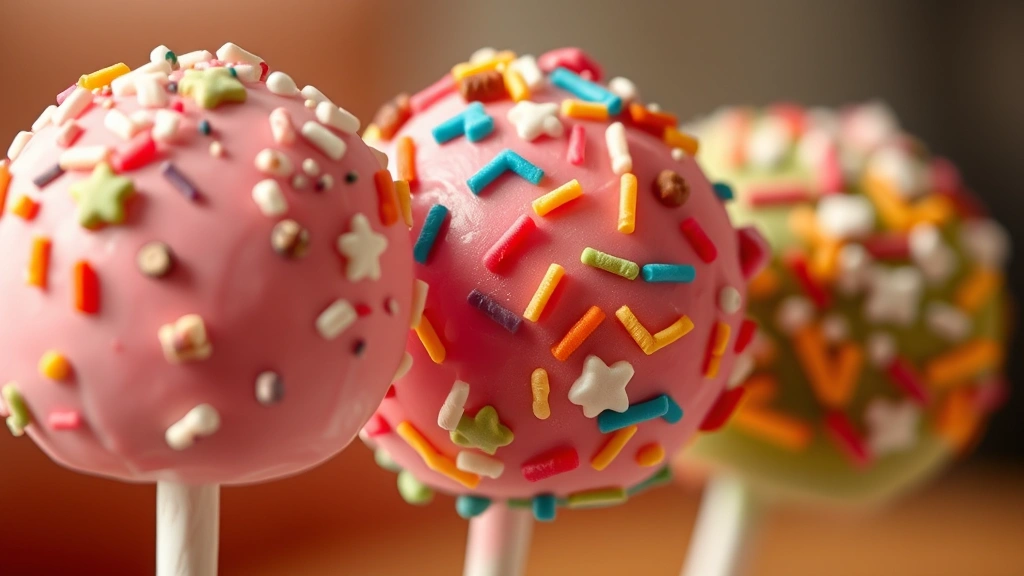
- If desired, add sprinkles or other decorations to the coating before it sets completely.
- Allow the cake pops to set at room temperature for about 1 hour, or in the refrigerator for 20 minutes.
- Once set, carefully remove from the sticks and store in an airtight container at room temperature for up to 5 days.
Pro Tips
- Use high-quality candy melts for the smoothest coating – they’re easier to work with than regular chocolate
- The shortening or coconut oil is essential for thinning the candy coating to the right consistency for dipping
- Frozen cake balls are crucial for successful dipping; if they’re too warm, they’ll fall off the stick
- You can use a cake pop maker instead of hand-rolling for perfectly uniform balls
- Customize your cake pops by using different cake flavors – chocolate, vanilla, strawberry, lemon, or confetti all work beautifully
- For a professional look, decorate while the coating is still wet; sprinkles adhere better to fresh candy coating
- Make the cake balls ahead of time and freeze for up to two weeks before dipping
- If your candy coating becomes too thick while dipping, reheat it briefly or add a bit more shortening
- These make excellent gifts when packaged in cellophane bags tied with ribbon
- For allergy-friendly options, use dairy-free cake mixes and dairy-free frosting and candy melts
- The cake pop sticks should be inserted at a slight angle for better balance and stability
- If you don’t have a styrofoam block, use a clean floral foam or even a block of polystyrene to stand the pops while they dry
- Experiment with different decorative elements like edible glitter, pearl dust, or hand-painted details for special occasions
- Store finished cake pops in a cool, dry place away from direct sunlight to prevent the coating from melting or discoloring