
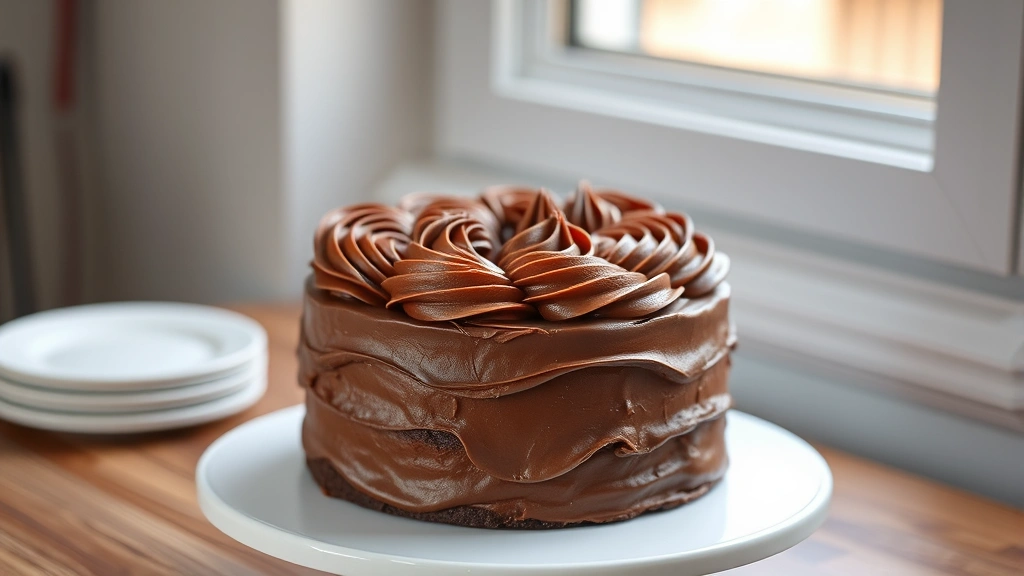
There’s nothing quite like homemade fudge frosting to elevate your desserts from ordinary to absolutely extraordinary. This Easy Fudge Frosting Recipe is the kind of classic that belongs in every baker’s repertoire, and honestly, once you master it, you’ll never reach for canned frosting again.
I grew up watching my grandmother pipe this silky, decadent frosting onto layer cakes for every special occasion. What I loved most wasn’t just how incredibly delicious it tasted, but how simple the process actually was. Just a handful of quality ingredients and a few minutes of work transformed basic pantry staples into something that tastes like pure chocolate heaven. The beauty of this fudge frosting is that it strikes the perfect balance between rich and not overly sweet, with a texture that’s smooth enough to spread beautifully but sturdy enough to hold decorative piping.
This frosting works wonderfully on classic layer cakes, cupcakes, brownies, or even as a dip for fresh fruit. The chocolate flavor is deep and authentic, and the butter creates that luxurious mouthfeel that makes people close their eyes in satisfaction with that first bite. What I appreciate most is how forgiving this recipe is—whether you’re a seasoned baker or someone who’s intimidated by frosting, this method is genuinely foolproof.
The secret to achieving that perfect consistency lies in understanding the ratio of butter to cocoa powder to powdered sugar, and using quality ingredients makes all the difference. I always recommend using real butter (not margarine), unsweetened cocoa powder, and pure vanilla extract. These small choices elevate the entire frosting from good to absolutely show-stopping. Plus, this recipe comes together in about ten minutes, which means you can frost an entire cake while it’s still warm from the oven.
If you’re planning a special celebration or just want to treat your family to something homemade and delicious, this easy fudge frosting is going to become your go-to. I’ve made it hundreds of times, taught it to countless friends, and it never disappoints. The texture is always creamy, the flavor is always rich, and the results are always impressive. Whether you’re frosting a birthday cake or topping cupcakes for a bake sale, this recipe delivers restaurant-quality results from your own kitchen.
One of my favorite things about this frosting is its versatility. You can adjust the thickness by adding more milk for a thinner consistency or more powdered sugar for a thicker one. You can add a pinch of espresso powder to deepen the chocolate flavor, or a splash of almond extract for a subtle twist. Once you master the basic recipe, you’ll find yourself getting creative with flavor combinations. I love serving it alongside complementary desserts, and it pairs beautifully with vanilla, coffee, or even spiced cakes.
For external expertise on frosting techniques, I recommend checking out Bon Appétit’s frosting guides for professional tips, or Serious Eats’ baking science articles to understand the chemistry behind why this frosting works so well. The New York Times cooking section also has wonderful resources on cake decorating and frosting application techniques.
The beauty of making your own frosting is that you control every element. No strange additives, no weird aftertaste, just pure chocolate goodness. This is the frosting I make for my family’s birthdays, the one I bring to potlucks, and the one people specifically request. It’s the kind of recipe that becomes a family favorite, passed down and cherished. I hope it becomes as beloved in your kitchen as it is in mine.
Ingredients
- 1/2 cup (115g) unsalted butter, softened to room temperature
- 2/3 cup (60g) unsweetened cocoa powder, sifted
- 3 cups (360g) powdered sugar, sifted
- 1/3 cup (80ml) heavy cream or whole milk
- 1 teaspoon pure vanilla extract
- 1/4 teaspoon salt
- 1 tablespoon light corn syrup (optional, for extra shine)
- 2-3 tablespoons additional milk (if needed for consistency)
Instructions
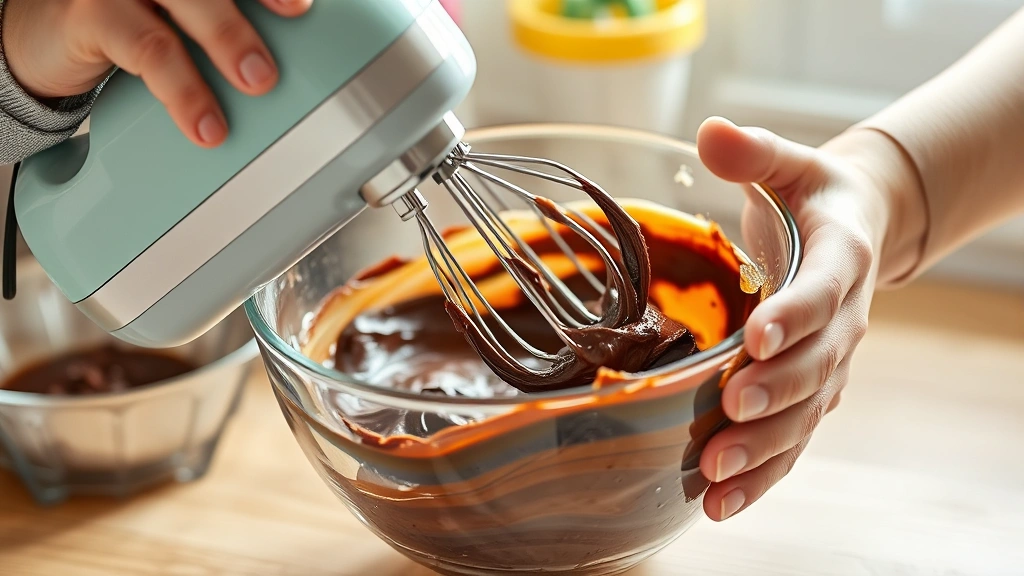
- Using an electric mixer on medium speed, beat the softened butter for about 2 minutes until it becomes pale and creamy, stopping to scrape down the sides of the bowl as needed.
- While the butter is beating, sift together the cocoa powder and powdered sugar in a separate bowl to remove any lumps, which ensures a smooth frosting with no gritty texture.
- Gradually add the cocoa powder and powdered sugar mixture to the beaten butter, alternating with the heavy cream, starting and ending with the dry ingredients.
Begin with about 1/4 of the cocoa mixture, then add 1/4 of the cream, continuing this pattern. - Pour in the vanilla extract and salt during the final moments of mixing, beating on medium speed until everything is fully incorporated.
- If you’re using corn syrup for added shine and smoothness, add it now and mix for another 30 seconds.
- Beat the frosting on medium-high speed for 2-3 minutes, stopping occasionally to scrape down the bowl, until it reaches a light and fluffy consistency with a spreadable texture.
- If the frosting seems too thick, add the additional milk one tablespoon at a time, mixing well after each addition until you reach your desired consistency.
- If the frosting seems too thin, add a bit more sifted powdered sugar, one tablespoon at a time, mixing well after each addition.
- Use immediately to frost your cooled cake, cupcakes, or brownies, or store in an airtight container at room temperature for up to 2 hours before using.
Pro Tips
Sifting is Your Friend: Sifting the cocoa powder and powdered sugar separately before combining them removes lumps and ensures an incredibly smooth, professional-looking frosting. This small step makes a huge difference in the final texture.
Consistency Control: This frosting should be thick enough to hold its shape when piped but soft enough to spread smoothly. If it’s too stiff, add milk one teaspoon at a time. If it’s too soft, add more powdered sugar gradually.
Corn Syrup Secret: Adding a tablespoon of light corn syrup creates an extra glossy finish and helps the frosting stay smooth longer. It’s completely optional but highly recommended for show-stopping results.
Storage Tips: Store leftover frosting in an airtight container at room temperature for up to 2 hours, in the refrigerator for up to one week, or in the freezer for up to three months. Thaw in the refrigerator and re-beat before using.
Flavor Variations: Add 1/2 teaspoon espresso powder for deeper chocolate flavor, 1/4 teaspoon almond extract for sophistication, or 1/4 teaspoon peppermint extract for a holiday twist. A pinch of cayenne pepper adds an exciting depth.
Working with Warm Cakes: You can frost a still-warm cake with this frosting, which actually helps it set faster. The warm cake will soften the frosting slightly, creating a beautiful, crumb-free finish.
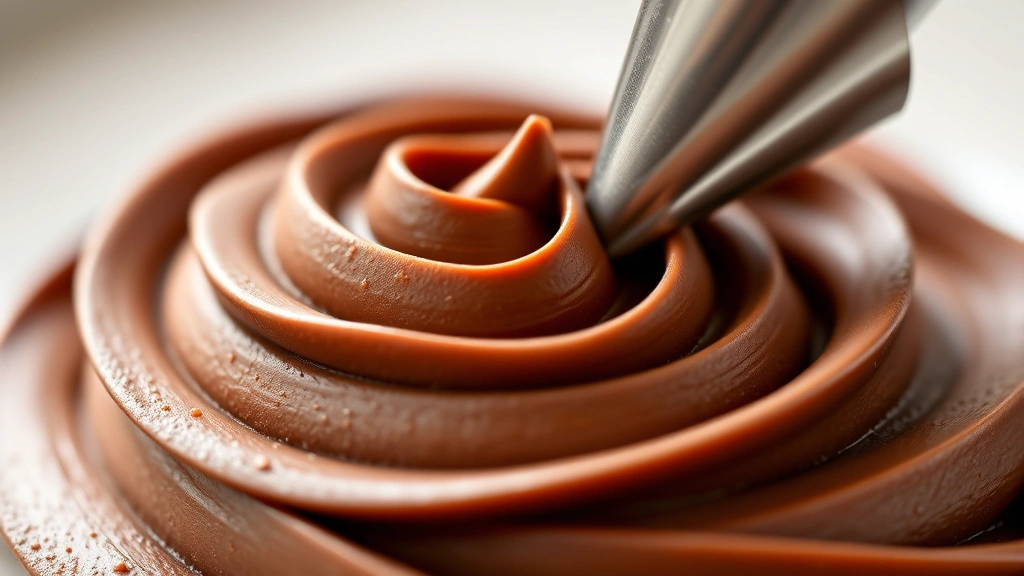
Piping Practice: This frosting holds its shape beautifully for piping. Use a pastry bag with your favorite tip to create rosettes, swirls, or decorative borders. Keep a damp cloth nearby to clean the piping tip between uses.
Make-Ahead Option: Prepare this frosting up to 24 hours in advance and store it covered in the refrigerator. Re-beat it for 1-2 minutes before using to restore its fluffy texture.
Non-Dairy Version: Substitute the heavy cream with coconut cream or cashew cream for a dairy-free option. The texture will be slightly different but equally delicious.