
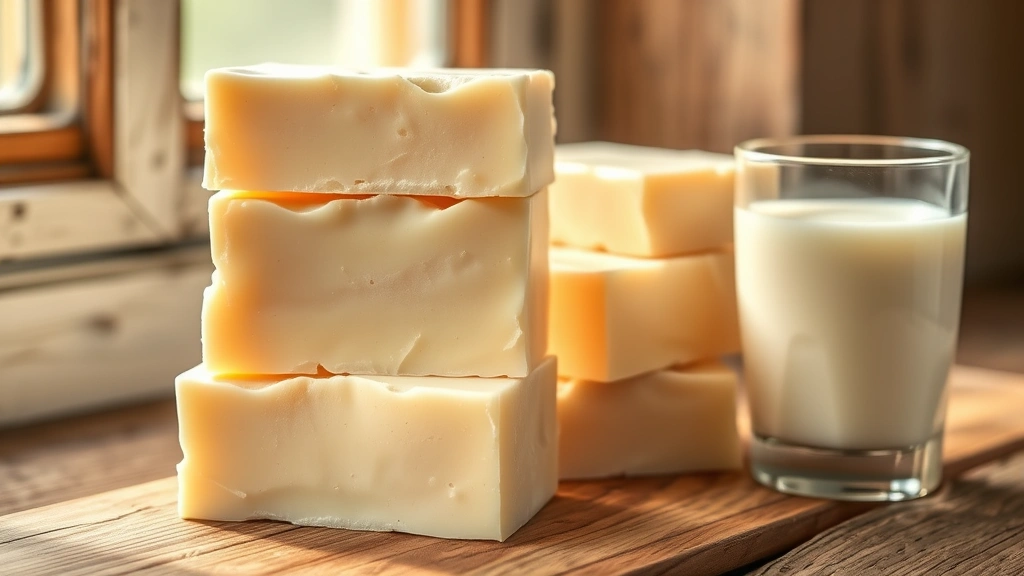
Making homemade goat milk soap is easier than you might think, and the results are absolutely luxurious! This gentle, creamy soap is perfect for sensitive skin and makes a wonderful gift. Goat milk has been used in skincare for centuries, and when combined with quality oils and a touch of honey, it creates a bar that’s both nourishing and beautifully lathering.
I first fell in love with goat milk soap at a farmer’s market, but after discovering how simple it is to make at home, I’ve never looked back. The process is straightforward, whether you’re using the cold process or hot process method. What makes this recipe special is the addition of raw goat milk, which adds creaminess and helps soothe irritated skin. The milk also gives the soap a gorgeous ivory color and that signature creamy lather that makes it feel so luxurious in your hands.
This goat milk soap recipe is perfect for beginners because it uses a reliable oil combination that produces consistent results every time. The blend of coconut oil, palm oil, and olive oil creates a well-balanced bar with excellent lather and conditioning properties. When you add the goat milk and a touch of honey, you’ve got a professional-quality soap that rivals anything you’d find in high-end boutiques.
One thing I love about making this soap is that you can customize it completely. Add your favorite essential oils for scent, or keep it unscented for the most sensitive skin. You can even add coloring if you want to make it pretty, though the natural ivory color is absolutely stunning on its own. The whole process takes about 30 minutes of active time, plus curing time, but once you understand the basics, you’ll be making batch after batch.
If you’re interested in skincare, you might also enjoy learning about creating other beauty products at home or exploring natural ingredients for wellness. The wonderful thing about making soap at home is that you control every ingredient, ensuring nothing harsh or unnecessary touches your skin.
This recipe yields about 24 bars of beautiful, creamy soap. Store them in a cool, dry place, and they’ll last for months. Each bar will improve with age as the soap continues to cure, becoming harder and longer-lasting. Your skin will thank you for making this switch to natural, homemade soap!
Ingredients
- 12 oz coconut oil
- 12 oz palm oil (or sustainable alternative)
- 12 oz olive oil
- 6 oz castor oil
- 4.5 oz sodium hydroxide (lye) – food grade
- 12 oz raw goat milk (chilled or frozen)
- 2 tablespoons raw honey
- 20-25 drops essential oil (lavender, peppermint, or tea tree recommended)
- 1 teaspoon goat milk powder (optional, for color)
- Distilled water (for mixing with lye, if needed)
Instructions
- Prepare your workspace by laying out all equipment: safety glasses, gloves, apron, scale, thermometer, stainless steel or glass mixing bowls (never use aluminum), stainless steel or wooden spoon, stick blender, and soap mold lined with parchment paper. This is critical for safety and success.
- Measure out your goat milk and freeze it for at least 2 hours, or use it straight from the fridge. Cold milk is essential because the lye will heat up the mixture, and we want to keep the milk’s beneficial properties intact.
- In a well-ventilated area (use a fan), slowly add the sodium hydroxide to the cold goat milk in a glass or stainless steel bowl, stirring constantly with a wooden spoon. NEVER add milk to lye; always add lye to milk. The mixture will heat up significantly and may smell strong—this is completely normal. Let it cool to around 90-100°F (32-37°C).
- In a separate large stainless steel or glass bowl, combine all your oils: coconut oil, palm oil, olive oil, and castor oil. Gently warm this oil mixture to around 90-100°F (32-37°C) to match the lye-milk temperature. Use a thermometer to check—this temperature matching is important for proper saponification.
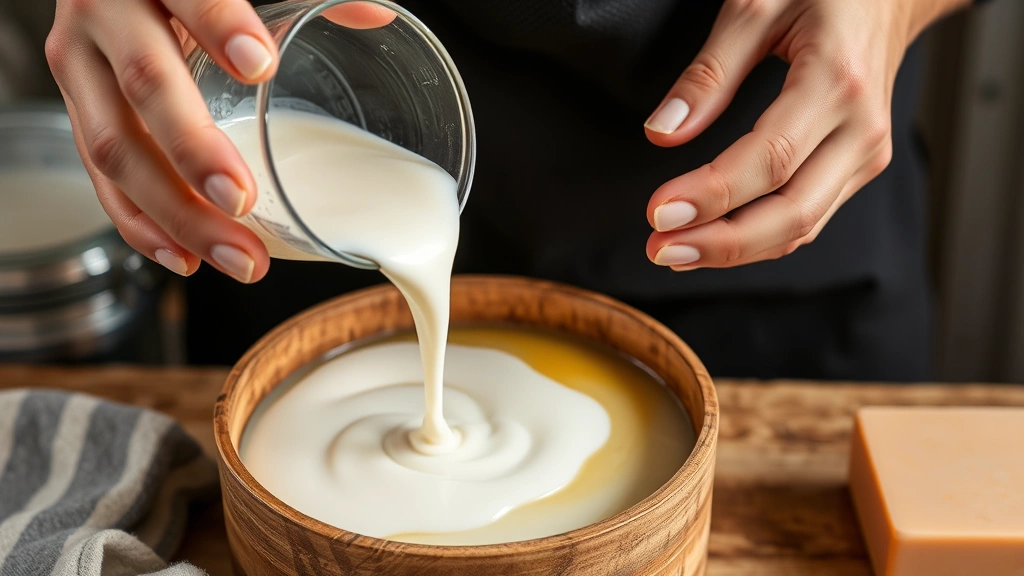
- Once both mixtures reach approximately the same temperature (within 5-10 degrees), slowly pour the cooled lye-milk mixture into the oils while stirring gently and consistently. Stir by hand for about 10-15 minutes until the mixture begins to emulsify and thicken slightly.
- Insert your stick blender into the mixture and begin blending in short bursts, stirring between bursts. This accelerates the saponification process. Continue until the soap reaches ‘trace’—when you lift the blender out, the batter should leave a temporary trail on the surface, similar to pudding consistency.
- When you reach trace, quickly add the raw honey and your chosen essential oil (if using), stirring well to distribute evenly throughout the batch. This is the perfect moment to add any natural colorants like goat milk powder if desired.
- Pour the soap batter into your prepared mold, smoothing the top with a spatula. Cover loosely with plastic wrap and then wrap the entire mold with towels or blankets to insulate it. This keeps the soap warm during the saponification process.
- Leave the soap undisturbed for 24-48 hours. During this time, the soap will go through gel phase (it may turn translucent in the middle—this is fine and normal). Resist the urge to check on it; let it do its thing.
- After 24-48 hours, unwrap the mold and check if the soap is firm enough to unmold. It should feel solid but not rock hard. If still soft, wait another 12 hours.
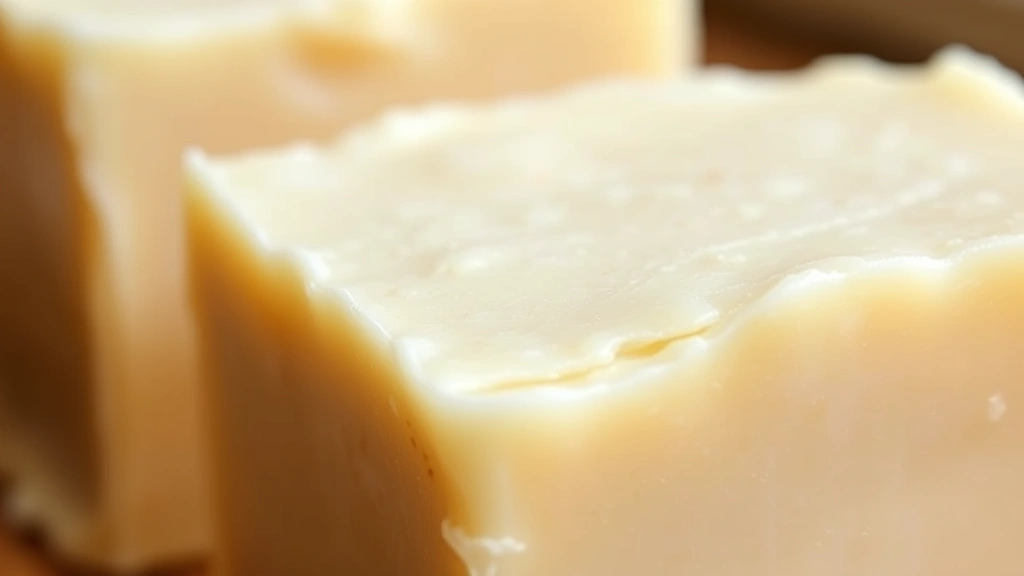
- Once firm, remove the soap from the mold by flipping it out onto a clean cutting board. If using a loaf mold, you can use a wire soap cutter or a sharp knife to cut the soap into bars approximately 1 inch thick.
- Arrange your cut soap bars on a clean, dry surface like a wooden shelf, bamboo mat, or cardboard box. They need air circulation from all sides.
- Leave the soap to cure for 4-6 weeks in a cool, well-ventilated area. During curing, the soap continues to harden and any excess moisture evaporates. The bars will become firmer, last longer in use, and the lather will improve.
- After 4-6 weeks, your soap is ready to use! Store in a cool, dry place. Each bar should last 4-6 weeks with regular use, longer if you use a soap dish that allows it to dry between uses.
- Gift your beautiful goat milk soap to friends and family, or treat yourself to this luxurious natural cleanser that’s gentle enough for even the most sensitive skin.
Pro Tips
- Safety First: Always wear safety glasses and gloves when working with lye. Work in a well-ventilated area and keep children and pets away. Lye is caustic and can cause severe burns. If you get lye on your skin, flush immediately with vinegar followed by water.
- Goat Milk Quality: Use raw, unpasteurized goat milk if possible for maximum benefits, but pasteurized works too. The key is keeping it cold so the heat from the lye doesn’t destroy the beneficial properties. Never use UHT (ultra-high temperature) milk.
- Oil Ratios: The oil combination in this recipe creates a well-balanced soap with good lather, creamy feel, and conditioning properties. You can substitute the palm oil with shea butter or cocoa butter if you prefer to avoid palm oil, though you may need to adjust your lye calculation using a soap calculator.
- Temperature Control: The key to successful cold process soap is maintaining similar temperatures between your lye-milk mixture and your oils. If they’re too different, the soap won’t emulsify properly. Ideally, keep both around 90-100°F (32-37°C).
- Essential Oils: Use high-quality, skin-safe essential oils. Lavender, chamomile, and peppermint work beautifully with goat milk. Avoid oils like cinnamon or clove as they can irritate sensitive skin. Use about 0.5 ounces of essential oil per pound of soap.
- Honey Benefits: Raw honey adds antibacterial properties and enhances lather. Add it at trace to prevent it from seizing the soap. Some people add honey dissolved in a little warm water instead.
- Curing Time: Don’t rush this step! The curing process is when the soap truly develops its character. A well-cured goat milk soap will have a creamy lather, will last longer, and will be gentler on skin than soap used immediately.
- Natural Colorants: Instead of synthetic colorants, try mica, goat milk powder, or clay for natural colors. Add dried herbs or oatmeal for texture and visual appeal. Activated charcoal creates a gorgeous dark gray.
- Troubleshooting: If your soap doesn’t trace, your temperatures might be too low or your oils might not be fully saponified. If it seized (thickened too quickly), it still makes usable soap; just work quickly to pour it. If it’s too soft after 48 hours, wait longer before unmolding.
- Lye Calculation: Different oils have different saponification values. This recipe uses the correct ratio for these specific oils. If you change any oils, use a soap calculator to determine the correct lye amount.
- Storage: Keep cured soap in a cool, dry place away from direct sunlight. A dark closet or drawer is perfect. Properly stored soap lasts indefinitely.
- Customization: Once you master this basic recipe, experiment with different essential oil blends, add oatmeal or ground herbs, or create swirls with different colors for truly unique bars.