
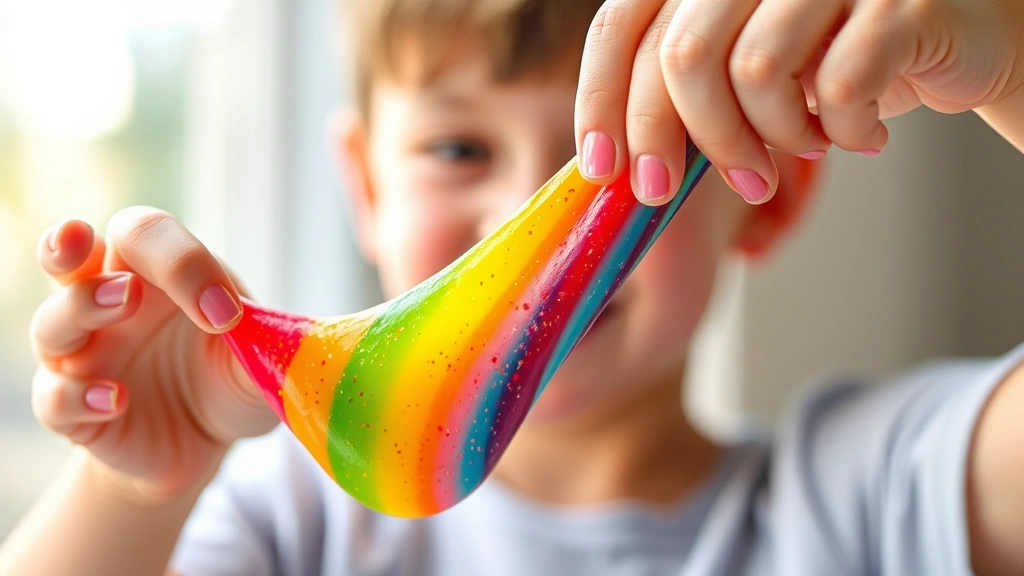
Making slime without glue is easier than you think, and it’s one of the most satisfying sensory activities for kids and adults alike! This easy no-glue slime recipe uses simple ingredients you probably already have in your kitchen, creating a stretchy, satisfying slime that’s perfect for stress relief or playtime. Unlike traditional slime recipes that rely on glue as a base, this method uses natural binders that create the same amazing texture while being safer and more budget-friendly.
The beauty of no-glue slime is that it’s incredibly forgiving and customizable. You can make it in minutes, adjust the texture to your preference, and experiment with different add-ins like glitter, food coloring, or essential oils. Whether you’re looking for a rainy day activity, a birthday party favor, or just something fun to make with the kids, this recipe delivers impressive results every single time. I’ve tested this countless times in my kitchen, and I’m always amazed at how quickly it comes together and how satisfying it feels to play with.
What makes this recipe truly special is the science behind it. When you combine certain ingredients, they create a polymer chain that gives slime its signature stretchy, gooey texture. Understanding the chemistry of cooking helps you troubleshoot if something isn’t quite right, and it makes the whole process even more fun and educational for kids. This is a recipe that teaches you something while you’re having fun!
I love how this no-glue version is more environmentally friendly and gentler on sensitive skin. Making kid-friendly recipes means considering safety first, and this slime checks all the boxes. Plus, the ingredients are so inexpensive that you won’t feel guilty if your kids want to make batch after batch. Budget-friendly cooking extends to playtime activities too!
For more detailed slime science and variations, check out Serious Eats, which often explores the chemistry of cooking. You can also find additional no-glue slime techniques on Bon Appétit in their lifestyle section. For step-by-step visual guides, New York Times Cooking has helpful instructional content. I also recommend checking out our complete guide to texture in recipes to understand how different ingredients affect the final product, and kitchen science basics for more fascinating behind-the-scenes information about why recipes work the way they do.
Ingredients
- 1 cup cornstarch
- ½ cup water (plus more as needed)
- 1-2 tablespoons coconut oil or vegetable oil
- Food coloring (optional, 2-3 drops)
- Essential oil or vanilla extract for scent (optional, ½ teaspoon)
- Glitter, beads, or mix-ins (optional)
- Salt (optional, for texture adjustment)
Instructions
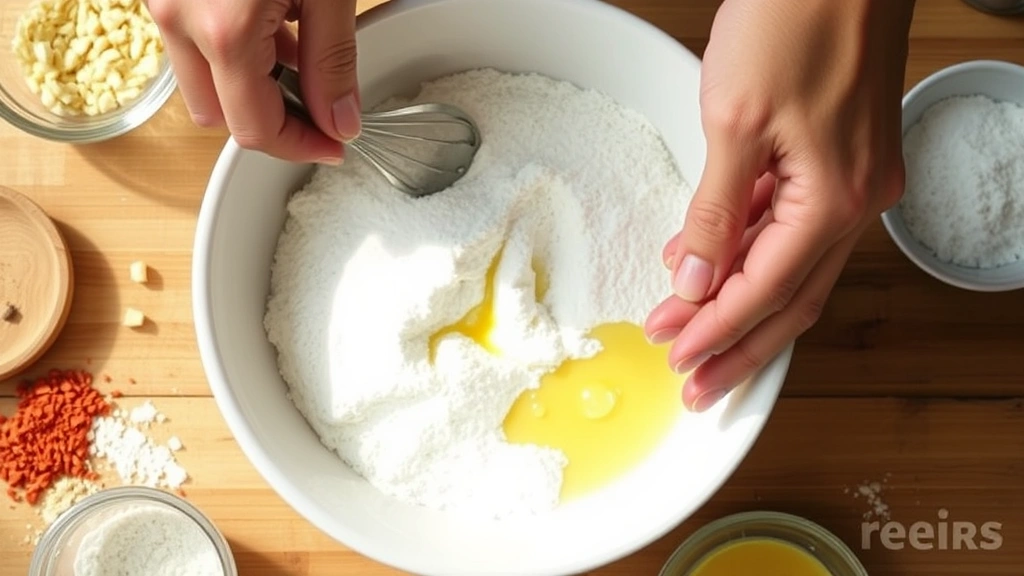
- Pour 1 cup of cornstarch into a large mixing bowl. This is your base ingredient that will create the slime’s unique texture.
- Add ½ cup of water to the cornstarch and stir well with a spoon or spatula, combining until you have a thick paste-like consistency.
- Add 1-2 tablespoons of coconut oil or vegetable oil to the mixture. The oil is the key ingredient that transforms the cornstarch and water into stretchy slime.
- Stir vigorously for 1-2 minutes until all ingredients are fully combined and the mixture becomes glossy and smooth.
- If you want colored slime, add 2-3 drops of food coloring now and mix until the color is evenly distributed throughout.
- Add ½ teaspoon of essential oil or vanilla extract if desired for a pleasant scent that makes the slime even more fun to play with.
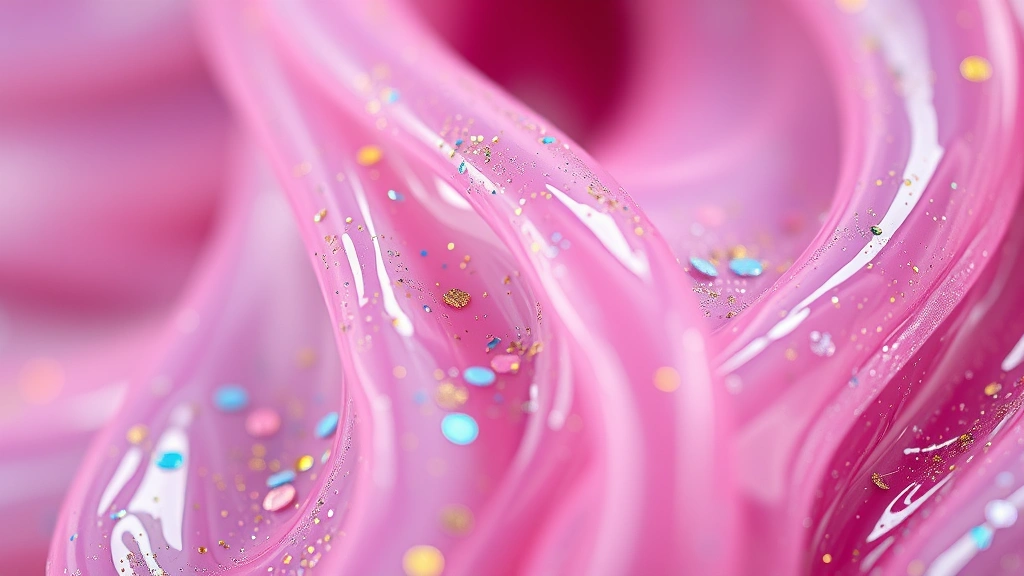
- Fold in any mix-ins like glitter, beads, or foam balls at this point, stirring gently to distribute them evenly.
- Test the texture by pulling a small amount from the bowl. It should stretch when pulled slowly but break when pulled quickly – this is the non-Newtonian fluid behavior!
- If your slime is too thick and stiff, add a teaspoon of water at a time until it reaches your desired consistency.
- If your slime is too runny and wet, add a tablespoon of cornstarch at a time until it firms up.
- Once you’re happy with the texture, transfer your slime to an airtight container for storage.
- Play with and enjoy your slime immediately, or store it in the refrigerator in an airtight container for up to 2 weeks.
Pro Tips
- **Cornstarch is key**: This ingredient is what makes slime work without glue. It’s a natural thickener that creates the perfect texture when combined with oil and water.
- **Oil matters**: The type of oil you use affects how the slime feels. Coconut oil creates a slightly firmer slime, while vegetable oil creates something a bit more stretchy and fluid. Experiment to find your preference!
- **Water adjustments**: Start with ½ cup of water, but have more on hand. Every brand of cornstarch is slightly different, and humidity affects your results. Add water gradually if needed.
- **Texture troubleshooting**: If your slime breaks apart instead of stretching, it’s too dry – add a few drops of water. If it’s too runny and doesn’t hold together, add more cornstarch. The sweet spot is when it stretches slowly but breaks quickly.
- **Color combinations**: Mix primary colors together to create new shades. Try making red and blue slime and swirl them together for a purple marble effect.
- **Scent options**: Vanilla extract is classic, but try peppermint extract for a tingly sensation, or lemon extract for a citrus scent. Essential oils work beautifully too – lavender is calming, peppermint is invigorating.
- **Add sensory elements**: Mix in different textures like foam beads, glitter, small pom-poms, or even edible sprinkles for visual interest and tactile stimulation.
- **Salt for texture**: A tiny pinch of salt can help firm up runny slime slightly and adds an interesting grainy texture some people love.
- **Storage tips**: Keep slime in an airtight container in a cool place. Refrigeration extends shelf life. If it dries out, knead in a drop of water or oil to revive it.
- **Safety note**: While this slime is much safer than glue-based versions, keep it away from fabric and carpet as oil stains can occur. Always supervise young children during playtime.
- **Batch sizes**: This recipe doubles easily for parties or playdates. Simply multiply all ingredients by two or three.
- **Disposal**: Unlike glue-based slime, this is much easier to clean up. It won’t stick permanently to surfaces and can be wiped away with a paper towel.