

Making yogurt at home has never been easier, and your Instant Pot is about to become your new best friend in the kitchen! There’s something absolutely magical about creating silky, creamy yogurt right in your own home. Not only is it more economical than store-bought versions, but you also have complete control over the ingredients and flavors. This foolproof method takes the guesswork out of yogurt making, delivering consistently perfect results every single time.
The beauty of using an Instant Pot for yogurt is that it maintains the precise temperature needed for the cultures to thrive and transform your milk into that gorgeous, tangy yogurt you crave. Whether you’re a yogurt enthusiast or just starting your homemade yogurt journey, this recipe will guide you through each step with clarity and confidence. Once you master this technique, you’ll wonder why you ever bought yogurt from the store!
I love serving homemade yogurt with fresh berries, a drizzle of honey, and a sprinkle of granola for breakfast, or using it as a base for creamy sauces. You can also layer it with pickled red onions for a tangy topping, or use it in marinades and dressings. The versatility is truly endless, and once you start making your own, you’ll find countless ways to incorporate it into your cooking.
What makes this recipe so special is the simplicity combined with reliability. The Instant Pot does all the heavy lifting for you, maintaining consistent heat and humidity throughout the fermentation process. No more babysitting a yogurt maker or worrying about temperature fluctuations. Just pour, set, and let the magic happen. Plus, this recipe uses ingredients you probably already have in your kitchen, making it accessible for everyone.
If you’re interested in other dairy-based recipes, you might also enjoy exploring creamy pasta dishes or even chicken alfredo made with homemade ingredients. The quality of homemade yogurt elevates every recipe it touches. For more inspiration on flavor combinations, check out these fantastic resources from Bon Appétit’s yogurt collection, Serious Eats yogurt guide, and New York Times yogurt techniques.
Ingredients
- 1 quart (32 ounces) whole milk or 2% milk, not ultra-pasteurized
- 1/4 cup plain yogurt with live active cultures (store-bought or from previous batch)
- 2-3 tablespoons powdered milk (optional, for thicker yogurt)
- 1-2 tablespoons honey or sugar (optional, for sweetness)
- 1 teaspoon vanilla extract (optional, for flavoring)
- Pinch of sea salt
Instructions
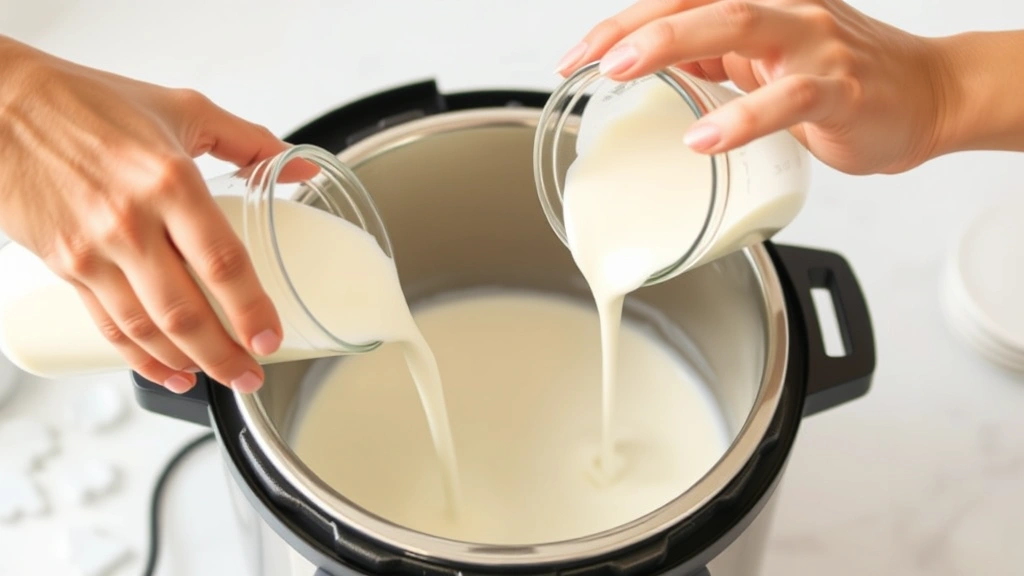
- Pour the quart of milk into a heat-safe bowl or directly into the Instant Pot inner pot. If using the pot directly, you’ll heat it on the yogurt setting; if using a bowl, you’ll place it on the trivet.
- Press the yogurt button on your Instant Pot and select the pasteurize or heating function. Allow the milk to heat to 180°F (82°C). This heating step is crucial as it denatures the proteins and creates the right environment for yogurt culture.
- Once the milk reaches 180°F, carefully remove the pot from the Instant Pot (or the bowl if using a trivet) and allow it to cool to approximately 110°F (43°C). You can speed this up by placing the bowl in an ice bath for about 10-15 minutes.
- In a small bowl, whisk together the 1/4 cup of yogurt starter culture with a few tablespoons of the cooled milk until smooth and well-combined. This prevents clumps and ensures even distribution of cultures throughout the batch.
- Slowly pour the yogurt mixture back into the large pot of cooled milk, stirring gently but thoroughly to distribute the cultures evenly throughout. If using optional powdered milk, honey, or vanilla, add these now and stir well.
- Pour the milk mixture back into the Instant Pot inner pot if you removed it, or carefully place the bowl back on the trivet inside the Instant Pot.
- Press the yogurt button again and select the incubation setting. Set the timer for 8-12 hours depending on how tangy you prefer your yogurt. Eight hours yields mild yogurt, while 12 hours produces a tangier result.
- Once the incubation cycle completes, turn off the Instant Pot and carefully remove the yogurt. Do not disturb it during the process, as this can prevent proper setting.
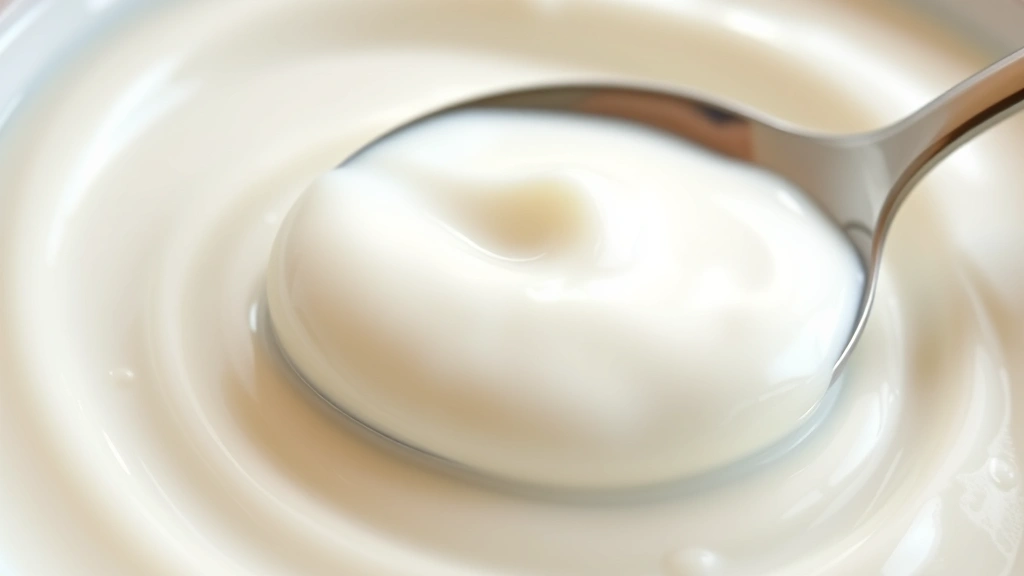
- Check the consistency by tilting the pot gently. It should jiggle slightly but hold together. If it seems too thin, you can incubate for an additional 1-2 hours.
- Cover the yogurt and refrigerate for at least 4 hours before serving. The yogurt will continue to thicken as it cools. Reserve 1/4 cup of yogurt as your starter culture for the next batch.
- To strain your yogurt and make Greek-style yogurt, line a fine-mesh strainer with cheesecloth and pour the yogurt through it. Let it drain in the refrigerator for 4-8 hours depending on desired thickness.
- Divide yogurt into glass containers for storage. Homemade yogurt keeps in the refrigerator for up to 2 weeks, though it’s best consumed within 10 days for optimal flavor and texture.
Pro Tips
o The yogurt starter culture must contain live active cultures. Check the label before purchasing. Some yogurts are heat-treated after fermentation and won’t work as starters.
o If your yogurt doesn’t set properly, it could be due to using ultra-pasteurized milk, starter culture that’s too old, or temperature fluctuations during incubation. Make note of what you used and adjust accordingly for your next batch.
o Powdered milk is optional but highly recommended if you prefer thicker yogurt. It adds extra milk solids without requiring you to reduce the liquid content.
o The incubation time significantly affects tanginess and flavor profile. Experiment with different times to discover your personal preference. Keep track of what you did so you can replicate your favorite results.
o Avoid opening the Instant Pot during the fermentation process. Every time you lift the lid, you release heat and can interrupt the culturing process.
o Once you’ve successfully made a batch, you can save 1/4 cup as your starter for the next batch. However, after about 5-7 generations, it’s best to start with fresh store-bought yogurt to maintain strong cultures.
o For Greek-style yogurt, straining is essential. The longer you strain, the thicker and creamier your yogurt becomes. The liquid that drains off (whey) is great for smoothies or baking.
o Flavoring options are endless. Try adding fruit purees, jam, granola, or different extracts. Add these after the yogurt has set and cooled for best results.
o If you prefer a less tangy yogurt, reduce the incubation time to 6-8 hours. For extra tangy yogurt, extend to 14-16 hours, though be aware that very long fermentation times might result in an overly separated texture.