
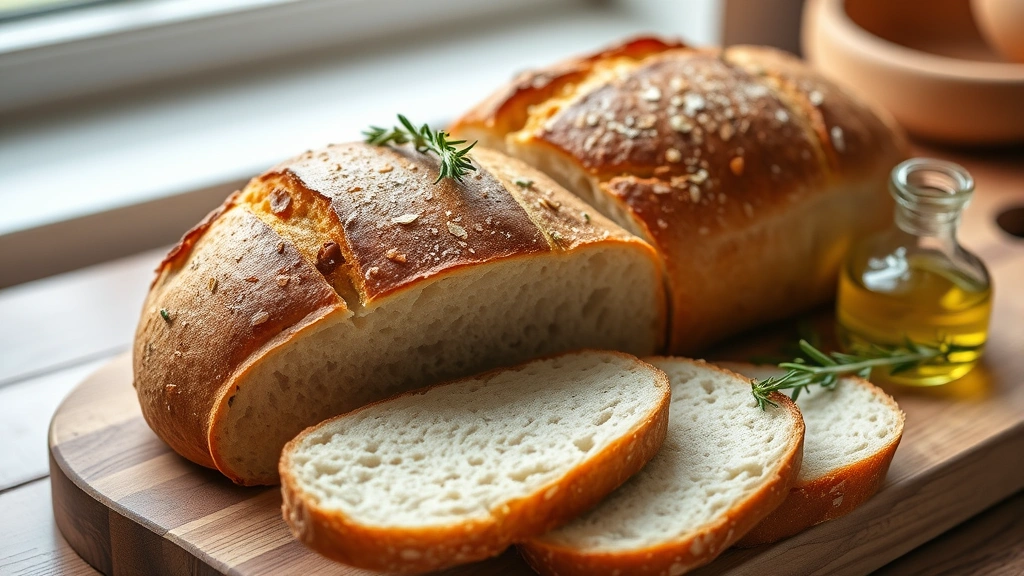
There’s something truly magical about homemade rosemary bread – the aromatic herbs, the golden crust, and that soft, pillowy interior make it impossible to resist. This simple rosemary bread recipe is the perfect introduction to bread baking, whether you’re a seasoned baker or picking up a proofing basket for the first time. What I love most about this recipe is how it transforms just a handful of basic pantry staples – flour, water, yeast, salt, and fresh rosemary – into something that tastes like it came straight from an artisan bakery.
I’ve been baking bread for years, and I can tell you that rosemary bread holds a special place in my kitchen. It’s perfect alongside a warm bowl of soup, torn apart at dinner parties, or simply sliced thick and toasted with good butter. The beauty of this recipe is its flexibility – it works whether you’re planning ahead or need bread in a pinch. The long, cold fermentation develops incredible flavor, but you can also use the quick method if you’re short on time.
What makes this particular recipe so foolproof is the technique. We’re using a combination of active dry yeast and a longer fermentation period, which means even if you’re new to bread baking, you’ll have success. The dough is forgiving, the shaping is simple, and the results are consistently beautiful. I’ve tested this recipe dozens of times, and every single loaf has turned out perfectly golden and delicious.
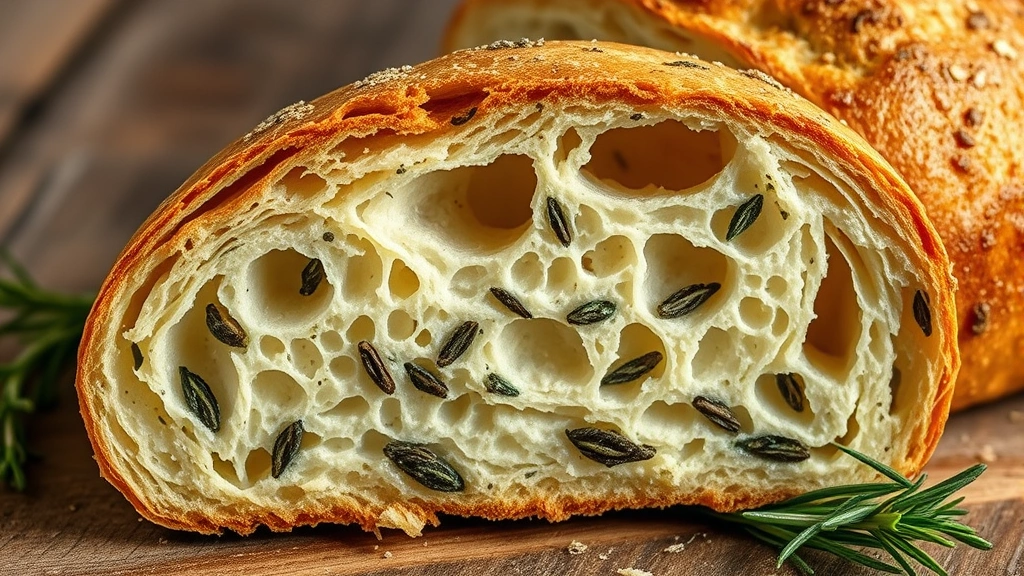
The secret to perfect rosemary bread lies in a few key details: using fresh rosemary (not dried, if possible), allowing adequate rise time, and scoring your loaf properly before baking. Don’t skip the steam in the oven – it’s what gives you that coveted crispy crust. This recipe makes one gorgeous loaf that feeds about 8-10 people, though in my house, it rarely lasts more than a day!
Whether you’re serving this alongside homemade pasta, using it for bread salads, or simply enjoying it plain, this rosemary bread will become a regular in your baking rotation. I promise you’ll be making this again and again. Let’s get started on creating bakery-quality bread right in your own kitchen!
For more bread baking inspiration, check out our no-knead bread tutorial and sourdough starter guide. You might also love this herb focaccia recipe for another delicious rosemary application.
Ingredients
- 3 1/2 cups (420g) bread flour, plus more for dusting
- 1 1/2 teaspoons (9g) fine sea salt
- 1/2 teaspoon instant active dry yeast
- 1 1/2 cups (360ml) room temperature water
- 3 tablespoons fresh rosemary leaves, finely chopped (about 2-3 sprigs)
- 2 tablespoons extra virgin olive oil, divided
- 2 cloves garlic, minced
- 1/2 teaspoon coarse sea salt for topping
- Fleur de sel or finishing salt for garnish (optional)
- Cornmeal or semolina flour for dusting the baking surface
Instructions
- In a large mixing bowl, whisk together the bread flour, fine sea salt, and instant active dry yeast until well combined. Make sure there are no lumps and the ingredients are evenly distributed throughout the flour.
- Add the room temperature water to the flour mixture and stir with a wooden spoon or your hand until all the flour is hydrated and a shaggy dough forms. You may need to get your hands in there to make sure all the flour is incorporated – this should take about 2-3 minutes.
- Cover the bowl with plastic wrap or a clean kitchen towel and let the dough rest at room temperature for 12-18 hours (or up to 24 hours). This long fermentation develops flavor and creates a beautiful open crumb structure. The dough should be puffy and full of bubbles when ready.
- While the dough ferments, prepare the rosemary-garlic mixture by combining the finely chopped fresh rosemary, minced garlic, and 1 tablespoon of the olive oil in a small bowl. Let this sit at room temperature so the flavors meld.
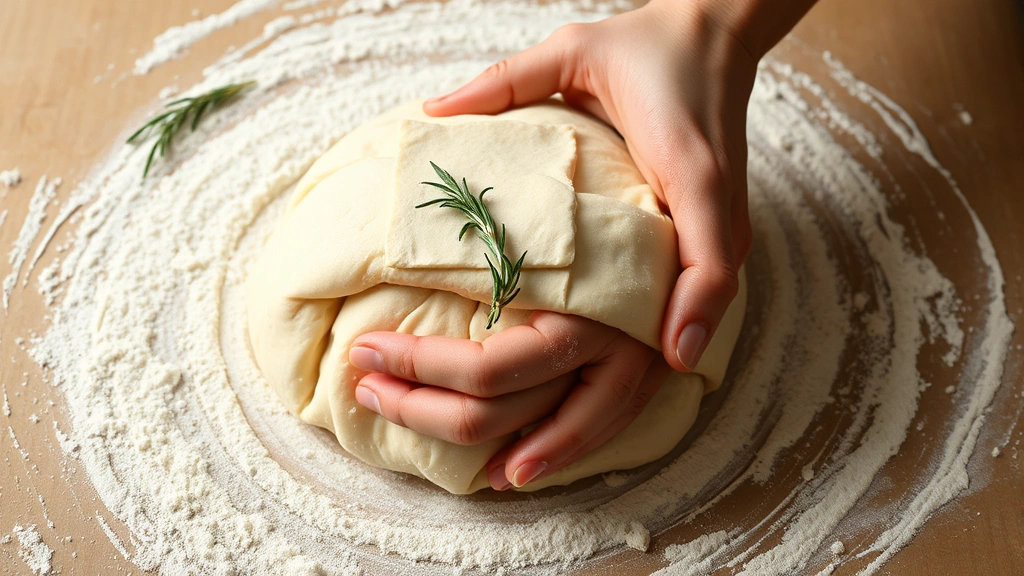
- After the long fermentation, turn the dough out onto a lightly floured work surface (don’t punch it down – handle it gently to preserve the air bubbles). The dough should feel soft, sticky, and extensible.
- Gently stretch the dough into a rectangle, then brush it with the rosemary-garlic mixture, leaving a 1-inch border around the edges. The dough is very delicate at this point, so work gently and carefully.
- Starting from the long side, roll the dough up tightly, pinching the seam as you go to create tension. Tuck the ends under slightly to create a nice oval loaf shape with good surface tension.
- Place the shaped dough on a piece of parchment paper (this will make transfer to the oven much easier). Cover loosely with plastic wrap or a kitchen towel and let it rise at room temperature for 2-4 hours, until it’s puffy and has increased in size by about 50% (it should look pillowy but not overproofed).
- About 30 minutes before you plan to bake, preheat your oven to 500°F (260°C). Place a Dutch oven or covered baking vessel inside to preheat as well. The Dutch oven will create steam, which is essential for achieving that beautiful crispy crust.
- Once the dough has risen adequately, carefully score the top of the loaf with a sharp knife or bread lame. Make a single long diagonal slash or several shorter slashes, cutting about 1/4-inch deep. This allows the bread to expand properly in the oven.
- Brush the top of the dough with the remaining 1 tablespoon of olive oil and sprinkle generously with the coarse sea salt and any remaining rosemary pieces.
- Carefully transfer the parchment paper with the dough into the preheated Dutch oven (be very careful as it will be extremely hot). The parchment paper is fine to bake with – it won’t hurt anything.
- Cover the Dutch oven with its lid and reduce the oven temperature to 450°F (232°C). Bake covered for 20 minutes. This traps steam and helps develop the crust.
- After 20 minutes, carefully remove the lid from the Dutch oven (watch out for steam!) and bake uncovered for another 15-20 minutes, until the loaf is deeply golden brown on top and sounds hollow when you tap the bottom.
- Transfer the baked bread to a wire cooling rack using tongs or a bread peel. Let it cool completely before slicing – I know it’s tempting to dig in right away, but the interior is still cooking as it cools, and cutting too early will result in a gummy texture.
- Once completely cooled, slice and serve with good butter, olive oil for dipping, or alongside your favorite soup or salad. Store any leftovers in an airtight container or bread bag for up to 3 days.
Pro Tips
- **Fresh vs. Dried Rosemary**: Always use fresh rosemary if possible – it has so much more flavor and creates a better texture in the bread. If you must use dried, cut the amount in half since dried herbs are more concentrated.
- **Water Temperature Matters**: Room temperature water (around 70°F) is key for this recipe. If your water is too cold, the fermentation will be very slow; too hot, and you’ll kill the yeast.
- **The Long Fermentation**: This recipe uses a very small amount of yeast because we’re relying on a long, cold fermentation to develop flavor. Don’t be tempted to add more yeast – this slow rise is what makes the bread taste so good.
- **Proofing Check**: To know when your dough has proofed enough, do the poke test – gently poke the dough with your finger. If the indentation springs back slowly and partially, it’s perfectly proofed. If it springs back immediately, it needs more time. If it doesn’t spring back at all, it’s overproofed.
- **No Dutch Oven?**: If you don’t have a Dutch oven, you can create steam another way: place a cast iron skillet or metal baking pan on the bottom rack of your oven while preheating, then carefully pour hot water into it when you add the bread. Alternatively, spray the oven walls with water several times during the first 10 minutes of baking.
- **Scoring**: Don’t be afraid to score your bread! A good score allows it to expand properly and creates those beautiful “ears” on the sides. Use a very sharp knife or a bread lame, and make confident, quick cuts.
- **Customization Ideas**: This recipe is incredibly versatile. You can add sun-dried tomatoes, olives, walnuts, or additional herbs like thyme or oregano. Just keep the total mix-ins to about 1/2 cup so you don’t overwhelm the dough.
- **Make-Ahead Option**: You can refrigerate the shaped dough overnight before baking. Simply cover it well and place it in the fridge after shaping. When ready to bake, remove it from the fridge, let it come to room temperature (about 1 hour), then score and bake as directed.
- **Troubleshooting Dense Bread**: If your bread turns out dense, it likely didn’t have enough rise time or the oven wasn’t hot enough. Make sure your oven is fully preheated and that you’re allowing adequate proofing time.
- **Troubleshooting Gummy Interior**: If the inside is gummy, your bread wasn’t baked long enough or you sliced it too early. Bake until deeply golden and hollow-sounding, and always cool completely before cutting.
- **Serving Suggestions**: Serve this bread warm with good butter, alongside tomato soup, or torn into pieces for panzanella salad.