
Beef cheeks are one of those underrated cuts that deserve so much more love in the kitchen. When cooked low and slow, they transform into the most incredibly tender, melt-in-your-mouth meat that’s absolutely divine. This recipe is honestly easier than you’d think, and I promise your dinner guests will be absolutely amazed when you tell them what they’re eating.
I remember the first time I made beef cheeks – I was a little nervous, to be honest. They looked so intimidating at the butcher counter, but my butcher assured me they were perfect for braising. He was so right! The key to tender, fall-apart beef cheeks is giving them time in a low oven with a flavorful braising liquid. The collagen in the meat breaks down beautifully, creating this rich, silky sauce that’s perfect for serving alongside creamy mashed potatoes or crusty bread.
What I love most about this recipe is that it’s actually quite forgiving. You can make it ahead, which makes it perfect for entertaining. The flavors actually get even better the next day, so feel free to braise them a day or two in advance and simply reheat gently before serving. It’s one of those dishes that looks like you spent all day in the kitchen, but really, most of the work is done by your oven.
The beauty of beef cheeks is that they’re also incredibly affordable compared to other premium cuts. You’re getting restaurant-quality results without the restaurant price tag. I like to serve mine with creamy sauce or a simple pickled red onion garnish for brightness. Some nights I go the rich and indulgent route, and other times I keep it simple with roasted vegetables. Either way, you really can’t go wrong.
If you’re looking to expand your cooking repertoire and try something a little different, this is absolutely the recipe to make. Beef cheeks are having such a moment right now in fine dining, and I’m so here for bringing that elegance to the home kitchen. Trust me on this one – once you master beef cheeks, you’ll be making them again and again.
Ingredients
- 4 beef cheeks (about 2-3 pounds total), trimmed of excess fat
- 2 tablespoons kosher salt, plus more to taste
- 1 teaspoon freshly ground black pepper
- 3 tablespoons olive oil or vegetable oil
- 1 large yellow onion, roughly chopped
- 4 large carrots, cut into 2-inch pieces
- 4 celery stalks, cut into 2-inch pieces
- 6 cloves garlic, minced
- 2 cups beef broth
- 1 cup red wine (optional but recommended)
- 2 tablespoons tomato paste
- 4 fresh thyme sprigs
- 2 bay leaves
- 1 tablespoon balsamic vinegar
- 2 tablespoons cornstarch mixed with 3 tablespoons water (optional, for thickening)
- Fresh parsley for garnish

Instructions
- Preheat your oven to 325°F. Pat the beef cheeks dry with paper towels and season generously on all sides with salt and pepper.
- Heat the oil in a large Dutch oven or heavy-bottomed pot over medium-high heat until it shimmers.
- Working in batches if needed, sear the beef cheeks for 3-4 minutes on each side until they develop a beautiful golden-brown crust. Transfer to a plate and set aside.
- Reduce heat to medium and add the chopped onion, carrots, and celery to the pot. Sauté for about 5 minutes, stirring occasionally, until the vegetables begin to soften and caramelize.
- Add the minced garlic and cook for another minute until fragrant.
- Stir in the tomato paste and cook for 2 minutes, allowing it to caramelize slightly.
- Pour in the red wine (if using) and scrape up any browned bits from the bottom of the pot with a wooden spoon – this is liquid gold for flavor.
- Add the beef broth, thyme sprigs, and bay leaves. Stir well to combine.
- Return the beef cheeks to the pot, nestling them among the vegetables. The braising liquid should come about halfway up the sides of the meat.
- Bring the liquid to a gentle simmer, then cover the pot with a lid and transfer to the preheated oven.
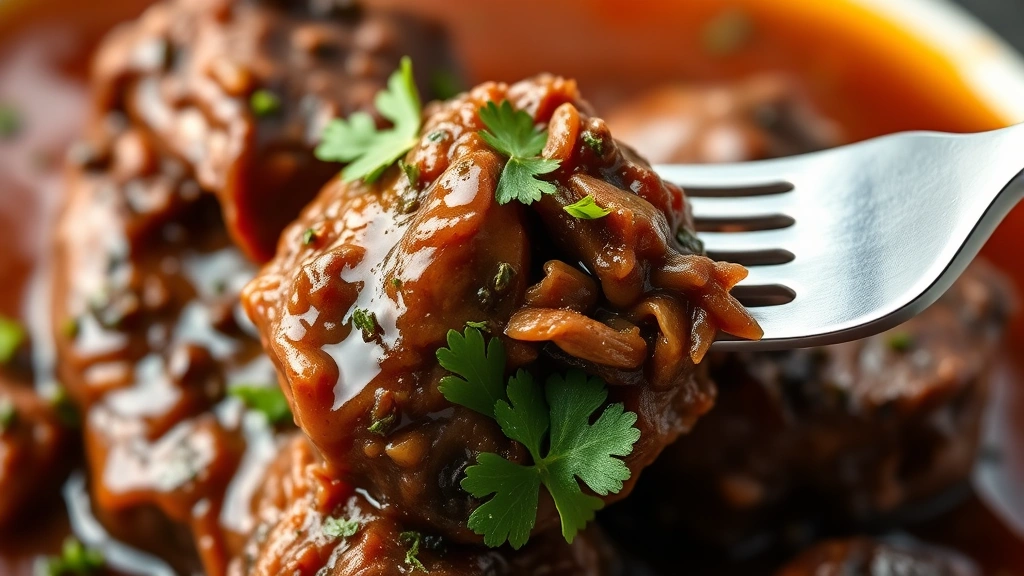
- Braise for 2.5 to 3 hours, turning the beef cheeks halfway through cooking. The meat should be fork-tender and easily shred when done.
- Remove the pot from the oven and transfer the beef cheeks to a serving platter, tent loosely with foil to keep warm.
- Strain the braising liquid through a fine-mesh strainer into a saucepan, pressing on the solids to extract all the liquid. Discard the solids.
- If desired, skim off excess fat from the surface of the braising liquid using a spoon or fat separator.
- Stir in the balsamic vinegar and taste for seasoning, adjusting salt and pepper as needed.
- If you prefer a thicker sauce, whisk the cornstarch slurry and stir it into the simmering liquid, cooking for 1-2 minutes until thickened.
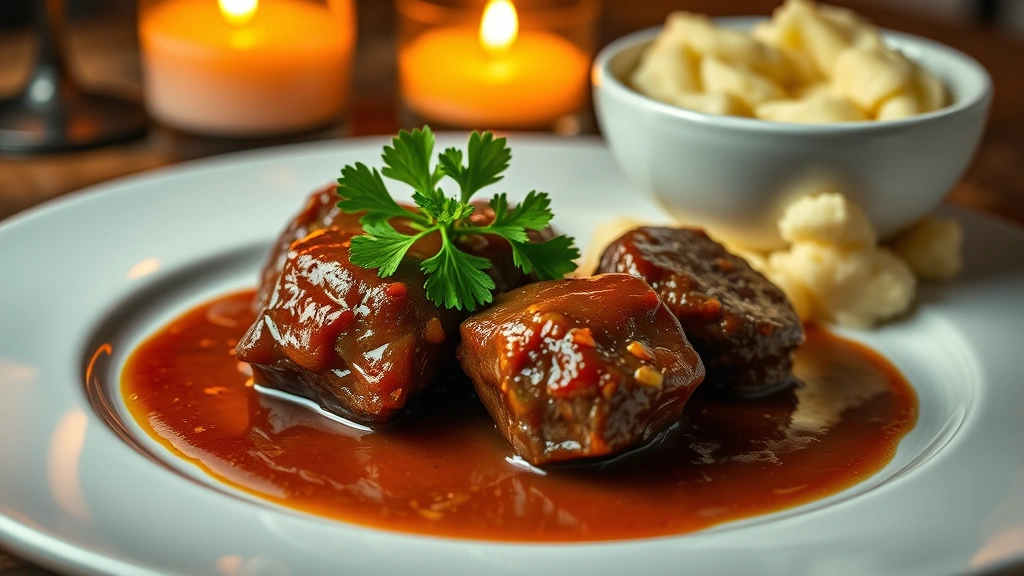
- Serve the beef cheeks topped with the sauce and garnished with fresh parsley. Pair with mashed potatoes, polenta, or crusty bread to soak up every drop of that delicious sauce.
Pro Tips
Make-ahead magic: This dish is absolutely perfect for making ahead. Prepare it through step 16, then cool completely and refrigerate for up to 3 days. The flavors actually deepen and improve when the dish sits. Simply reheat gently on the stovetop over medium-low heat, adding a splash of broth if needed to maintain the sauce consistency. This makes it ideal for entertaining when you want to spend time with guests instead of being stuck in the kitchen.
Wine selection: Use a wine you’d actually drink – the quality matters. A medium-bodied red like Pinot Noir, Côtes du Rhône, or even a good Burgundy works beautifully. Skip the super expensive bottles, but also skip the cheap cooking wine. If you prefer not to use wine, simply increase the beef broth to 3 cups total for a more traditional braise.
Vegetable variations: While the classic mirepoix of onion, carrot, and celery is traditional, you can absolutely customize this. Try adding parsnips for sweetness, mushrooms for earthiness, or even a splash of soy sauce for umami depth. Potatoes can be added in the last hour of cooking if you want them to braise alongside the meat.
Serving suggestions: Beyond the traditional mashed potato pairing, beef cheeks are wonderful served over creamy polenta, with pasta in a rich sauce, or alongside a simple fresh salad for contrast. The tender meat also shreds beautifully for tacos or sandwiches if you have leftovers.
Temperature control: The low, slow cooking is crucial. If your oven runs hot, check the cheeks at the 2-hour mark. They should be very tender but not falling apart completely – you want them to hold their shape for a beautiful presentation.
Fat considerations: Beef cheeks have a good amount of fat, which is what makes them so delicious when braised. Don’t skip the searing step – this develops flavor through browning. After cooking, you can skim excess fat from the sauce if desired, but a little fat in that sauce is what makes it silky and delicious.
Broth options: Use homemade beef stock if you have it, but quality store-bought broth works wonderfully too. Avoid broth that’s too salty, as the liquid reduces and concentrates flavors. You can always add more salt at the end if needed.