
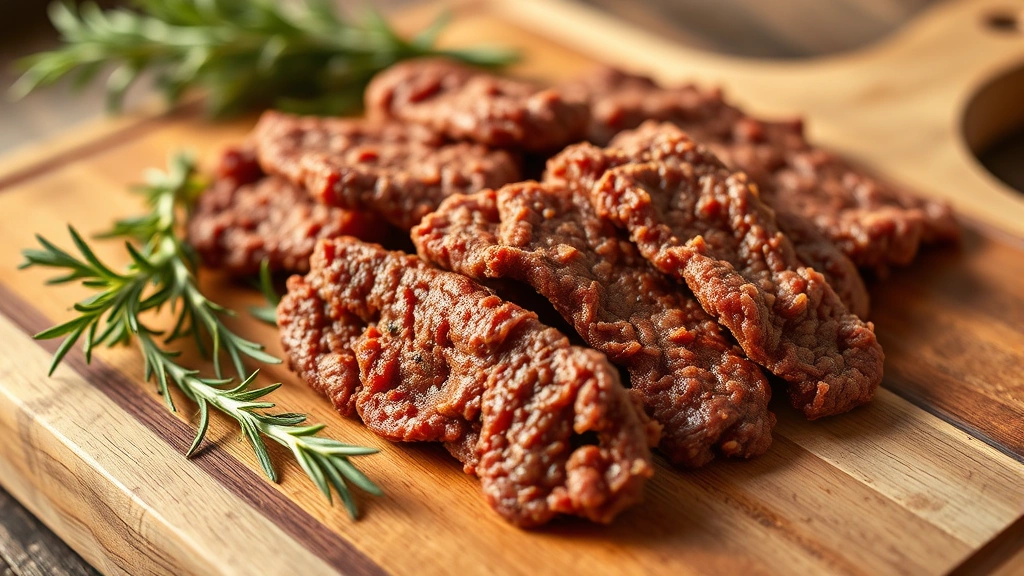
Homemade ground beef jerky is an absolute game-changer for snack lovers and protein enthusiasts alike. This delicious recipe transforms simple ground beef into tender, flavorful strips that rival any store-bought version. What makes this recipe so special is the perfect balance of savory spices, a hint of sweetness, and that satisfying chew that keeps you coming back for more.
Making ground beef jerky at home is easier than you might think, and the results are so much better than commercial varieties. You have complete control over the ingredients, sodium levels, and flavor profile. Plus, there’s something incredibly satisfying about creating this snack from scratch. Whether you’re preparing for a camping trip, looking for a protein-packed lunch option, or simply want an impressive homemade gift, this ground beef jerky recipe delivers every single time.
The secret to perfect jerky lies in three key elements: quality meat, proper seasoning, and correct drying technique. We’ll walk you through each step to ensure your jerky turns out perfectly chewy with that ideal texture. You can use a food dehydrator, your oven, or even a smoker if you’re feeling adventurous. This recipe is incredibly versatile, allowing you to customize the heat level and seasonings to match your preferences.
If you’re a fan of savory snacks and want to expand your homemade recipe collection, you might also enjoy making Quick Tasty Bacon Carbonara Recipe or Easy Pickled Red Onion Recipe for accompanying side dishes. Once you master this jerky technique, you’ll find yourself making batch after batch. The beauty of homemade jerky is that it stores beautifully and makes an excellent addition to lunchboxes, road trips, or as an anytime snack.
This particular recipe uses lean ground beef mixed with Worcestershire sauce, soy sauce, and a custom spice blend that creates an irresistible flavor profile. The marinade ensures every bite is packed with taste, while the proper drying process gives you that signature jerky texture. You’ll also discover that making jerky at home is significantly more economical than purchasing pre-packaged versions from specialty stores.
Ingredients
- 2 pounds lean ground beef (90/10 blend recommended)
- 3 tablespoons soy sauce
- 2 tablespoons Worcestershire sauce
- 1 tablespoon brown sugar
- 1 tablespoon honey
- 2 teaspoons smoked paprika
- 1.5 teaspoons garlic powder
- 1.5 teaspoons onion powder
- 1 teaspoon black pepper
- 1 teaspoon sea salt
- 0.5 teaspoon cayenne pepper (adjust to taste)
- 0.5 teaspoon liquid smoke (optional but recommended)
- 0.25 teaspoon curing salt/pink salt (optional)
- Parchment paper for dehydrator trays or baking sheets
Instructions
- In a large mixing bowl, combine the soy sauce, Worcestershire sauce, brown sugar, honey, and liquid smoke. Whisk together until the sugar is fully dissolved and the mixture is well combined.
- Add the smoked paprika, garlic powder, onion powder, black pepper, sea salt, cayenne pepper, and curing salt to the wet mixture. Stir thoroughly until you have a uniform marinade with no lumps.
- Add the 2 pounds of ground beef to the marinade bowl. Using clean hands or a sturdy spoon, mix the beef and marinade together until every bit of meat is coated. The mixture should look wet and well-incorporated.
- Cover the bowl with plastic wrap and refrigerate for at least 2 hours, or preferably overnight. This allows the flavors to penetrate the meat and ensures maximum taste in your finished jerky.
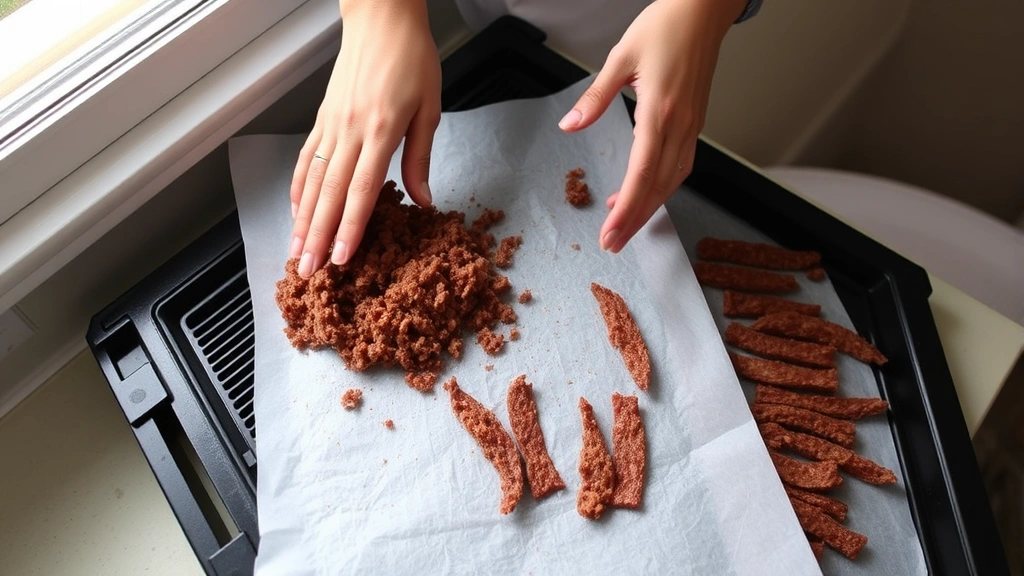
- If using a food dehydrator: Line dehydrator trays with parchment paper. Using a spoon or small ice cream scoop, drop portions of the seasoned beef mixture onto the parchment paper. Flatten each portion into a thin strip approximately 1/4 inch thick and 2-3 inches long.
- If using an oven: Preheat your oven to 160°F. Line baking sheets with parchment paper and shape the beef mixture into thin strips, spacing them about 1/2 inch apart.
- For dehydrator method: Set your dehydrator to 160°F and dry the jerky strips for 4-5 hours, checking periodically after the 3-hour mark. The jerky is done when it bends slightly but doesn’t break completely when you fold it.
- For oven method: Place the baking sheets in the preheated 160°F oven with the door cracked slightly open (prop it with a wooden spoon) to allow moisture to escape. Dry for 5-6 hours, rotating the pans halfway through cooking.
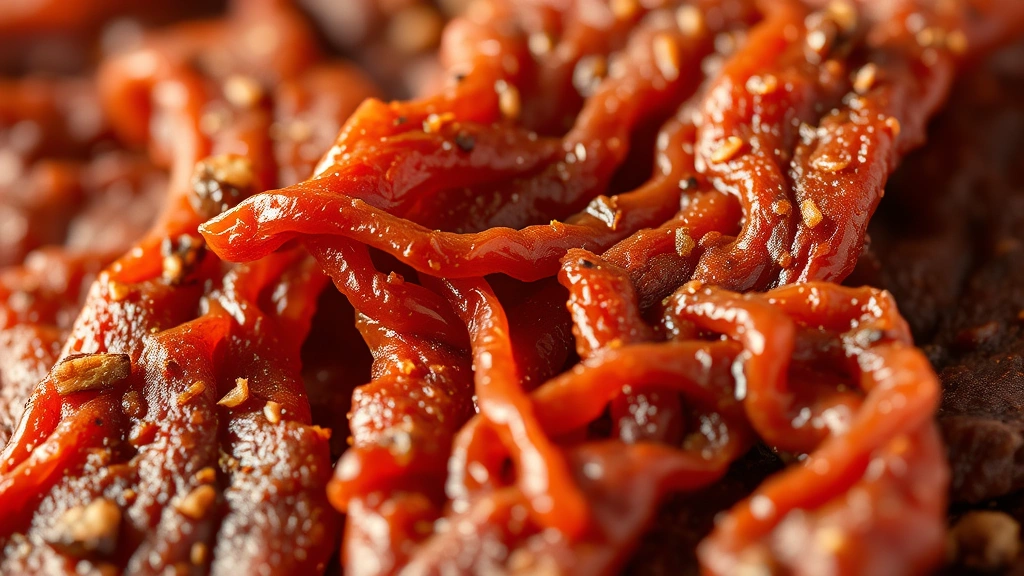
- Remove one piece from the dehydrator or oven and let it cool completely for 5 minutes. Bend it to test the texture. It should bend with a slight crack but not break entirely. If too soft, continue drying for another 30 minutes.
- Once the jerky reaches the desired texture, remove all pieces and spread them on a clean baking sheet or paper towels to cool completely to room temperature.
- Store the cooled jerky in an airtight container or resealable bags with a paper towel to absorb any excess moisture. It will keep for up to 2 weeks at room temperature, or up to 1 month in the refrigerator.
- For extended storage, you can vacuum seal the jerky and freeze it for up to 3 months. Allow it to come to room temperature before opening to prevent condensation.
Pro Tips
- Ground beef jerky requires lean meat to prevent spoilage and ensure food safety. The 90/10 blend is ideal as it has enough fat for flavor but not so much that it becomes rancid during storage.
- The curing salt (pink salt) is optional but recommended for extended storage as it provides additional preservation properties beyond regular salt. It also gives the jerky a more traditional cured appearance.
- Temperature control is absolutely critical when making jerky. Never exceed 160°F as this can cook the meat rather than dry it. Using a reliable oven or dehydrator thermometer ensures accuracy.
- The texture of your finished jerky depends on personal preference. For chewier jerky, reduce drying time by 30-45 minutes. For crispier jerky, extend drying time by 30-45 minutes.
- You can customize the flavor profile significantly by adjusting the spices. Try adding 1 teaspoon of maple syrup for a sweeter version, or increase cayenne pepper for extra heat.
- Ground beef jerky is excellent paired with Best Chickpea Salad Recipe for a protein-packed lunch combination.
- For a smoky variation, increase the liquid smoke to 1 teaspoon or use smoked paprika as your primary spice base.
- This recipe can be doubled or tripled easily for batch making. The shelf life remains the same regardless of batch size.
- If your jerky becomes too hard or brittle, place it in an airtight container with a small slice of apple or bread for 24 hours to rehydrate slightly.
- For food safety, ensure your kitchen and all utensils are clean. If you’re new to jerky making, research additional food safety guidelines specific to your region.
- Store-bought jerky often contains more sodium and preservatives than this homemade version, making it a healthier choice for regular consumption.
- You can experiment with different marinade bases using Serious Eats flavor combinations or check New York Times Cooking for additional spice inspiration.
- This jerky makes an excellent homemade gift when packaged in cute containers or kraft bags with personalized labels.