
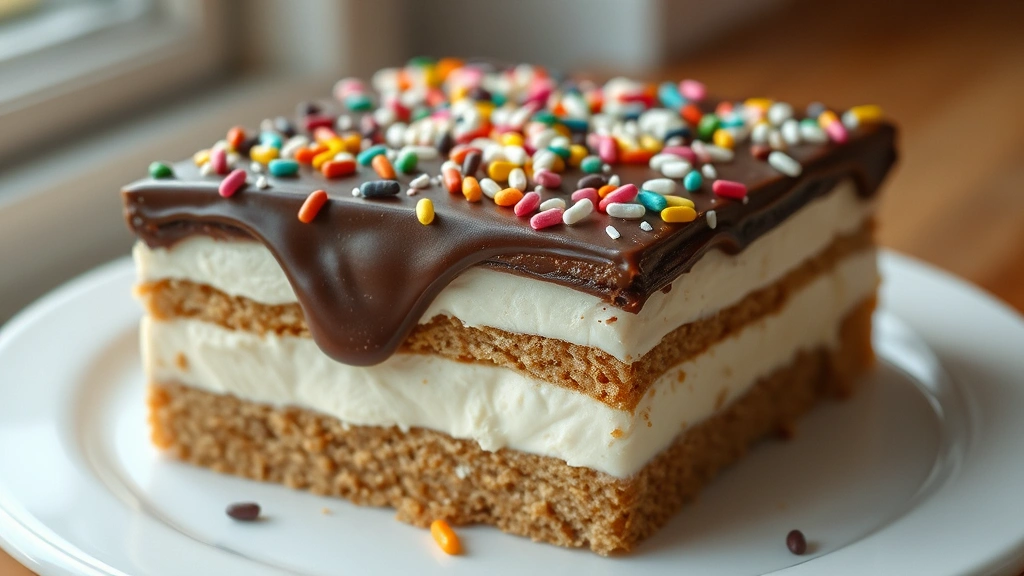
There’s nothing quite like watching your little ones’ faces light up when they help create their own dessert—and this no-bake recipe is absolutely perfect for that special moment! This tasty no-bake kids dessert is not only ridiculously easy to make, but it’s also the perfect way to get kids involved in the kitchen without worrying about hot stoves or complicated techniques. Whether you’re looking for a quick after-school treat, a fun activity for a rainy day, or an impressive dessert to bring to a potluck, this recipe checks all the boxes.
What makes this recipe so special is that it requires absolutely no baking, which means less time in the kitchen and more time enjoying those precious moments with your little chefs. The combination of simple, kid-friendly ingredients creates a dessert that tastes indulgent and special, but comes together in minutes. Kids love the hands-on process of layering ingredients and watching the magic happen as everything sets in the refrigerator.
I’ve been making easy no-bake recipes for kids for years now, and this one has become a family favorite that my children request again and again. The beauty of no-bake desserts is that they’re not intimidating—there’s no precise baking temperature to worry about, no timer to watch obsessively, and no risk of something burning in the oven. It’s pure, stress-free fun from start to finish.
This recipe is also wonderfully versatile. You can customize it based on what your kids love, swap out ingredients, or add their favorite toppings. It’s a fantastic introduction to cooking and baking for young children, and it teaches them valuable skills like measuring, mixing, and following instructions—all while having an absolute blast.
The no-bake aspect also makes this perfect for summer entertaining, outdoor gatherings, or any time you want a dessert that won’t heat up your kitchen. Serve it chilled for the best texture and flavor, and watch as everyone—kids and adults alike—goes back for seconds. This easy no-bake recipe for kids proves that sometimes the best treats are the simplest ones, made with love and a whole lot of fun.
For more delicious inspiration, check out our Quick Tasty Bacon Carbonara Recipe for dinner ideas, or explore our collection of Delicious Heavy Cream Pasta Recipes for more crowd-pleasing meals. Don’t miss our Best Chickpea Salad Recipe for healthy sides, and if you’re planning a full menu, our Best Heavy Cream Alfredo Sauce Recipe pairs beautifully with simple mains. For additional inspiration on no-bake treats and kid-friendly cooking, visit Bon Appétit’s No-Bake Dessert Collection, Serious Eats’ No-Bake Dessert Guide, and New York Times Cooking No-Bake Recipes for even more creative ideas.
Ingredients
- 2 cups graham cracker crumbs (about 16 crackers)
- 6 tablespoons melted butter
- 3 tablespoons granulated sugar
- 8 oz cream cheese, softened to room temperature
- 1 cup heavy whipping cream
- 1/2 cup powdered sugar
- 1 teaspoon vanilla extract
- 1 cup chocolate chips or chunks
- 2 tablespoons coconut oil or butter
- 1/2 cup colorful sprinkles or toppings of choice
- Fresh fruit for garnish (optional: strawberries, raspberries, or blueberries)
- Pinch of salt
Instructions
- Gather all your ingredients and have them ready on the counter. Line an 8×8-inch baking dish or 9-inch springform pan with parchment paper for easy removal later.
- In a medium bowl, combine the graham cracker crumbs, melted butter, granulated sugar, and a pinch of salt. Mix with a fork or your hands until the mixture resembles wet sand and holds together when squeezed.
- Press the graham cracker mixture firmly into the bottom of your prepared pan, creating an even, compact layer. Use the bottom of a measuring cup to help pack it down smoothly.
- In a large mixing bowl, beat the softened cream cheese with an electric mixer on medium speed for about 2 minutes until it becomes smooth and creamy.
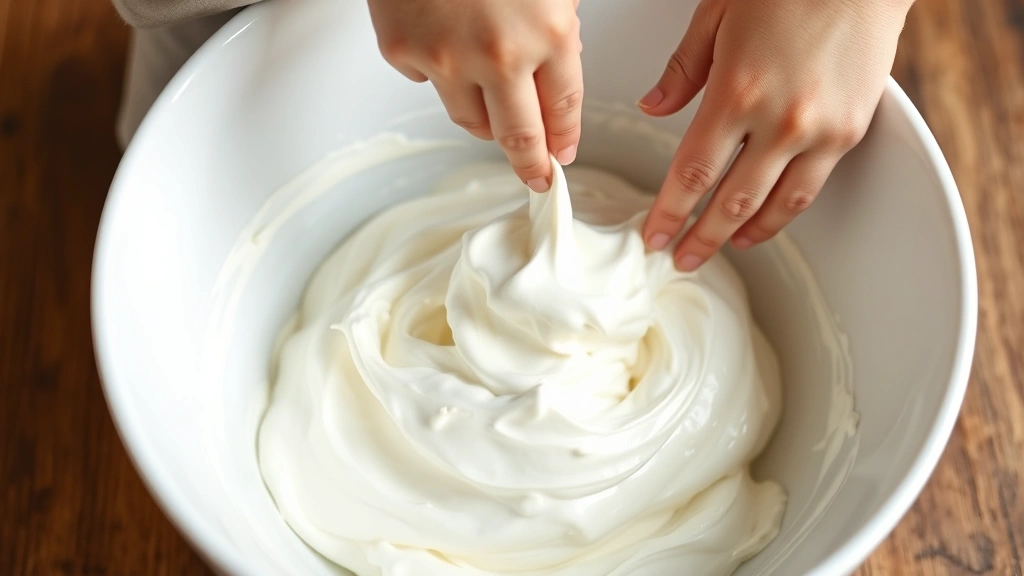
- In a separate bowl, whip the heavy cream with the powdered sugar and vanilla extract until stiff peaks form, about 3-4 minutes. This creates a homemade whipped cream that’s perfect for kids to see the transformation.
- Gently fold the whipped cream into the cream cheese mixture using a rubber spatula, folding slowly and carefully until no white streaks remain. Be gentle to keep the mixture light and fluffy.
- Spread the cream cheese mixture evenly over the graham cracker crust, smoothing the top with a spatula.
- Place the chocolate chips and coconut oil in a microwave-safe bowl. Microwave in 30-second intervals, stirring between each interval, until the chocolate is completely melted and smooth (usually 1-2 minutes total).
- Let the melted chocolate cool for about 2 minutes, then pour it over the cream cheese layer. Use a spatula to spread it evenly, or drizzle it in patterns if you prefer a more artistic look.
- While the chocolate is still slightly warm, sprinkle your chosen toppings—colorful sprinkles, crushed candies, mini chocolate chips, or crushed cookies—over the chocolate layer. This step is perfect for letting kids get creative!
- Cover the dessert loosely with plastic wrap and refrigerate for at least 4 hours, or ideally overnight, until the chocolate layer is completely set and firm.
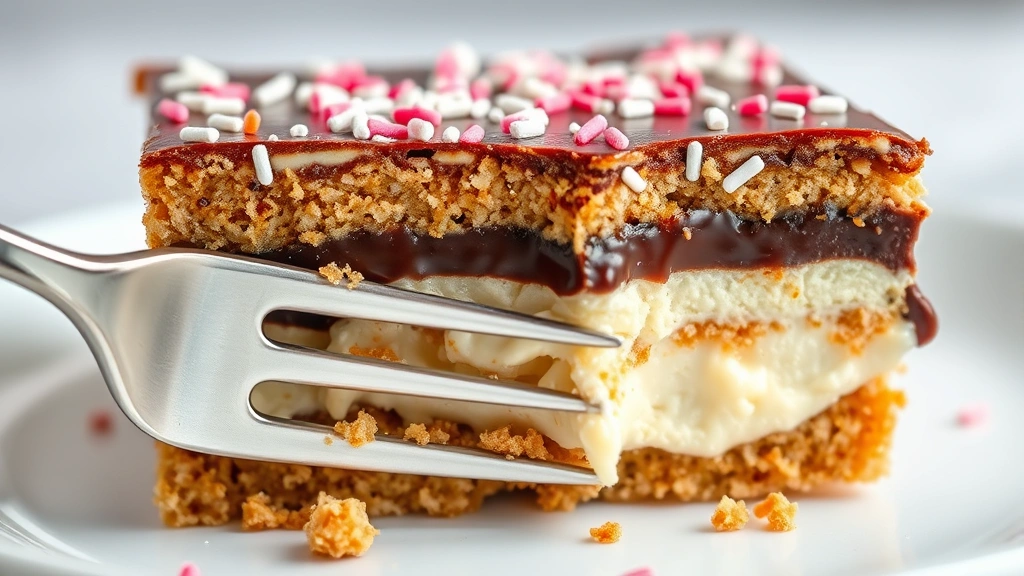
- When ready to serve, remove the dessert from the refrigerator and let it sit at room temperature for 5 minutes to make cutting easier. If using a springform pan, simply release the sides.
- Cut into squares or use a sharp knife dipped in hot water (wiping between cuts) for clean slices.
- Top each serving with fresh fruit, additional whipped cream, or more sprinkles if desired.
- Serve immediately and enjoy watching the happy faces of your little helpers!
Pro Tips
- This no-bake dessert is incredibly kid-friendly because every step is safe for children to help with—no hot stoves, ovens, or sharp tools required
- Make it ahead: This dessert actually tastes even better the next day as the flavors meld together, making it perfect for party planning
- Customize the toppings: Let your kids choose their favorite sprinkles, candies, or crushed cookies. Some fun options include crushed Oreos, rainbow sprinkles, mini M&Ms, gummy bears, or crushed candy canes during the holidays
- Storage tips: Keep leftovers covered in the refrigerator for up to 3 days. You can also freeze individual slices for up to 2 weeks—a great option for grab-and-go snacks
- Ingredient substitutions: Use white chocolate chips for a different flavor, swap heavy cream with whipped topping if preferred, or use digestive biscuits instead of graham crackers for a slightly different taste
- Layer variations: Try different flavor combinations like peanut butter chocolate, mint chocolate chip (add peppermint extract to the cream layer), or brownie-based layers
- Dairy-free option: Substitute cream cheese with dairy-free cream cheese alternative and use coconut whipped cream for a completely dairy-free version
- Portion flexibility: You can make this in individual cups or mason jars for easier serving and storage
- Temperature matters: Make sure your cream cheese is truly softened before mixing to avoid lumps in your filling
- Graham cracker crust pro tip: Don’t skip pressing down the crust firmly—this prevents a crumbly base and creates a sturdy foundation for your layers
- Perfect for parties: This recipe doubles or triples easily, and you can make it days in advance, making it ideal for kids’ birthday parties or gatherings
- Teaching opportunity: Use this recipe to teach kids about layering, folding techniques, and how different ingredients transform when combined