
Homemade sourdough English muffins are a delightful way to use your sourdough starter while creating something truly special for breakfast. These tender, chewy muffins feature those signature nooks and crannies that make them perfect for toasting and piling high with your favorite toppings. The beauty of making your own English muffins is that you control every ingredient, ensuring a fresher, more flavorful result than store-bought versions.
What makes sourdough English muffins particularly wonderful is the complex flavor that develops from the slow fermentation process. Your sourdough starter does all the heavy lifting, creating a subtle tang and depth that commercial yeast simply cannot replicate. The process is actually quite forgiving, making this recipe perfect for both sourdough enthusiasts and those just beginning their fermentation journey.
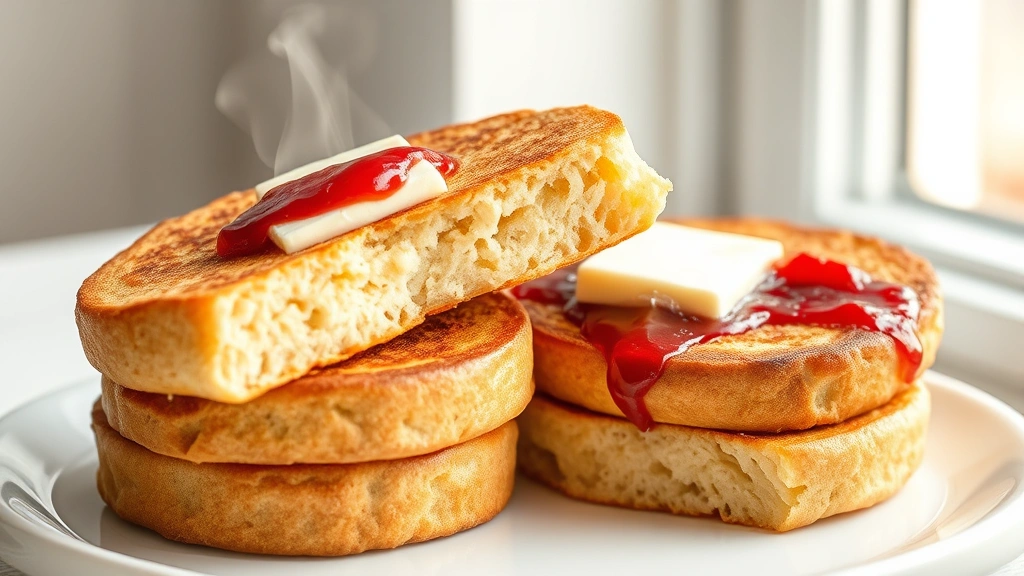
These muffins are incredibly versatile. Enjoy them toasted with butter and jam for a classic breakfast, or use them as the foundation for a decadent breakfast sandwich. Try pairing them with homemade sauces or top them with eggs and bacon for a savory twist. The tender crumb and distinctive texture make them superior to store-bought alternatives in every way.
The key to perfect sourdough English muffins is understanding the importance of proper fermentation timing and getting your griddle temperature just right. Unlike regular bread baking, English muffins require cooking on a griddle or cast iron skillet rather than in the oven, which gives them their characteristic flat shape and slightly crispy exterior. This recipe yields approximately a dozen muffins, perfect for a week of delicious breakfasts.
For more inspiration on what to serve with your fresh English muffins, check out this creamy pasta option or explore this chicken alfredo recipe for dinner inspiration. You might also enjoy creating a complete meal by pairing your muffins with a fresh chickpea salad.
Once you master this sourdough English muffin recipe, you’ll find yourself making them regularly. The process takes just a few minutes of active time spread over two days, with most of the work being done by your reliable sourdough starter. For additional baking inspiration and techniques, check out resources like Serious Eats for their sourdough troubleshooting guides, Bon Appétit’s bread section, or New York Times Cooking for their extensive bread collection.
Ingredients
- 1 cup active sourdough starter, fed 4-6 hours prior
- 1 cup whole milk, warmed to 75-80°F
- 2½ cups all-purpose flour
- 1 tablespoon sugar or honey
- 1½ teaspoons salt
- ½ teaspoon baking soda
- 2 tablespoons butter, melted
- Cornmeal for dusting griddle and finished muffins
- Water for griddle cooking
Instructions
- In a large mixing bowl, combine your active sourdough starter and warmed milk, stirring until well combined. The mixture should be smooth without lumps.
- Add the all-purpose flour, sugar, and salt to the wet ingredients. Mix using a sturdy wooden spoon or the dough hook attachment on your stand mixer until all flour is incorporated and you have a shaggy dough.
- Knead the dough for approximately 8-10 minutes by hand, or 6-8 minutes in a stand mixer on medium speed, until the dough becomes smooth, elastic, and slightly tacky but not overly sticky.
- Dust a clean work surface lightly with flour and turn out your dough. Gently shape it into a round ball without overworking it, then place it in a lightly oiled bowl for the first rise.
- Cover the bowl with a damp kitchen towel or plastic wrap and let it rest at room temperature for 12-16 hours. The dough should roughly double in size and show visible bubbles on the surface.
- After the bulk fermentation, turn the dough out onto a lightly floured work surface. Gently press out the excess gas, being careful not to deflate it completely.
- Dust your work surface with cornmeal to prevent sticking. Using a rolling pin, gently roll the dough to approximately ½-inch thickness, working carefully to maintain the air bubbles.
- Using a 3-inch biscuit cutter or drinking glass, cut out circles from the dough. You should get approximately 12 muffins. Set the scraps aside and gently re-roll them, cutting additional muffins until all dough is used.
- Place the cut muffins on a parchment paper-lined baking sheet, spacing them about 2 inches apart. Cover loosely with a damp towel and let them proof for 1-2 hours at room temperature until they’re puffy and light.
- About 30 minutes before cooking, sprinkle the baking soda evenly over the proofed muffins and gently press it into the surface with your fingertips. This promotes browning and adds to the characteristic tang.
Heat a large cast iron skillet or griddle over medium heat. Lightly brush the surface with melted butter and dust generously with cornmeal.
- Once the griddle is preheated and the surface is hot (a water droplet should sizzle and evaporate within 2-3 seconds), carefully transfer the muffins to the griddle using a thin spatula. Work in batches if necessary to avoid crowding.
- Cook the muffins for 5-7 minutes on the first side without moving them. They should develop a golden brown color and a slightly crispy exterior. Resist the urge to flip too early.
- Using a thin, flexible spatula, carefully flip each muffin and cook for another 5-7 minutes on the second side until evenly golden brown and cooked through.
- Transfer the finished muffins to a wire cooling rack. While they’re still warm, brush the tops and sides lightly with melted butter and dust with additional cornmeal for that authentic finish.
- Allow the muffins to cool to room temperature before splitting and toasting. They’re now ready to serve or store for later use.
Pro Tips
Sourdough Starter Notes: Using an active, bubbly starter is crucial for this recipe. Feed your starter 4-6 hours before beginning to ensure it’s at peak activity. If your starter is sluggish, you may need to feed it more frequently in the days leading up to baking, or add a tiny pinch of instant yeast to compensate.
Flour Flexibility: While all-purpose flour works beautifully, you can substitute up to 25% of it with whole wheat flour for added nutrition and a nuttier flavor. The texture will be slightly denser but equally delicious.
Griddle Temperature Control: The griddle temperature is absolutely critical. Too hot, and the outside will burn before the inside cooks through. Too cool, and they’ll be pale and dense. Medium heat is typically ideal, but every stove is different. Do a test muffin to ensure your temperature is correct before cooking the entire batch.
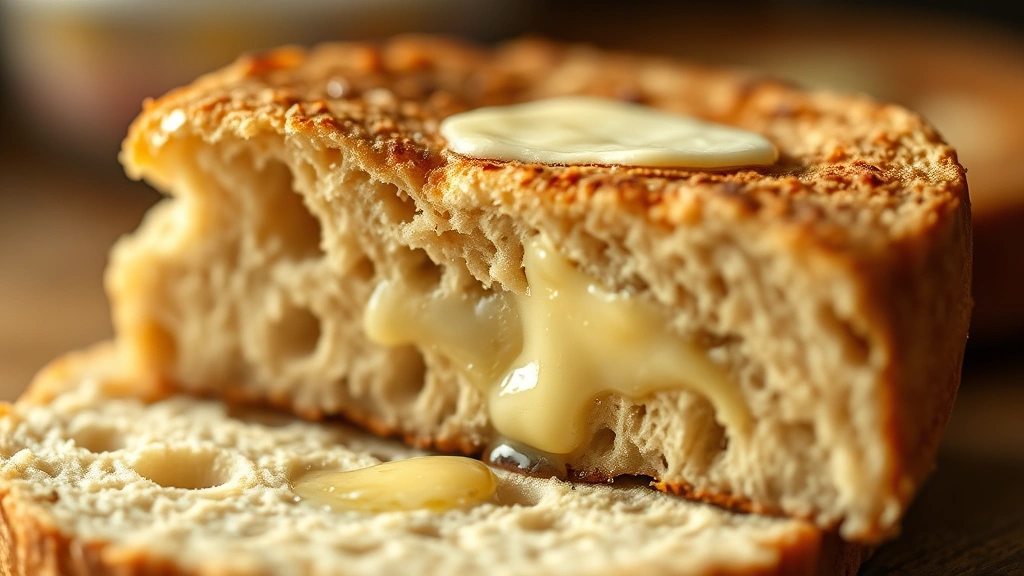
Nooks and Crannies: The characteristic holes in English muffins develop from steam during cooking. Ensure your muffins are properly proofed but not over-proofed. Over-proofing can cause them to collapse during cooking, resulting in flat, dense muffins without the desirable texture.
Flavoring Variations: Once you master the basic recipe, experiment with additions. Try adding ½ teaspoon of cardamom for a subtle spice, or fold in ½ cup of mix-ins like raisins or dried cranberries during the final kneading stage.
Water for Cooking: Some bakers like to add a tablespoon of water to the griddle and cover it with a lid during the first minute of cooking on each side. This steams the muffins slightly and can result in a lighter crumb.
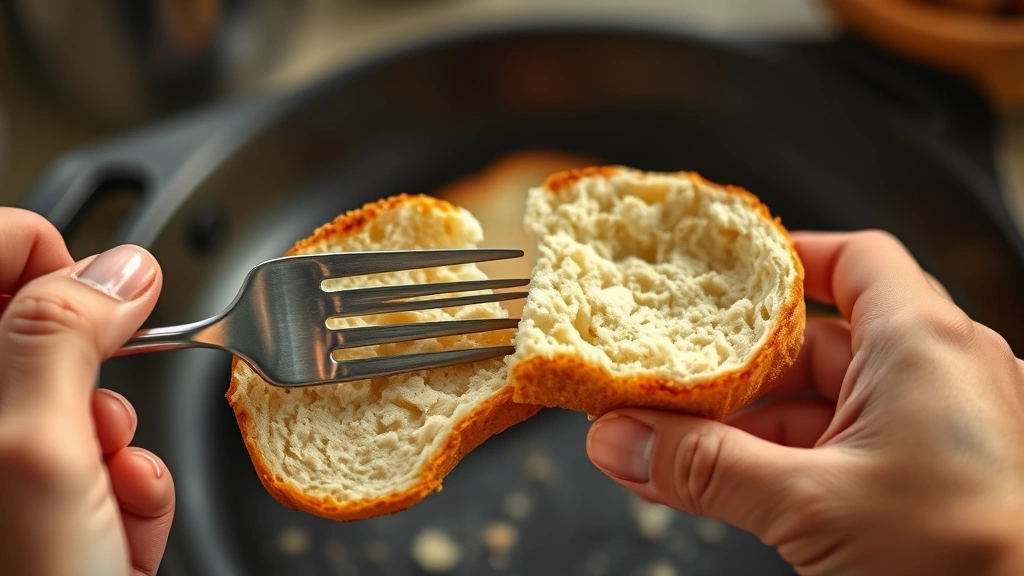
Toasting Recommendations: Always split your English muffins using a fork rather than a knife. Gently insert a fork around the equator of the muffin and pull the two halves apart. This preserves those precious nooks and crannies better than cutting would.
Serving Suggestions: These muffins are spectacular topped with butter and jam, but also work beautifully as breakfast sandwich bases with eggs, cheese, and breakfast meats. They’re equally at home with savory toppings like smoked salmon and cream cheese.