
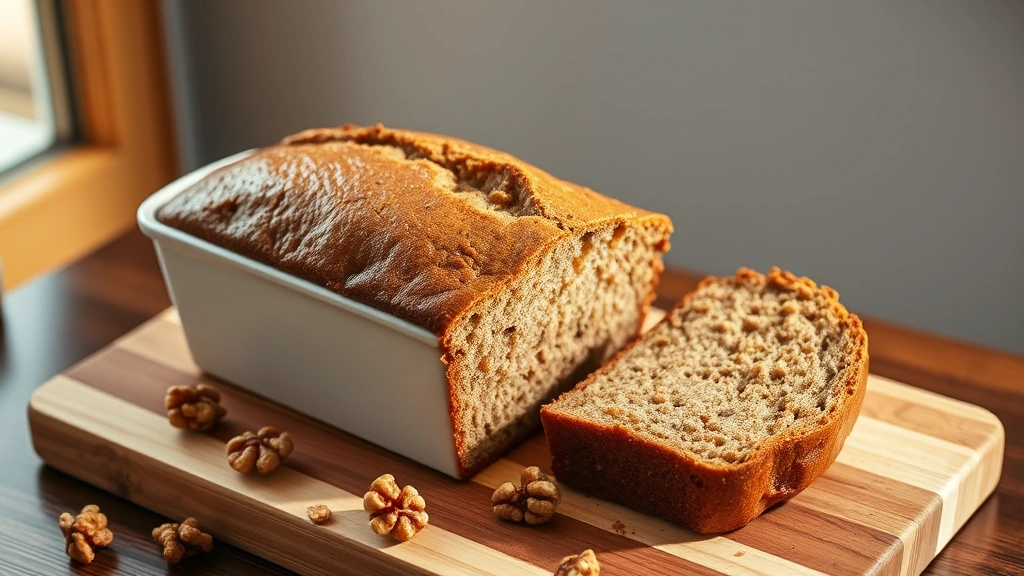
There’s something truly magical about a warm slice of banana loaf fresh from the oven, and here’s the best part – you don’t need a dozen bananas to make it absolutely delicious! This super easy 2-banana loaf recipe proves that sometimes less is more, delivering incredible flavor and moistness with just two ripe bananas.
I’ve been making banana bread for years, and I’ve learned that the quality of your bananas matters just as much as the technique. You want bananas that are perfectly ripe – those with plenty of brown speckles on the skin – because they have the highest sugar content and will give your loaf that deep, complex banana flavor we all crave.
What I love most about this recipe is its simplicity. There are no fancy ingredients or complicated steps, just straightforward baking magic that comes together in minutes. Whether you’re a seasoned baker or someone who’s intimidated by baking, this banana loaf is forgiving and foolproof. It’s perfect for using up those overripe bananas on your counter, and it makes your entire kitchen smell like a bakery.
This loaf is tender, moist, and packed with natural sweetness. It’s wonderful on its own, but you can also dress it up with a simple glaze or serve it with complementary toppings. The recipe yields a beautiful golden loaf that’s perfect for breakfast, snacks, or even dessert.
I’m so excited to share this recipe with you because it’s truly become a staple in my kitchen. It’s the kind of recipe you’ll come back to again and again, especially during banana season. Let me walk you through the process of making the best banana loaf with just two bananas!
For more baking inspiration, check out this guide to simple recipes and explore creative flavor combinations. You can also find great recipe variations to inspire your baking adventures.
If you’re looking to add more depth to your baking repertoire, consider trying complementary recipes that pair beautifully with banana loaf for brunch. Don’t forget to check out other easy recipes for inspiration.
For professional baking tips and techniques, I recommend visiting Bon Appétit’s banana bread collection and Serious Eats baking guides. You can also find excellent resources at New York Times Cooking for more advanced techniques.
Ingredients
- 2 ripe bananas, peeled and mashed (about 1 cup)
- 1/2 cup unsalted butter, softened to room temperature
- 3/4 cup granulated sugar
- 1 large egg, room temperature
- 1 teaspoon vanilla extract
- 1 1/2 cups all-purpose flour
- 1 teaspoon baking soda
- 1/2 teaspoon salt
- 1/4 cup sour cream or Greek yogurt
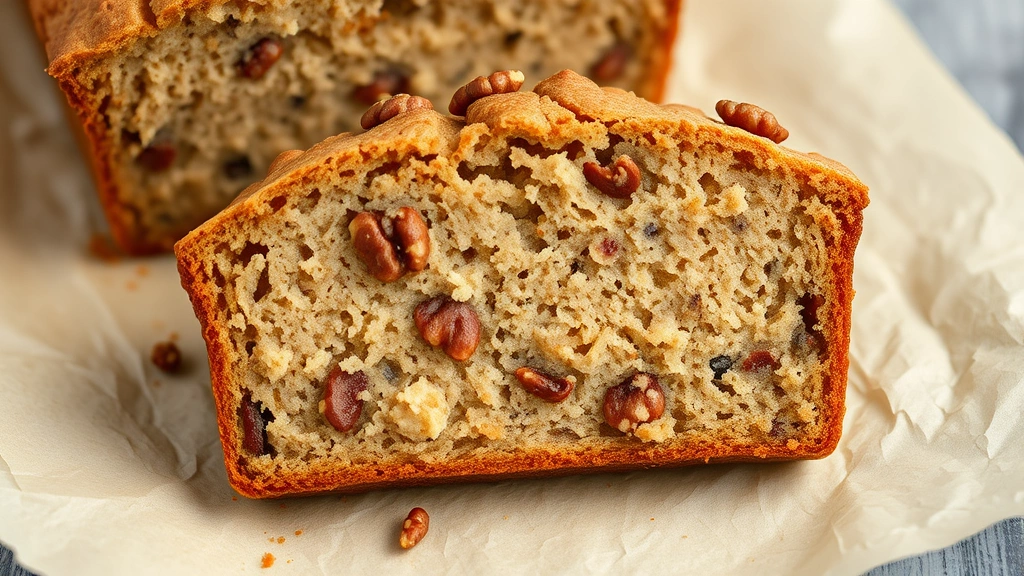
- 1/4 cup chopped walnuts or pecans (optional but recommended)
- Pinch of cinnamon (optional for extra flavor)
Instructions
- Preheat your oven to 350°F (175°C). Grease a standard 9×5 inch loaf pan with butter or cooking spray, then line the bottom with parchment paper for easy removal.
- In a small bowl, mash your 2 ripe bananas with a fork until you have a chunky-smooth consistency – don’t over-mash, as some small lumps are actually nice for texture.
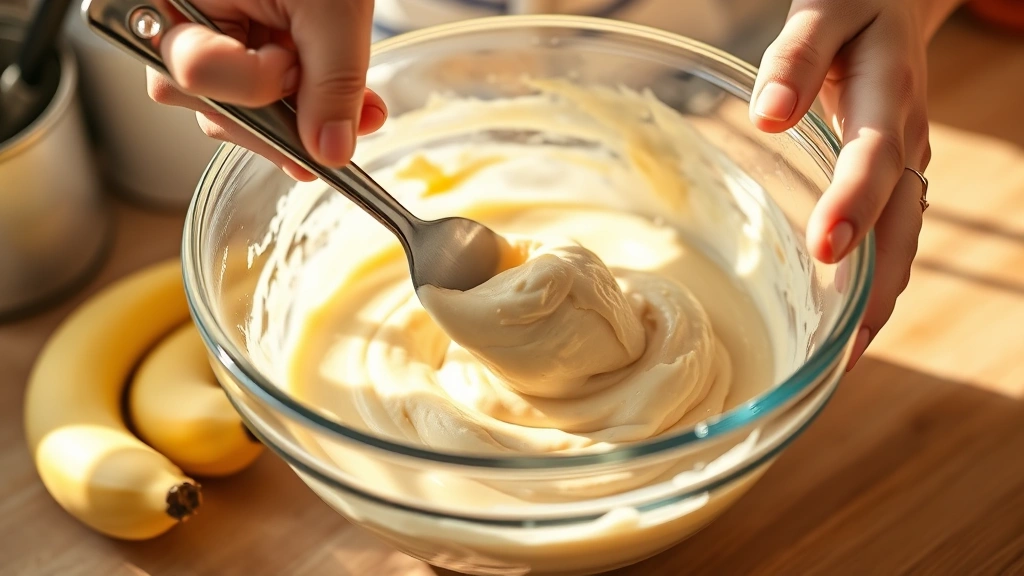
- In a large mixing bowl, cream together the softened butter and granulated sugar using an electric mixer on medium speed for about 2-3 minutes until the mixture is light, fluffy, and pale in color.
- Add the room temperature egg to the butter-sugar mixture and beat well for about 1 minute until fully incorporated and the mixture looks creamy.
- Pour in the vanilla extract and mix on low speed for just 15-20 seconds until combined throughout.
- Add the mashed bananas to the wet ingredients and fold them in gently using a spatula until just combined – don’t overmix at this stage.
- In a separate bowl, whisk together the all-purpose flour, baking soda, salt, and optional cinnamon to break up any lumps and distribute the leavening agent evenly.
- Add the sour cream to the banana mixture and gently fold it in with a spatula until mostly combined and creamy.
- Sprinkle the flour mixture over the wet ingredients and gently fold everything together using a spatula until just combined – the batter should look slightly lumpy, not perfectly smooth.
- If using nuts, fold them gently into the batter at this final stage, reserving a few for sprinkling on top if desired.
- Pour the batter into your prepared loaf pan, smoothing the top gently with a spatula or the back of a spoon.
- Sprinkle a few reserved nuts on top if you’d like, then place the loaf pan on the middle rack of your preheated oven.
- Bake for 50-60 minutes until the top is golden brown and a toothpick or skewer inserted into the center comes out clean or with just a few moist crumbs – do not overbake.
- Remove the loaf from the oven and let it cool in the pan for about 10 minutes, then turn it out onto a wire cooling rack to cool completely before slicing.
Pro Tips
- **Banana Ripeness Matters**: The most important ingredient is perfectly ripe bananas with brown speckles. They should be soft enough to mash easily but not falling apart. Overripe bananas (practically black) are actually ideal for maximum sweetness and flavor.
- **Room Temperature Ingredients**: Using room temperature butter and eggs helps create a better emulsion and results in a more tender crumb. Take these out of the fridge 30 minutes before baking.
- **Don’t Overmix**: Once you add the flour, mix only until the dry ingredients are just incorporated. Overmixing develops too much gluten and results in a tough, dense loaf instead of tender crumb.
- **Sour Cream vs. Yogurt**: The sour cream or Greek yogurt adds moisture and tenderness. If you don’t have sour cream, plain yogurt works beautifully. You can also use buttermilk if preferred.
- **Nut Options**: Walnuts and pecans are traditional choices, but you can also use chopped macadamia nuts, almonds, or even chocolate chips. Toast them lightly first for deeper flavor.
- **Storage Instructions**: Store your banana loaf covered at room temperature for up to 3 days, or wrap it tightly and refrigerate for up to 5 days. It also freezes beautifully for up to 3 months when wrapped well.
- **Scaling the Recipe**: This recipe can easily be doubled if you want to make two loaves. Just multiply all ingredients by 2 and divide the batter between two prepared pans. Baking time may increase by 5-10 minutes.
- **Toothpick Test**: The key to perfect doneness is the toothpick test. The toothpick should come out clean or with just a few moist crumbs – if wet batter clings to it, the loaf needs more time.
- **Glaze Option**: For a simple glaze, mix 1 cup powdered sugar with 2-3 tablespoons milk and drizzle over the cooled loaf. You can add a splash of vanilla or lemon juice for extra flavor.
- **Breakfast Pairing**: Serve warm slices with butter, cream cheese, or a simple honey drizzle. It’s absolutely perfect with morning coffee or tea.
- **Make-Ahead Tip**: You can prepare the batter up to 4 hours ahead. Cover and refrigerate, then bake when ready. Add 5-10 minutes to the baking time if baking from cold.