

American buttercream frosting is the gold standard for cake decorating, and once you master this foolproof recipe, you’ll never look back! This silky-smooth, cloud-like frosting is perfect for layering between cake tiers, piping elegant rosettes, or creating a perfectly crumb-coated base. The secret to achieving that coveted bakery-quality finish lies in using the right ratio of butter to powdered sugar, along with a touch of heavy cream and vanilla extract for that irresistible flavor.
I’ve been making this buttercream for years, and it never fails to impress. Whether you’re frosting a simple sheet cake for a weeknight family dinner or creating a multi-tiered masterpiece for a special celebration, this American buttercream frosting recipe is your new best friend. The best part? It comes together in just five minutes with ingredients you probably already have in your pantry!
This classic frosting works beautifully on virtually any cake flavor, from rich chocolate to delicate vanilla bean. Unlike Swiss or Italian meringue buttercreams, this American version requires no special equipment or temperature monitoring—just a stand mixer and your trusty hand mixer will do the trick. It’s stable enough for piping intricate details yet soft enough to spread smoothly over cake layers. If you’re looking to elevate your dessert game, check out our Perfect Creamy Pasta Recipe for other silky-smooth culinary creations.
The beauty of this buttercream lies in its versatility. Once you’ve mastered the basic recipe, you can tint it with gel food coloring, infuse it with different extracts, or fold in cream cheese for a tangy twist. I’ve included all my professional tips and tricks below to ensure your frosting turns out absolutely perfect every single time. Let’s dive into creating the most delicious, spreadable frosting that will have everyone asking for your secret!
Ingredients
- 1 cup (2 sticks) unsalted butter, softened to room temperature
- 3-4 cups powdered sugar, sifted
- 3-4 tablespoons heavy cream or whole milk
- 1 teaspoon pure vanilla extract
- 1/4 teaspoon salt
- Gel food coloring (optional)
- Additional flavoring extracts like almond, lemon, or peppermint (optional)
Instructions
- Start by ensuring your butter is properly softened to room temperature. This is absolutely crucial for achieving that light, fluffy texture. Cold butter will result in a grainy, lumpy frosting, so take it out of the refrigerator about 30-45 minutes before you begin. You should be able to easily press your finger into the butter without resistance.
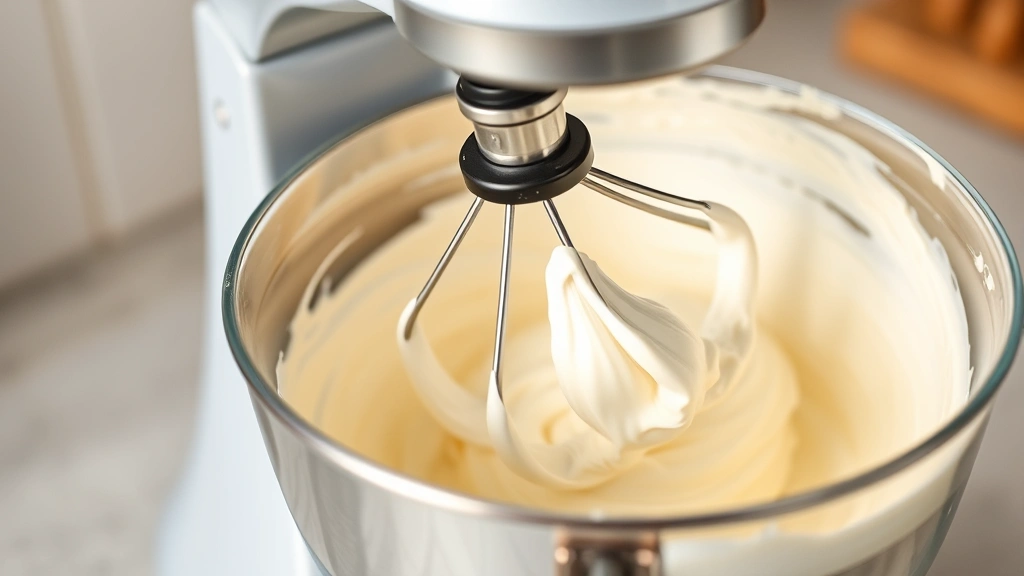
- Place the softened butter into the bowl of your stand mixer fitted with the paddle attachment. Beat on medium-high speed for 2-3 minutes, scraping down the sides of the bowl as needed, until the butter is light and fluffy. This process incorporates air into the butter, which is essential for creating that signature cloud-like texture.
- With the mixer on low speed, gradually add the sifted powdered sugar, about 1 cup at a time. Sifting the powdered sugar beforehand prevents lumps and ensures a smoother frosting. Continue mixing and scraping down the sides of the bowl between additions.
- Once all the powdered sugar has been incorporated, add the heavy cream one tablespoon at a time while the mixer is running on low speed. The cream adds moisture and helps achieve the perfect spreading consistency. Start with 3 tablespoons and add more as needed based on your desired consistency.
- Add the vanilla extract and salt, and mix on low speed for about 30 seconds until everything is well combined and the frosting is smooth and creamy.
- If you’re adding gel food coloring, add just a tiny amount (a toothpick dab) at a time while mixing on low speed. Gel coloring is much more concentrated than liquid food coloring, so you need very little to achieve vibrant, beautiful colors without affecting the frosting’s consistency.
- Once your frosting reaches your desired consistency and color, increase the mixer speed to medium-high and beat for another 2-3 minutes. This final beating incorporates more air and creates an even fluffier, lighter frosting with a beautiful pale color.
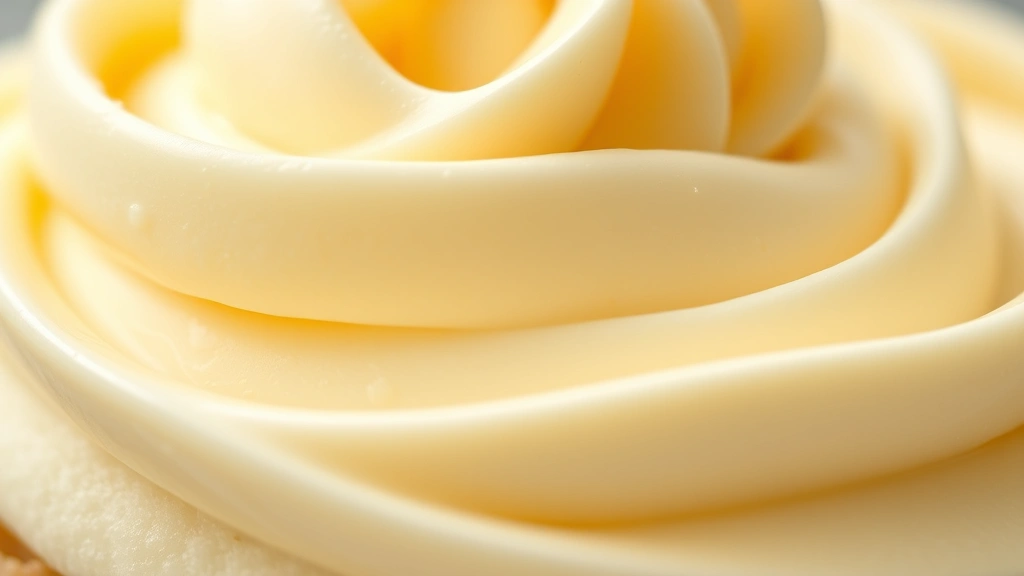
- Transfer your frosting to a piping bag fitted with your desired decorating tip, or use a spatula for a rustic, homestyle finish. If the frosting seems too soft to pipe, refrigerate it for 15-20 minutes until it firms up slightly.
Pro Tips
Sift Your Powdered Sugar: Even though it seems like an extra step, sifting powdered sugar makes a tremendous difference in the final texture of your frosting. It removes lumps and aerates the sugar, helping you achieve that smooth, professional finish.
Use High-Quality Butter: Since butter is the star ingredient here, invest in good quality unsalted butter. Unsalted butter gives you control over the salt content, and high-quality butter has a better flavor and creamier texture.
Cream Consistency Matters: The ratio of liquid to powdered sugar affects your frosting’s consistency. If your frosting seems too thick, add more heavy cream one tablespoon at a time. If it’s too thin, add more powdered sugar in quarter-cup increments.
Gel vs. Liquid Food Coloring: Always use gel food coloring instead of liquid. Liquid food coloring can thin out your frosting and affect the consistency, while gel coloring maintains the frosting’s texture while providing vibrant, beautiful colors.
Flavor Variations: Try adding almond extract for a subtle nutty flavor, lemon extract for brightness, or peppermint extract for a festive twist. You can also substitute 2 tablespoons of the heavy cream with cream cheese for a tangier frosting.
Storage and Make-Ahead Tips: American buttercream can be made up to two days in advance and stored in an airtight container at room temperature, or up to one week in the refrigerator. If refrigerated, bring it back to room temperature and re-beat it for a few minutes before using to restore its fluffy texture.
Piping Success: If your frosting is too soft to hold its shape when piping, refrigerate it for 15-20 minutes until it firms up. If it becomes too stiff, let it sit at room temperature for a few minutes or add a touch more heavy cream and mix well.
No Stand Mixer: A hand mixer works perfectly fine for making this frosting. It will just take a bit longer, approximately 5-7 minutes of beating to achieve the same fluffy results. The process is the same, just requires a bit more elbow grease.
Troubleshooting Grainy Frosting: If your frosting turns out grainy or separated, it’s likely due to cold butter or temperature fluctuations. You can rescue it by gently warming it slightly or adding a tablespoon of heavy cream and re-beating until smooth.
Pingback: How to make the BEST Tuna Sandwich Recipe (So Tasty!) – Simple Recipe Finder