
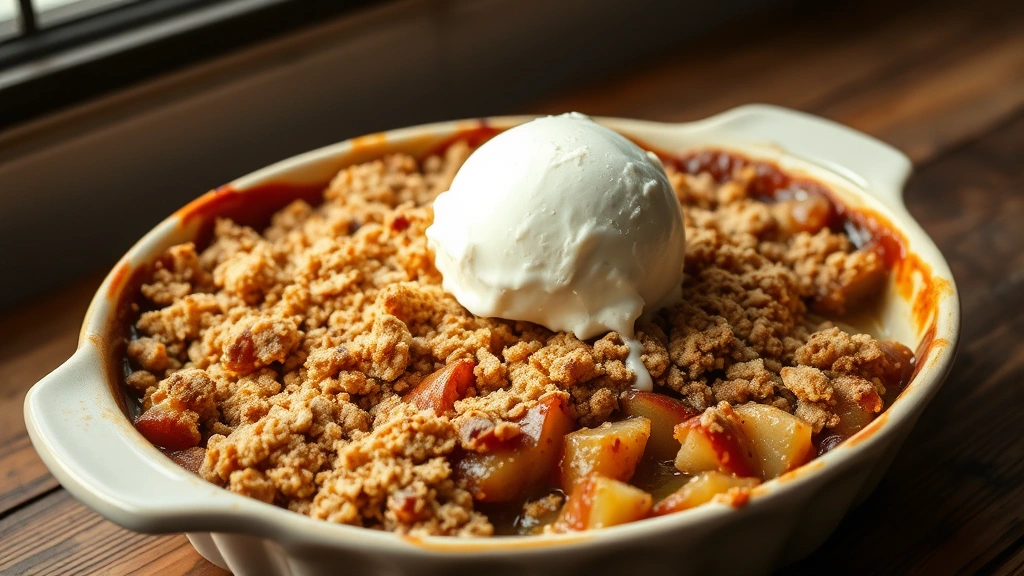
There’s something absolutely magical about a warm, bubbling apple crisp fresh from the oven, especially when it’s made without oats. This recipe proves that you don’t need rolled oats to create that perfect golden-brown, crunchy topping that everyone craves. Instead, we’re using a combination of flour, butter, brown sugar, and a touch of cinnamon to create a topping that’s even more irresistible than the traditional version.
I’ve been making apple crisps for years, and I can honestly say this oat-free version has become my go-to recipe. The beauty of this dessert is that it’s incredibly versatile—you can use whatever apples you have on hand, though I prefer a mix of Granny Smith and Honeycrisp for the perfect balance of tartness and sweetness. The crisp topping gets wonderfully caramelized in the oven, creating those gorgeous deep brown bits that are pure heaven when scooped over vanilla ice cream.
What makes this recipe so special is how simple it truly is. With just a handful of pantry staples and fresh apples, you can have a homemade dessert that tastes like it came from a fancy bakery. The filling is lightly spiced with cinnamon and nutmeg, while the topping gets extra flavor from brown sugar and a hint of vanilla. Whether you’re serving this at a dinner party or enjoying it as a cozy weeknight treat, this apple crisp without oats will become your new favorite.
The technique is straightforward, but there are a few tips and tricks I’ve learned over the years that really elevate this dessert. Keep reading for my secrets to achieving the perfect texture and flavor, plus some helpful notes about timing and variations. You can also check out my favorite comfort food recipes for more cozy desserts. For more baking inspiration, visit Bon Appétit or Serious Eats for additional tips and techniques.
Ingredients
- 6-7 medium apples (mix of Granny Smith and Honeycrisp), peeled, cored, and sliced
- 1/4 cup granulated sugar
- 2 tablespoons brown sugar
- 1 tablespoon fresh lemon juice
- 1/2 teaspoon ground cinnamon
- 1/4 teaspoon ground nutmeg
- 1 tablespoon cornstarch
- 1/4 teaspoon vanilla extract
- 1 cup all-purpose flour
- 1/2 cup packed brown sugar
- 1/4 cup granulated sugar
- 1/2 teaspoon ground cinnamon
- 1/4 teaspoon salt
- 1/2 cup cold butter, cubed
- 1/2 teaspoon vanilla extract
- Pinch of sea salt for topping (optional)
Instructions
- Preheat your oven to 350°F (175°C). Lightly butter a 9×13 inch baking dish or similar sized baking vessel.
- Peel, core, and slice your apples into quarter-inch thick slices. Place them in a large mixing bowl as you work to prevent browning.
- In the bowl with the apples, add 1/4 cup granulated sugar, 2 tablespoons brown sugar, lemon juice, 1/2 teaspoon cinnamon, 1/4 teaspoon nutmeg, cornstarch, and 1/4 teaspoon vanilla extract.
- Gently toss all the apple mixture together until the apples are evenly coated with the sugar and spice mixture. Let sit for about 5 minutes to allow the juices to release slightly.
- Pour the apple mixture into your prepared baking dish, spreading it out in an even layer. Don’t worry if there’s some liquid pooling at the bottom—this is exactly what you want.
- In a separate bowl, combine 1 cup all-purpose flour, 1/2 cup packed brown sugar, 1/4 cup granulated sugar, 1/2 teaspoon cinnamon, and 1/4 teaspoon salt. Mix these dry ingredients together with a fork or whisk until well combined.
- Add the cold, cubed butter to the flour mixture. Using a pastry cutter, two knives, or your fingertips, work the butter into the dry ingredients until the mixture resembles coarse breadcrumbs or wet sand.
- Stir in 1/2 teaspoon vanilla extract into the topping mixture, mixing gently with a fork until just combined.
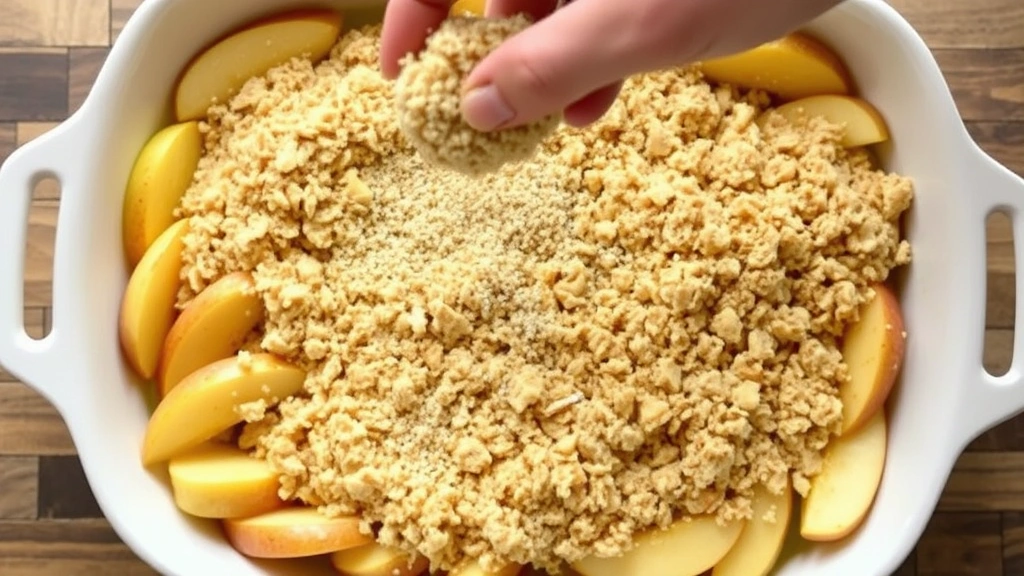
- Sprinkle the crisp topping evenly over the apple filling, breaking up any large clumps as you go. Don’t press it down—you want it loose and crumbly for the best texture.
- If desired, sprinkle a tiny pinch of sea salt over the top of the crisp topping.
- Place the baking dish in the preheated oven and bake for 38-42 minutes, until the topping is golden brown and the fruit filling is bubbling around the edges.
- Remove from the oven and let cool for about 10 minutes before serving. This resting time allows the filling to set slightly and makes serving much easier.
- Serve warm with vanilla ice cream, whipped cream, or on its own. Store leftovers covered in the refrigerator for up to 3 days.

Pro Tips
Making it ahead: You can assemble this crisp up to 4 hours in advance. Cover it with plastic wrap and refrigerate until you’re ready to bake. Just add 5-10 minutes to the baking time if baking straight from the refrigerator.
Topping texture: The key to a perfect crisp topping is keeping your butter cold. Don’t skip this step! Cold butter creates those lovely craggy pieces that toast up beautifully and stay crispy rather than turning into a cake-like layer.
No cornstarch? You can substitute with 1 tablespoon of tapioca starch or flour, though cornstarch gives the best clear filling.
Dairy-free version: Substitute the butter with coconut oil or dairy-free butter in equal amounts. The texture will be slightly different but still delicious.
Spice adjustments: If you’re not a fan of nutmeg, you can increase the cinnamon to 3/4 teaspoon instead. Alternatively, add 1/4 teaspoon of ground ginger for extra warmth.
Serving suggestions: This is incredible served with vanilla ice cream, Greek yogurt, or fresh whipped cream. You can also serve it warm with a drizzle of caramel sauce for extra indulgence.
Leftover storage: Cover any leftover crisp with plastic wrap or transfer to an airtight container. It keeps well in the refrigerator for up to 3 days. Reheat gently in a 300°F oven for about 15 minutes before serving.
Scaling the recipe: This recipe doubles beautifully if you want to make two crisps. Simply multiply all ingredients by two and use two 9×13 baking dishes, or use a larger roasting pan.