
Aquafaba meringue is an absolute game-changer for anyone looking to create stunning, elegant desserts without eggs. This plant-based marvel uses the liquid from canned chickpeas to create billowy, cloud-like peaks that rival traditional egg white meringues. Whether you’re vegan, have egg allergies, or simply want to explore innovative baking techniques, this recipe delivers foolproof results every single time.
The magic of aquafaba lies in its protein content and starches, which create the same structural integrity as egg whites when whipped with the right technique and ingredients. I’ve spent countless hours perfecting this method, testing different brands of chickpeas, various sugars, and multiple whisking speeds to bring you the most reliable aquafaba meringue recipe that produces consistently gorgeous results.
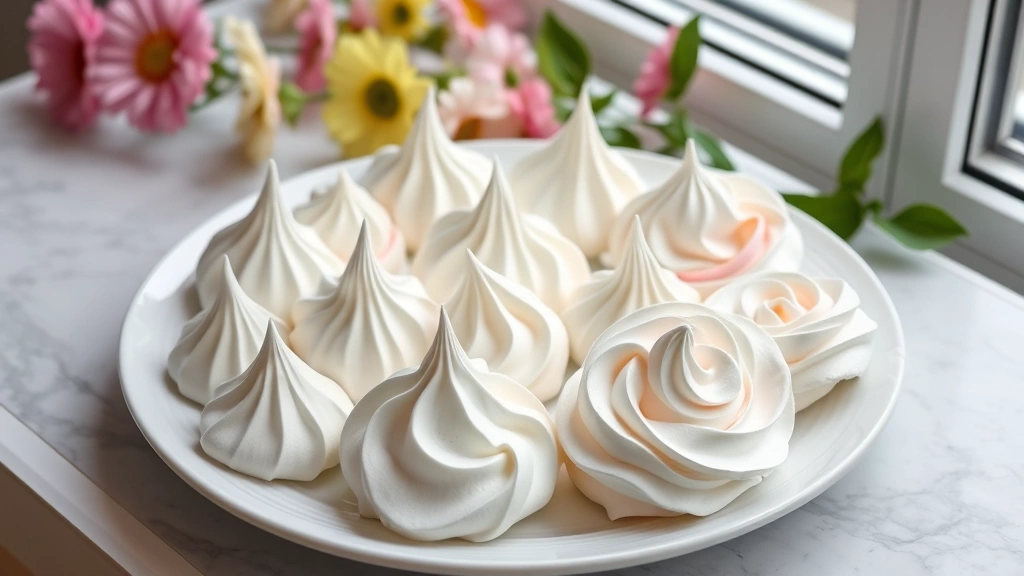
What makes this recipe truly special is that it’s not just a vegan substitute—it’s genuinely delicious. These meringues have a delicate, crispy exterior with just the slightest marshmallow-like center, making them absolutely addictive. You can use them to top pies, sandwich them together with dairy-free chocolate ganache, or enjoy them as standalone cookies. They’re also stunning when colored with natural or gel food coloring for a pop of color on your dessert table.
One of my favorite applications is using these meringues as a base for a show-stopping chickpea-based dessert spread, or even incorporating them into a sophisticated dinner party menu. The versatility is genuinely impressive, and once you master this technique, you’ll find yourself making these regularly.
For best results, I highly recommend checking out this Bon Appétit guide to vegan meringues for additional inspiration. You might also enjoy exploring Serious Eats’ comprehensive vegan baking techniques to expand your plant-based baking repertoire.
This recipe is perfect for make-ahead entertaining, as meringues store beautifully in an airtight container for up to two weeks. They’re also naturally gluten-free, refined sugar-free (when using coconut sugar), and require minimal ingredients. Let’s dive into creating these beautiful, delicious, and completely egg-free meringues that will impress everyone at your table.
Ingredients
- 1 cup aquafaba (liquid from 2-3 cans of chickpeas, about 240ml)
- 1/4 teaspoon cream of tartar
- 1/4 teaspoon xanthan gum (optional but recommended for stability)
- 1 cup granulated cane sugar or coconut sugar
- 1 teaspoon vanilla extract or 1/2 teaspoon vanilla bean paste
- 1/4 teaspoon almond extract (optional, adds depth)
- Pinch of sea salt
- Gel food coloring (optional, 2-3 drops per batch for coloring)
- Lemon juice (1/2 teaspoon) for extra stability
Instructions
- Prepare your aquafaba: Drain 2-3 cans of chickpeas and collect the liquid. You need exactly 1 cup (240ml). Pour the aquafaba into a glass or metal bowl—plastic can retain oils that prevent proper whipping. Let it sit at room temperature for 15 minutes before using.
- Line your baking sheets: Place parchment paper on two large baking sheets, securing it with a small dab of aquafaba at each corner. This prevents the parchment from shifting while you’re piping.
- Combine dry ingredients: Add the cream of tartar and xanthan gum (if using) to your bowl of aquafaba. The cream of tartar acts as a stabilizer and accelerates the whipping process, while xanthan gum adds extra structure.
- Start whipping: Using an electric mixer on medium speed, beat the aquafaba mixture for 3-4 minutes. You’ll notice it beginning to become foamy and slightly opaque. This is the soft peaks stage—continue beating.
- Reach soft peaks: Continue beating for another 2-3 minutes until soft peaks form when you lift the whisk. Soft peaks will curl slightly when lifted but won’t hold their shape. At this stage, gradually add the lemon juice.
- Begin adding sugar: While the mixer is running on medium speed, add the sugar very gradually—about 1 tablespoon at a time. This slow addition is crucial for achieving stable, glossy meringues. Rushing this step will result in grainy, unstable meringues.
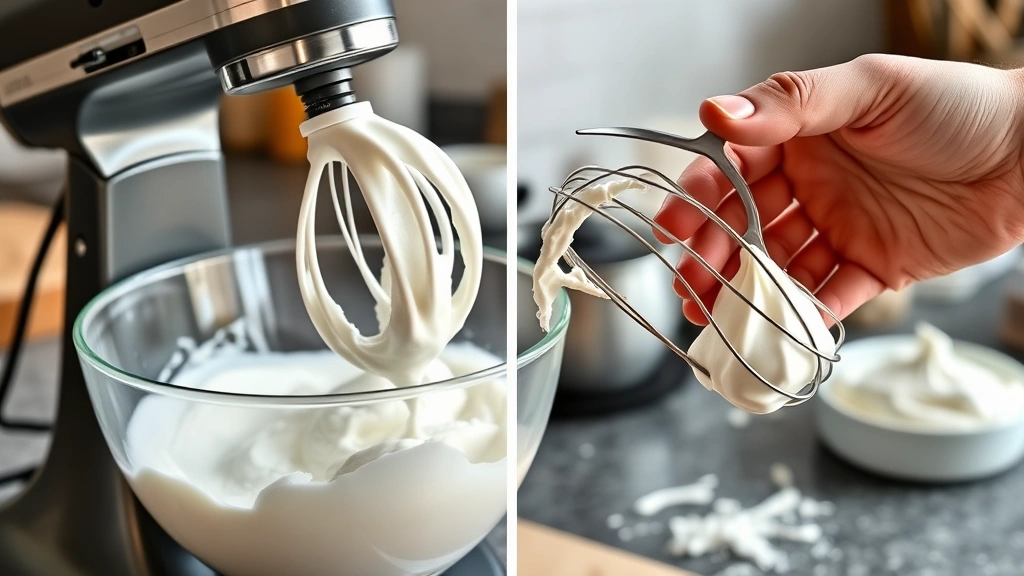
- Achieve stiff peaks: Continue beating and adding sugar until all sugar is incorporated and stiff peaks form, about 8-10 minutes total. Stiff peaks should stand completely upright without curling. Test by lifting the whisk—the meringue should hold a sharp point.
- Add flavorings: Once stiff peaks are reached, add vanilla extract, almond extract (if using), and sea salt. Beat on high speed for 1 minute to fully incorporate and increase stability even further.
- Test consistency: The meringue should be glossy, thick, and completely opaque white (or your desired color if using gel coloring). If it looks grainy or separated, it needs a bit more whipping, but don’t overbeat or it will become dry.
- Add coloring if desired: If using gel food coloring, add 2-3 drops and beat for 30 seconds until color is evenly distributed. Gel coloring doesn’t add extra liquid like liquid food coloring would.
- Prepare piping equipment: Transfer meringue to a piping bag fitted with a large star tip or round tip. Fill the piping bag halfway to avoid overfilling and maintain control.
- Pipe meringues: Holding the piping bag perpendicular to the baking sheet, pipe small dollops onto parchment paper, spacing them about 1 inch apart. Each meringue should be about 1-2 inches in diameter.
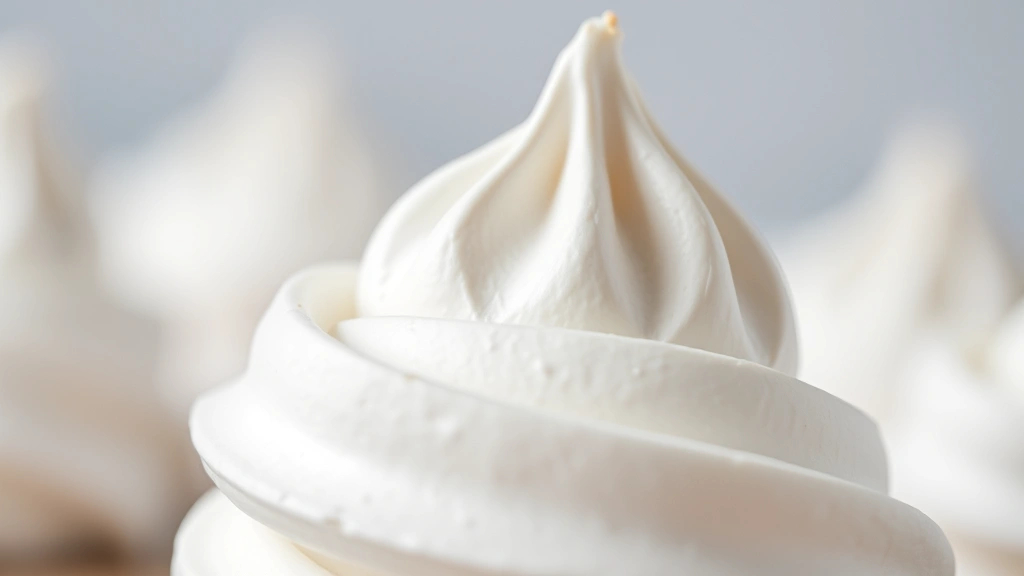
- Create texture variation: For a decorative touch, lift the piping tip quickly after piping to create a slight peak on top of each meringue. Alternatively, pipe rosettes for a more elegant appearance.
- Prepare oven: Preheat your oven to 200°F (95°C). This low, gentle heat prevents browning and ensures crispy-textured meringues rather than chewy ones.
- Bake meringues: Place baking sheets in the preheated oven and bake for 90 minutes. They should dry out completely but maintain a white color with perhaps the slightest hint of cream.
- Check for doneness: After 90 minutes, remove one meringue from the oven and let it cool for 2 minutes. It should feel completely crispy on the outside. If still slightly soft, bake an additional 10-15 minutes.
- Cool completely: Remove baking sheets from the oven and let meringues cool on the pan for at least 15 minutes. They’ll continue to set as they cool.
- Transfer carefully: Once completely cooled, carefully peel meringues from the parchment paper. Store immediately in an airtight container with parchment between layers to prevent sticking.
- Optional assembly: Sandwich two meringues together with dairy-free chocolate ganache, coconut cream, or your favorite dairy-free frosting for an elegant presentation.
Pro Tips
- Aquafaba quality matters significantly: Use liquid from unsalted or low-sodium canned chickpeas when possible. Some brands’ liquid is thinner than others, so you may need to adjust amounts slightly. Drain cans thoroughly and don’t use any chickpea solids.
- Cream of tartar is non-negotiable: This ingredient stabilizes the foam and helps achieve stiff peaks much faster. It also extends the shelf life of your finished meringues. Don’t skip it.
- Room temperature aquafaba whips better: Cold aquafaba takes significantly longer to reach stiff peaks. Remove from the refrigerator 15-30 minutes before whipping for optimal results.
- Bowl cleanliness is crucial: Any trace of oil in your bowl will prevent the aquafaba from whipping properly. Wash your bowl and beaters with hot soapy water and dry completely before use. Consider wiping with a paper towel dampened with white vinegar for extra assurance.
- The slow sugar addition is essential: Adding sugar too quickly creates grainy meringues. Patience during this step directly correlates with meringue quality. Take your time.
- Xanthan gum adds insurance: While optional, xanthan gum provides extra stability and results in meringues that last longer and maintain their structure better. It’s especially helpful if you’re making meringues in humid climates.
- Low baking temperature prevents browning: Baking above 200°F will cause browning and potentially create chewy rather than crispy meringues. An oven thermometer ensures accuracy.
- Don’t open the oven door: Resist the urge to peek during baking. Opening the door releases heat and can cause meringues to crack or develop a wrinkled surface.
- Storage extends shelf life: Properly stored meringues last 2-3 weeks in an airtight container. Keep them in a cool, dry place away from humidity. They’ll absorb moisture in humid environments.
- Customization options are endless: Try adding lemon zest, peppermint extract, coffee powder, or cocoa for flavor variations. Dust finished meringues with edible glitter, matcha powder, or cocoa powder for visual appeal.
- Make ahead for entertaining: These are perfect for preparing 1-2 days before a dinner party. Assemble with fillings just before serving to prevent sogginess.
- Troubleshooting grainy texture: If meringues turn out grainy, the sugar wasn’t added slowly enough or the aquafaba wasn’t whipped long enough before adding sugar. Next time, extend the initial whipping phase by 2-3 minutes.
- Troubleshooting weeping meringues: If meringues develop a wet layer on top after baking, they weren’t baked long enough. Increase baking time by 15-20 minutes. Also ensure your oven isn’t too humid.